I took a class this past weekend at MASW called "Making a Greene & Greene Side Table" with Reid Anderson. An intense course as usual with a lot of learning. The table is held together with dominoes. The unique features of Greene & Greene style are the "pillow topped dots", the round overs, and the exposed breadboard ends.
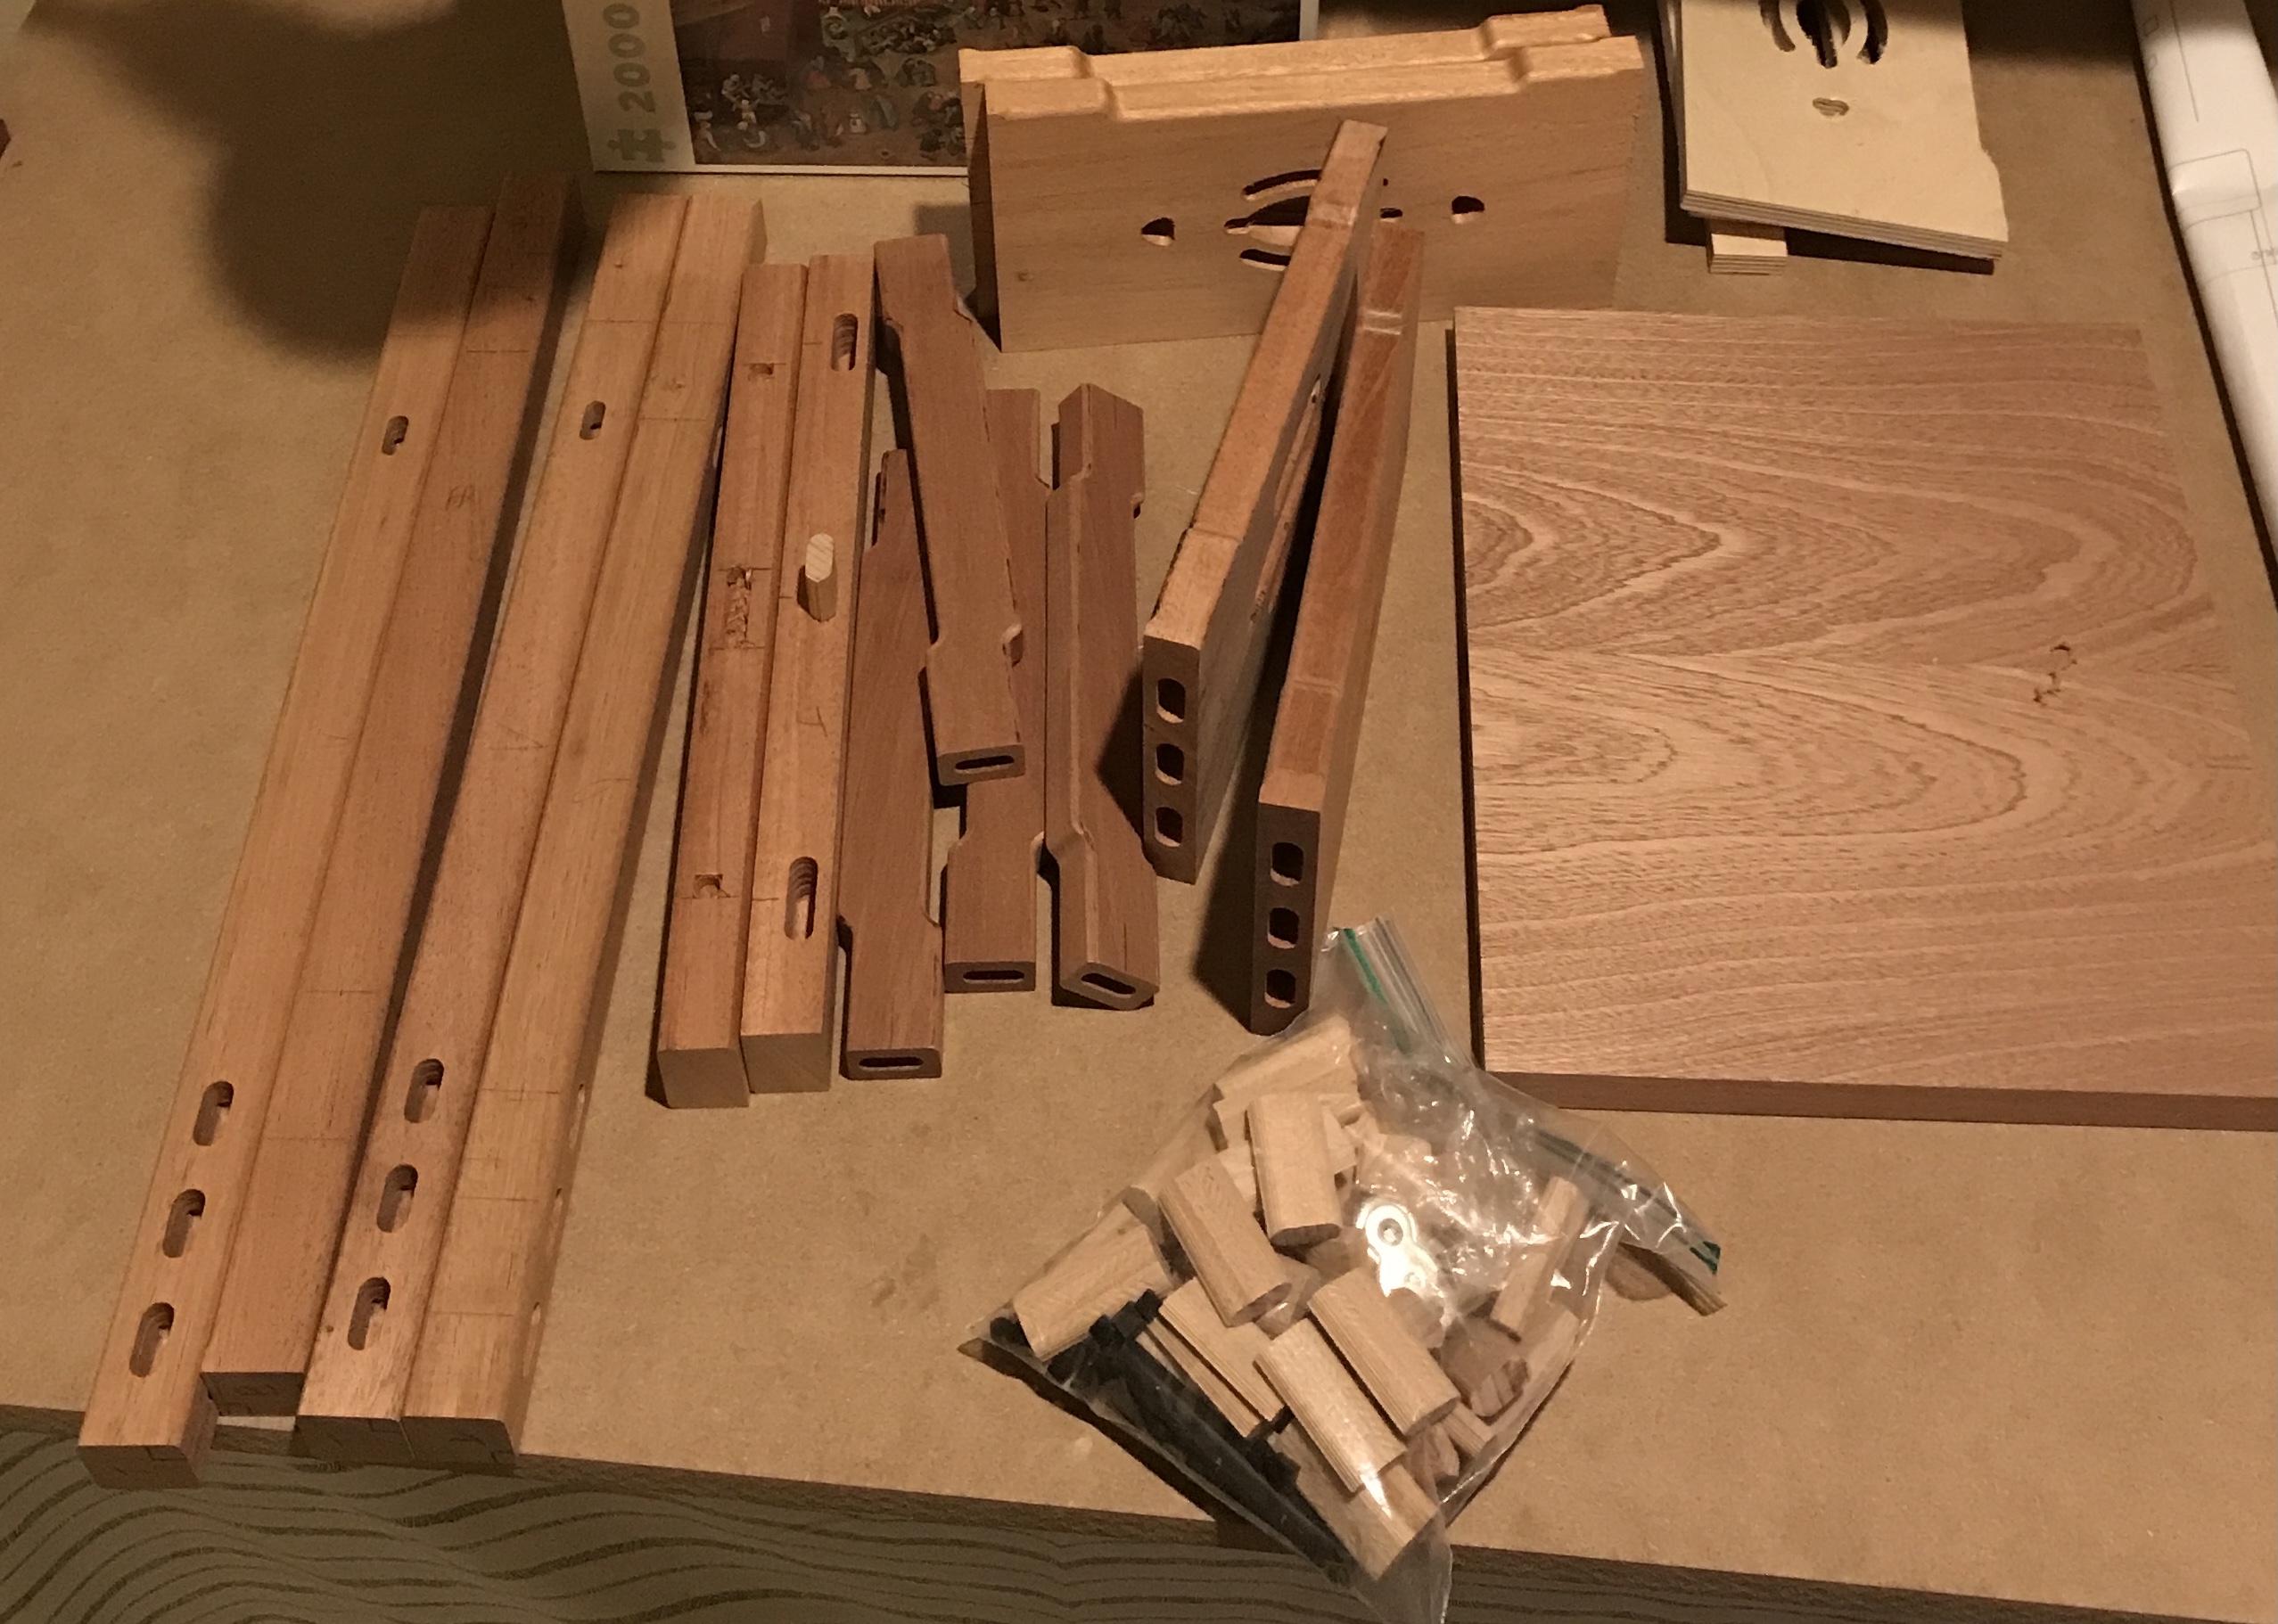
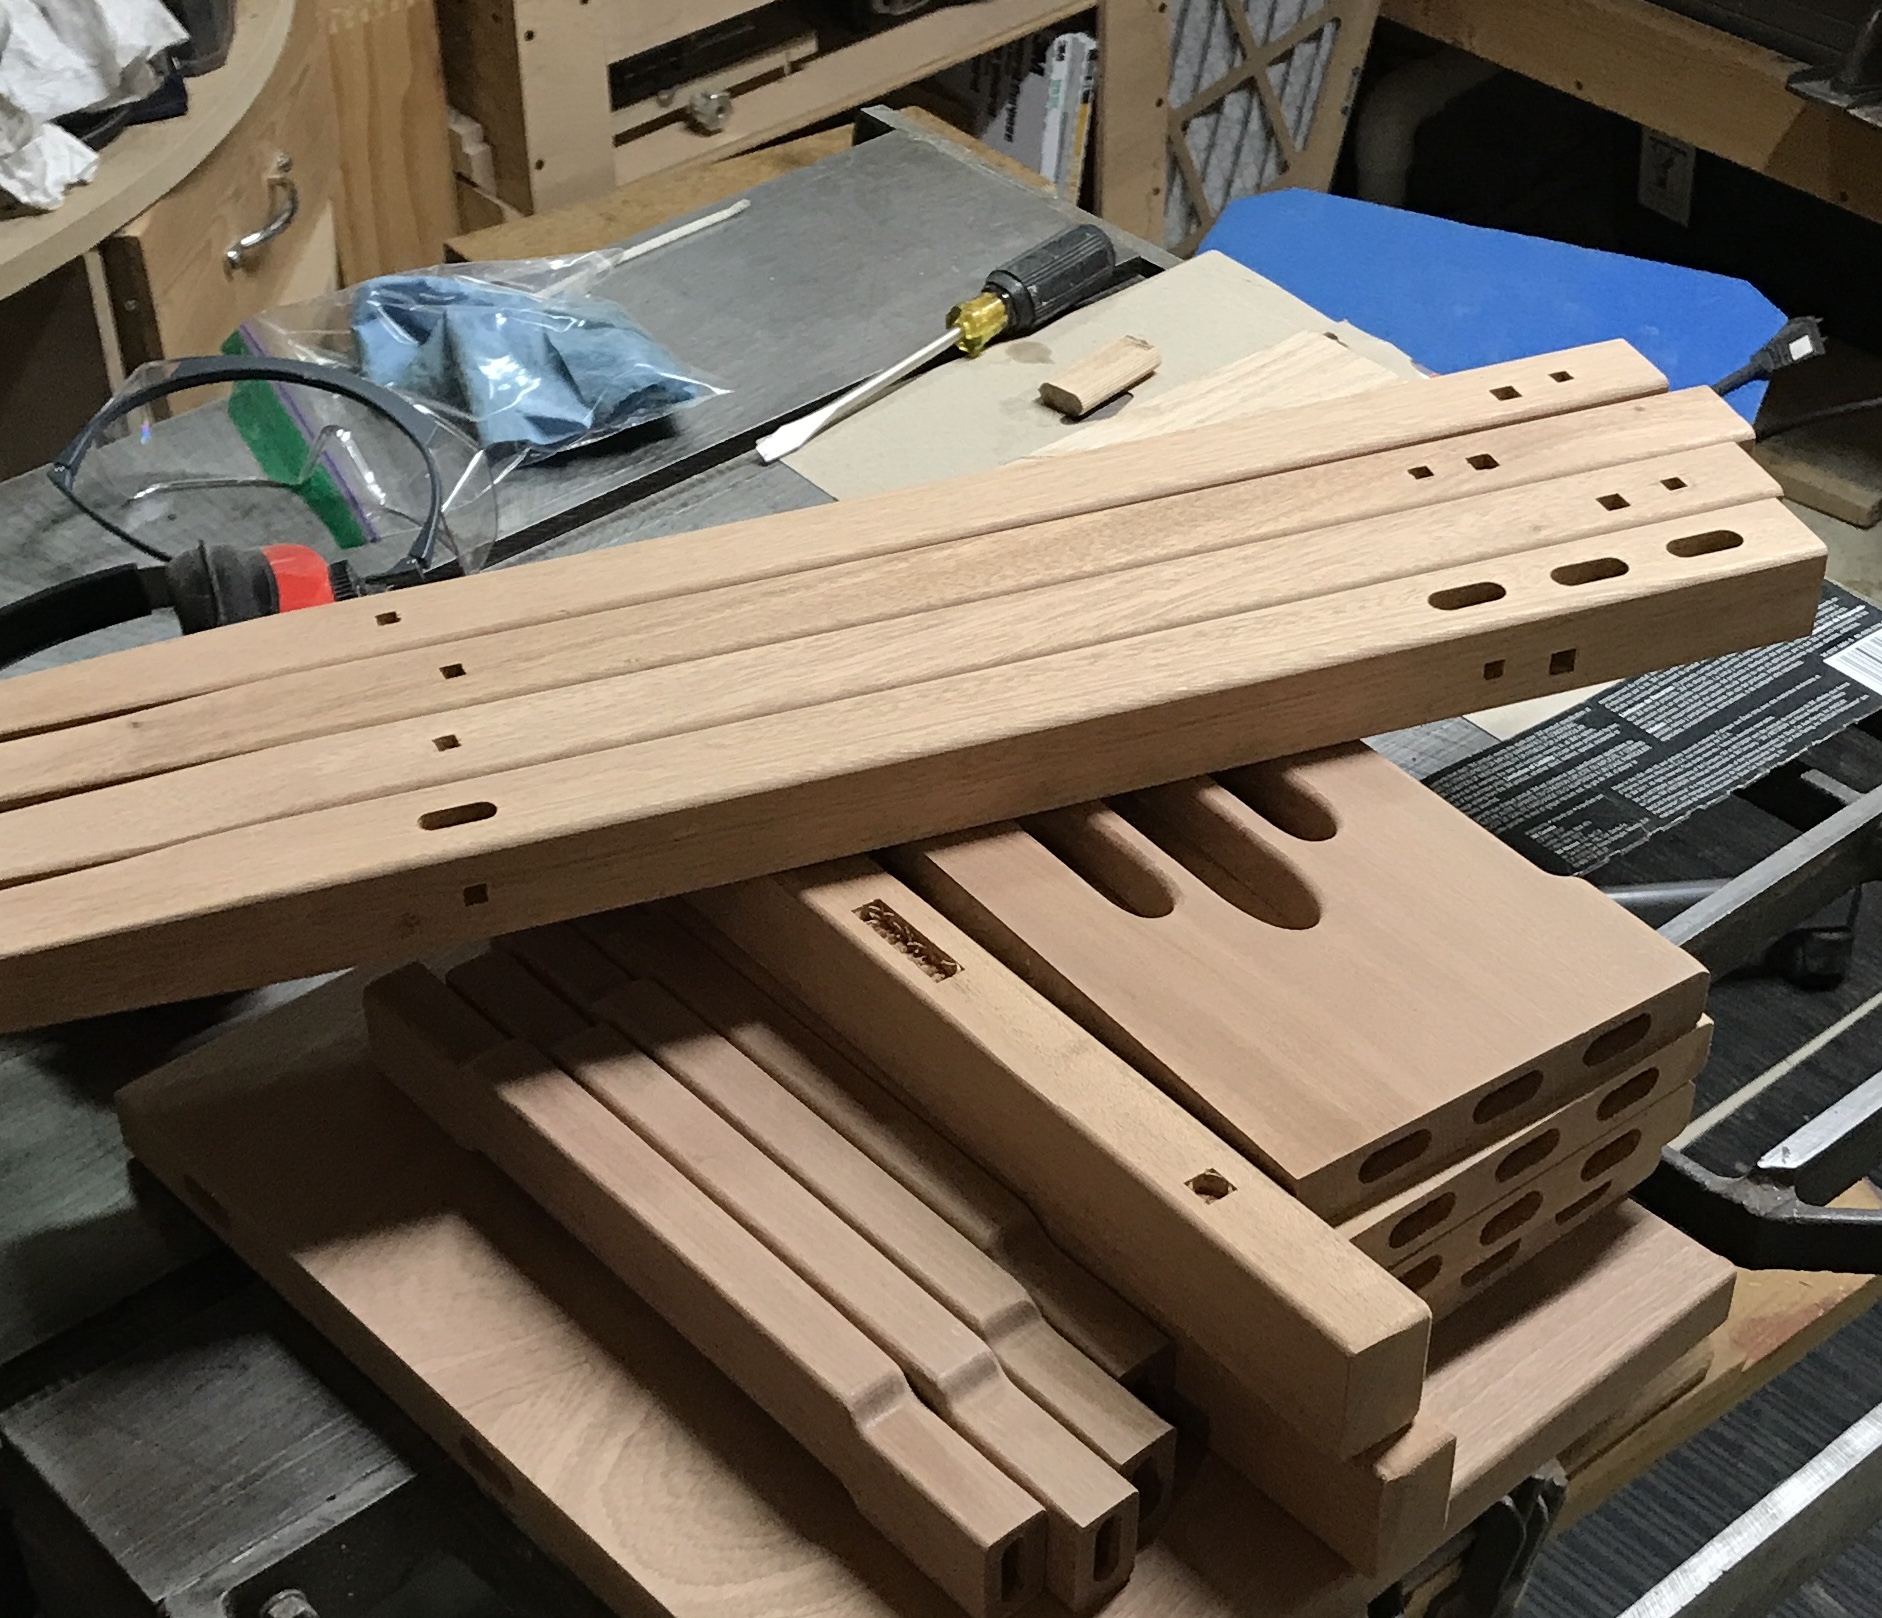
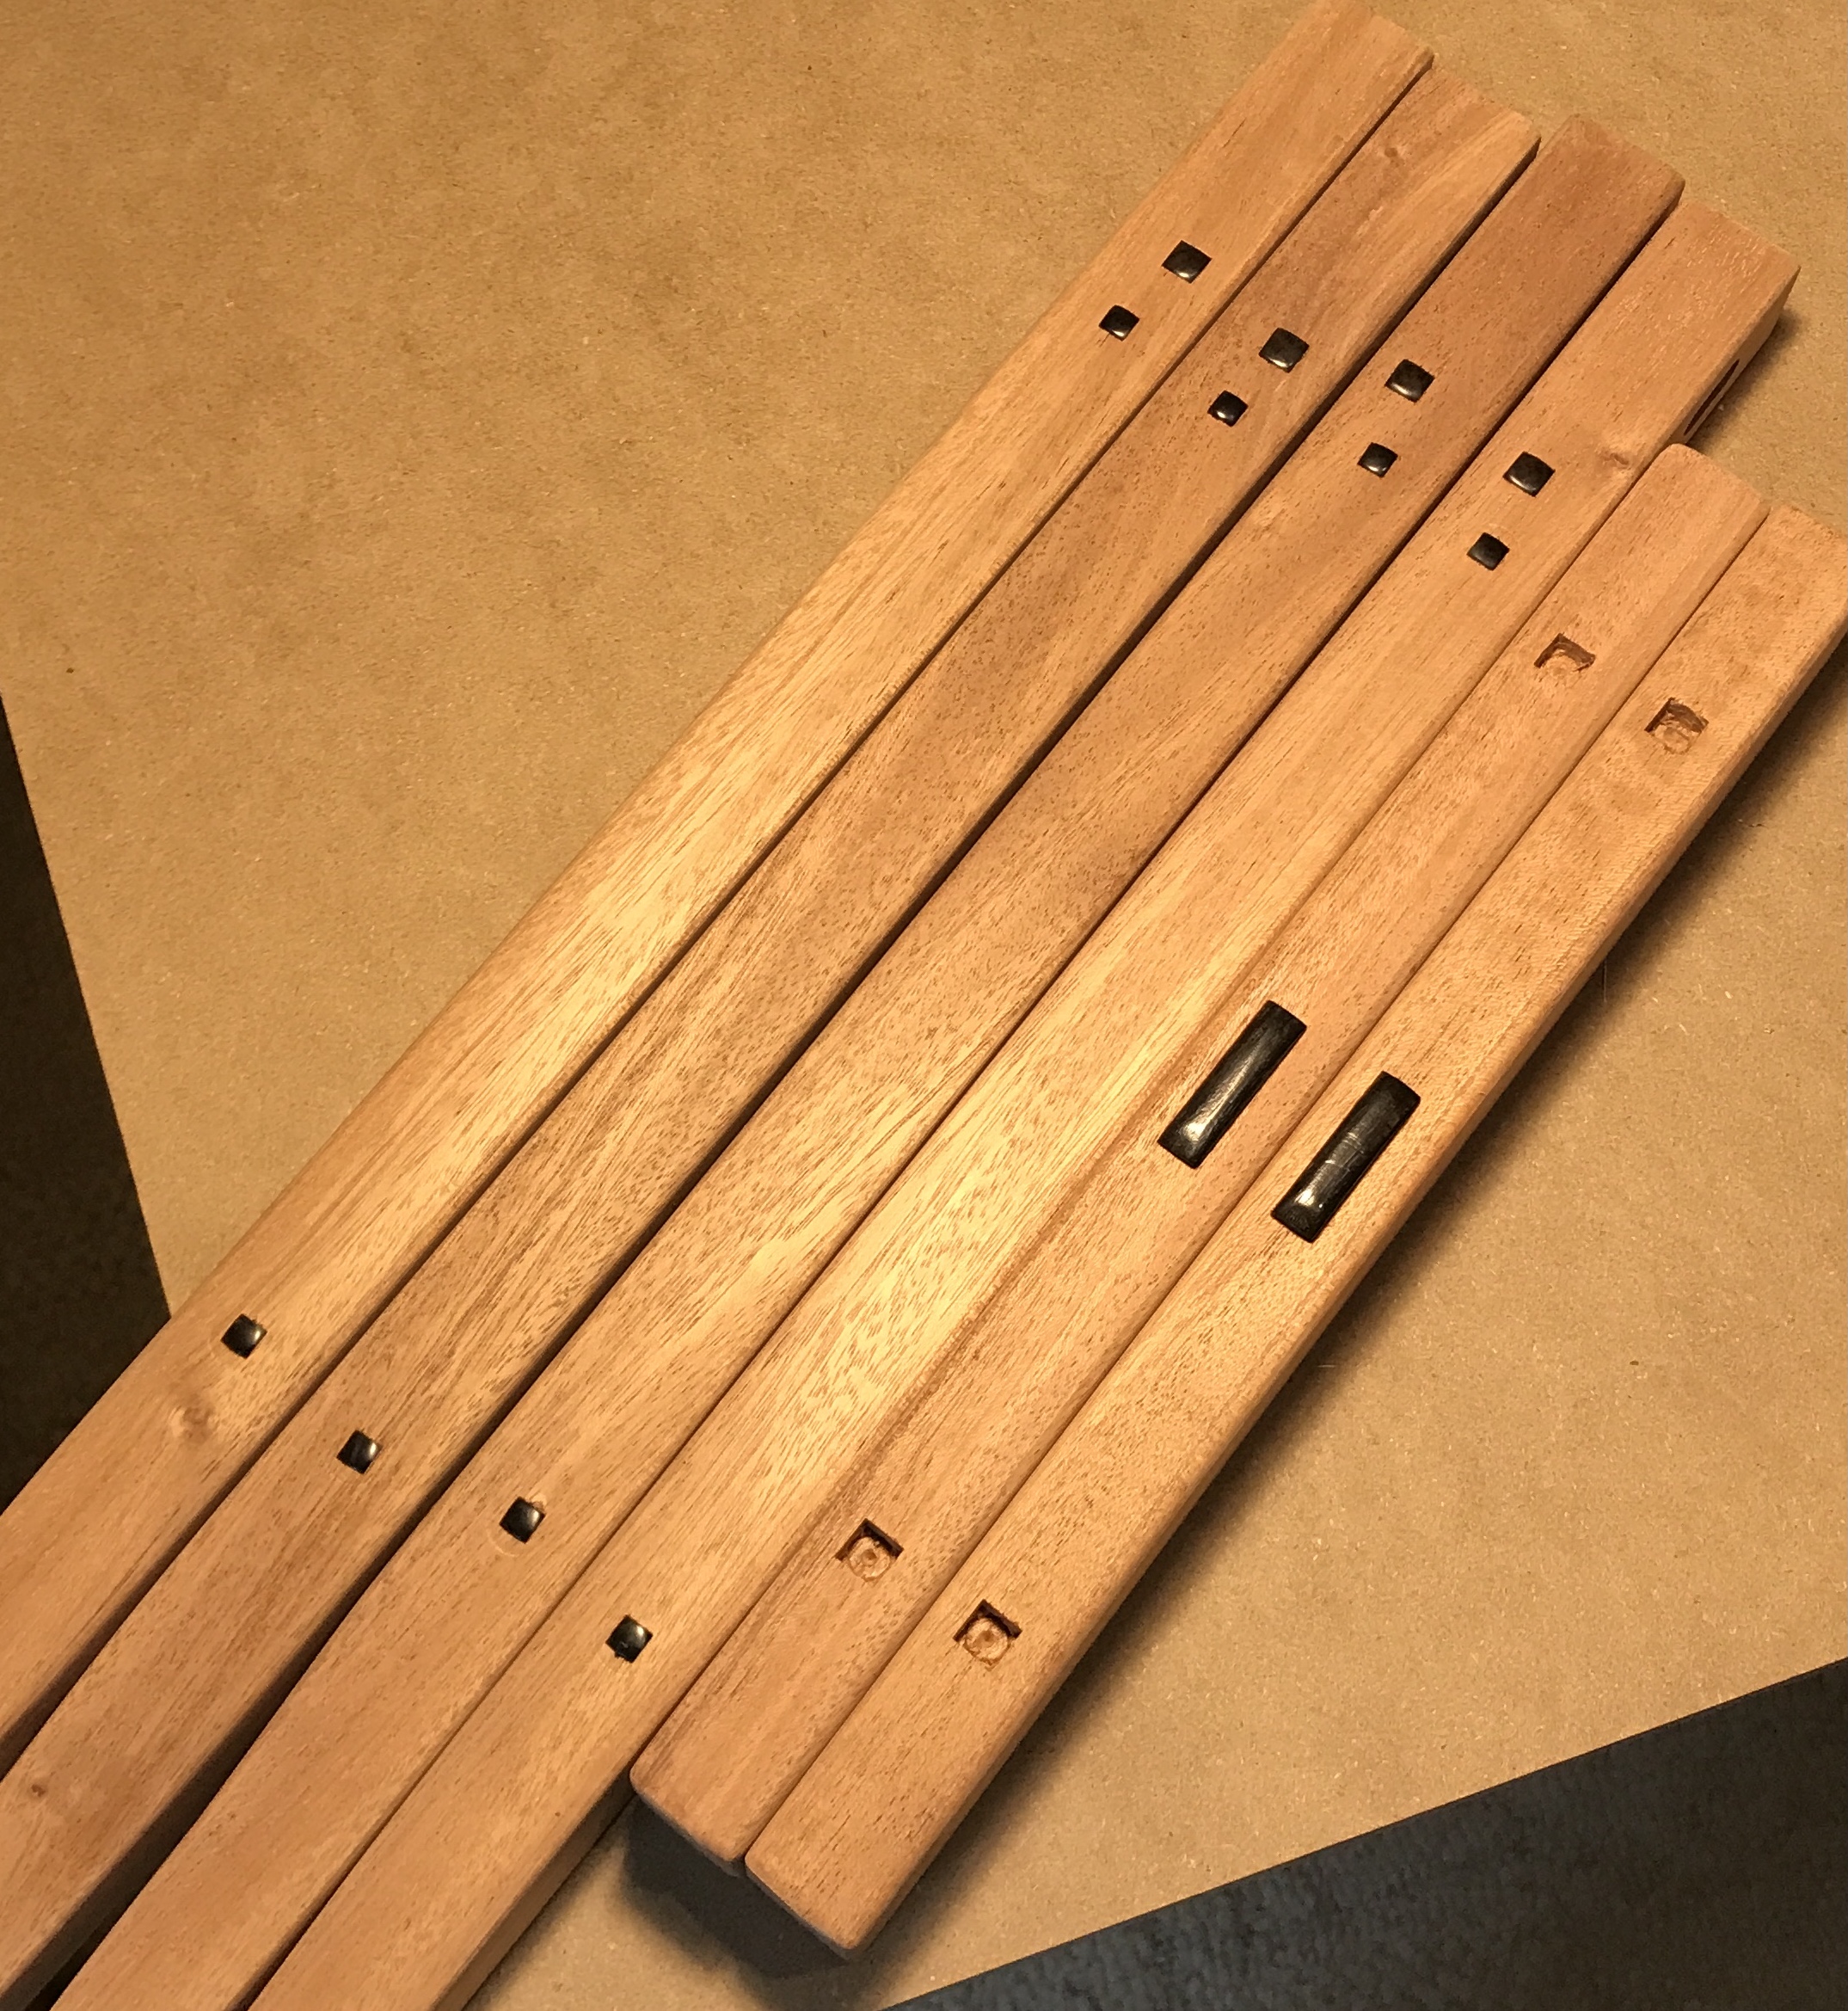
The table was not completed at the class. A large number of completed and partially completed parts were brought home. Completing the table is what is covered here. All of the power tool work is done, but there are many details left to finish by hand. The photo below shows, from the left: 4 legs, 2 breadboard ends, 4 stringers, 4 aprons, and the tabletop. The bag contains the dominoes and the dots.
All of the positions for the dots have been marked. The breadboard ends have square holes installed using a mortiser. The rest need to have the holes drilled ~1/4" deep and punched with the recently made square punches. The dots for these holes have all been completed with the pillow top and the beveled sides. One long dot has been made to cover the two 1.5" dots in the middle of the breadboard ends. These dots will need to be cut to length and the ends finished. These are the first items to accomplish.
The legs need to be tapered 1/8" over 3". The legs are marked and this work could be done by hand with a plane. I may choose to do this on the table saw. It will be cleaner and require less sanding.
Much of the round over work is complete. It was done with a roundover bit in the router table. The tapers will need to be rounded over and the sides of the table top still need roundovers. Many of the roundovers need to be finished to the ends of the boards. Many of the cutouts in the aprons require hand rounding. Long strips of sandpaper may be best for this work.
The next step will be sanding all of the parts to 220 grit. After sanding is complete the 1/4", 5/16", and special 3/8" dots need to be glued in place. Then the table should be assembled. The only complex part of the assembly are the four #8-1 1/2" screws used for attaching the breadboard ends to the table top. These go through the 3/8" dot holes and into the ends of the table after drilling holes through the dot holes. The screws provide support as only the center domino gets glue on the breadboard end. This type of assembly allows the top and the breadboard ends to move independently. The low stringers use smaller dominoes than the rest of the table. After breadboard to table assembly the 3/8" dots can be glued in place.
The top needs to be attached to the legs using the included hardware. The final step is applying stain, if appropriate, and a finish. I will probably communicate with Reid to get suggestions on the best stain and finish. I am not sure how to handle the dots. Ebony is very waxy and may require unique treatment.
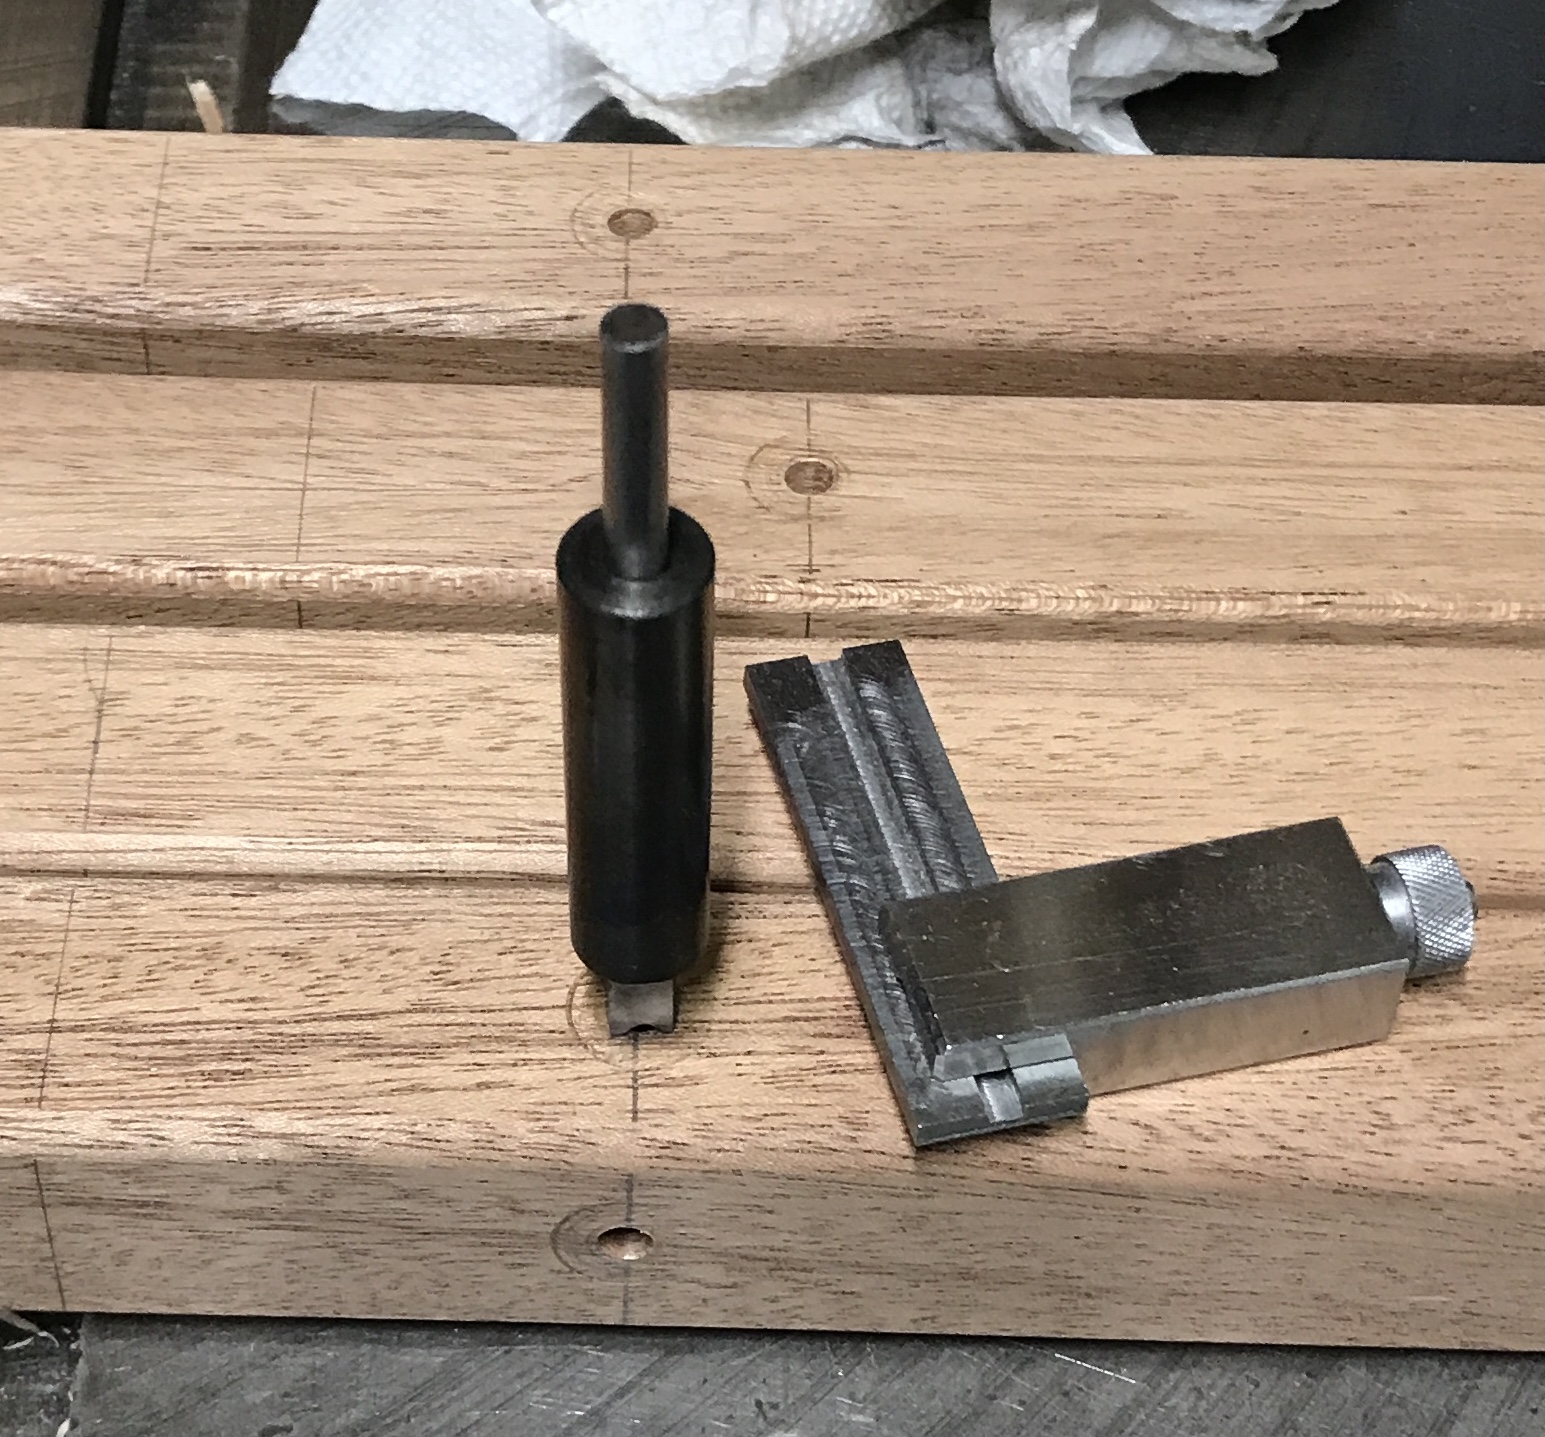
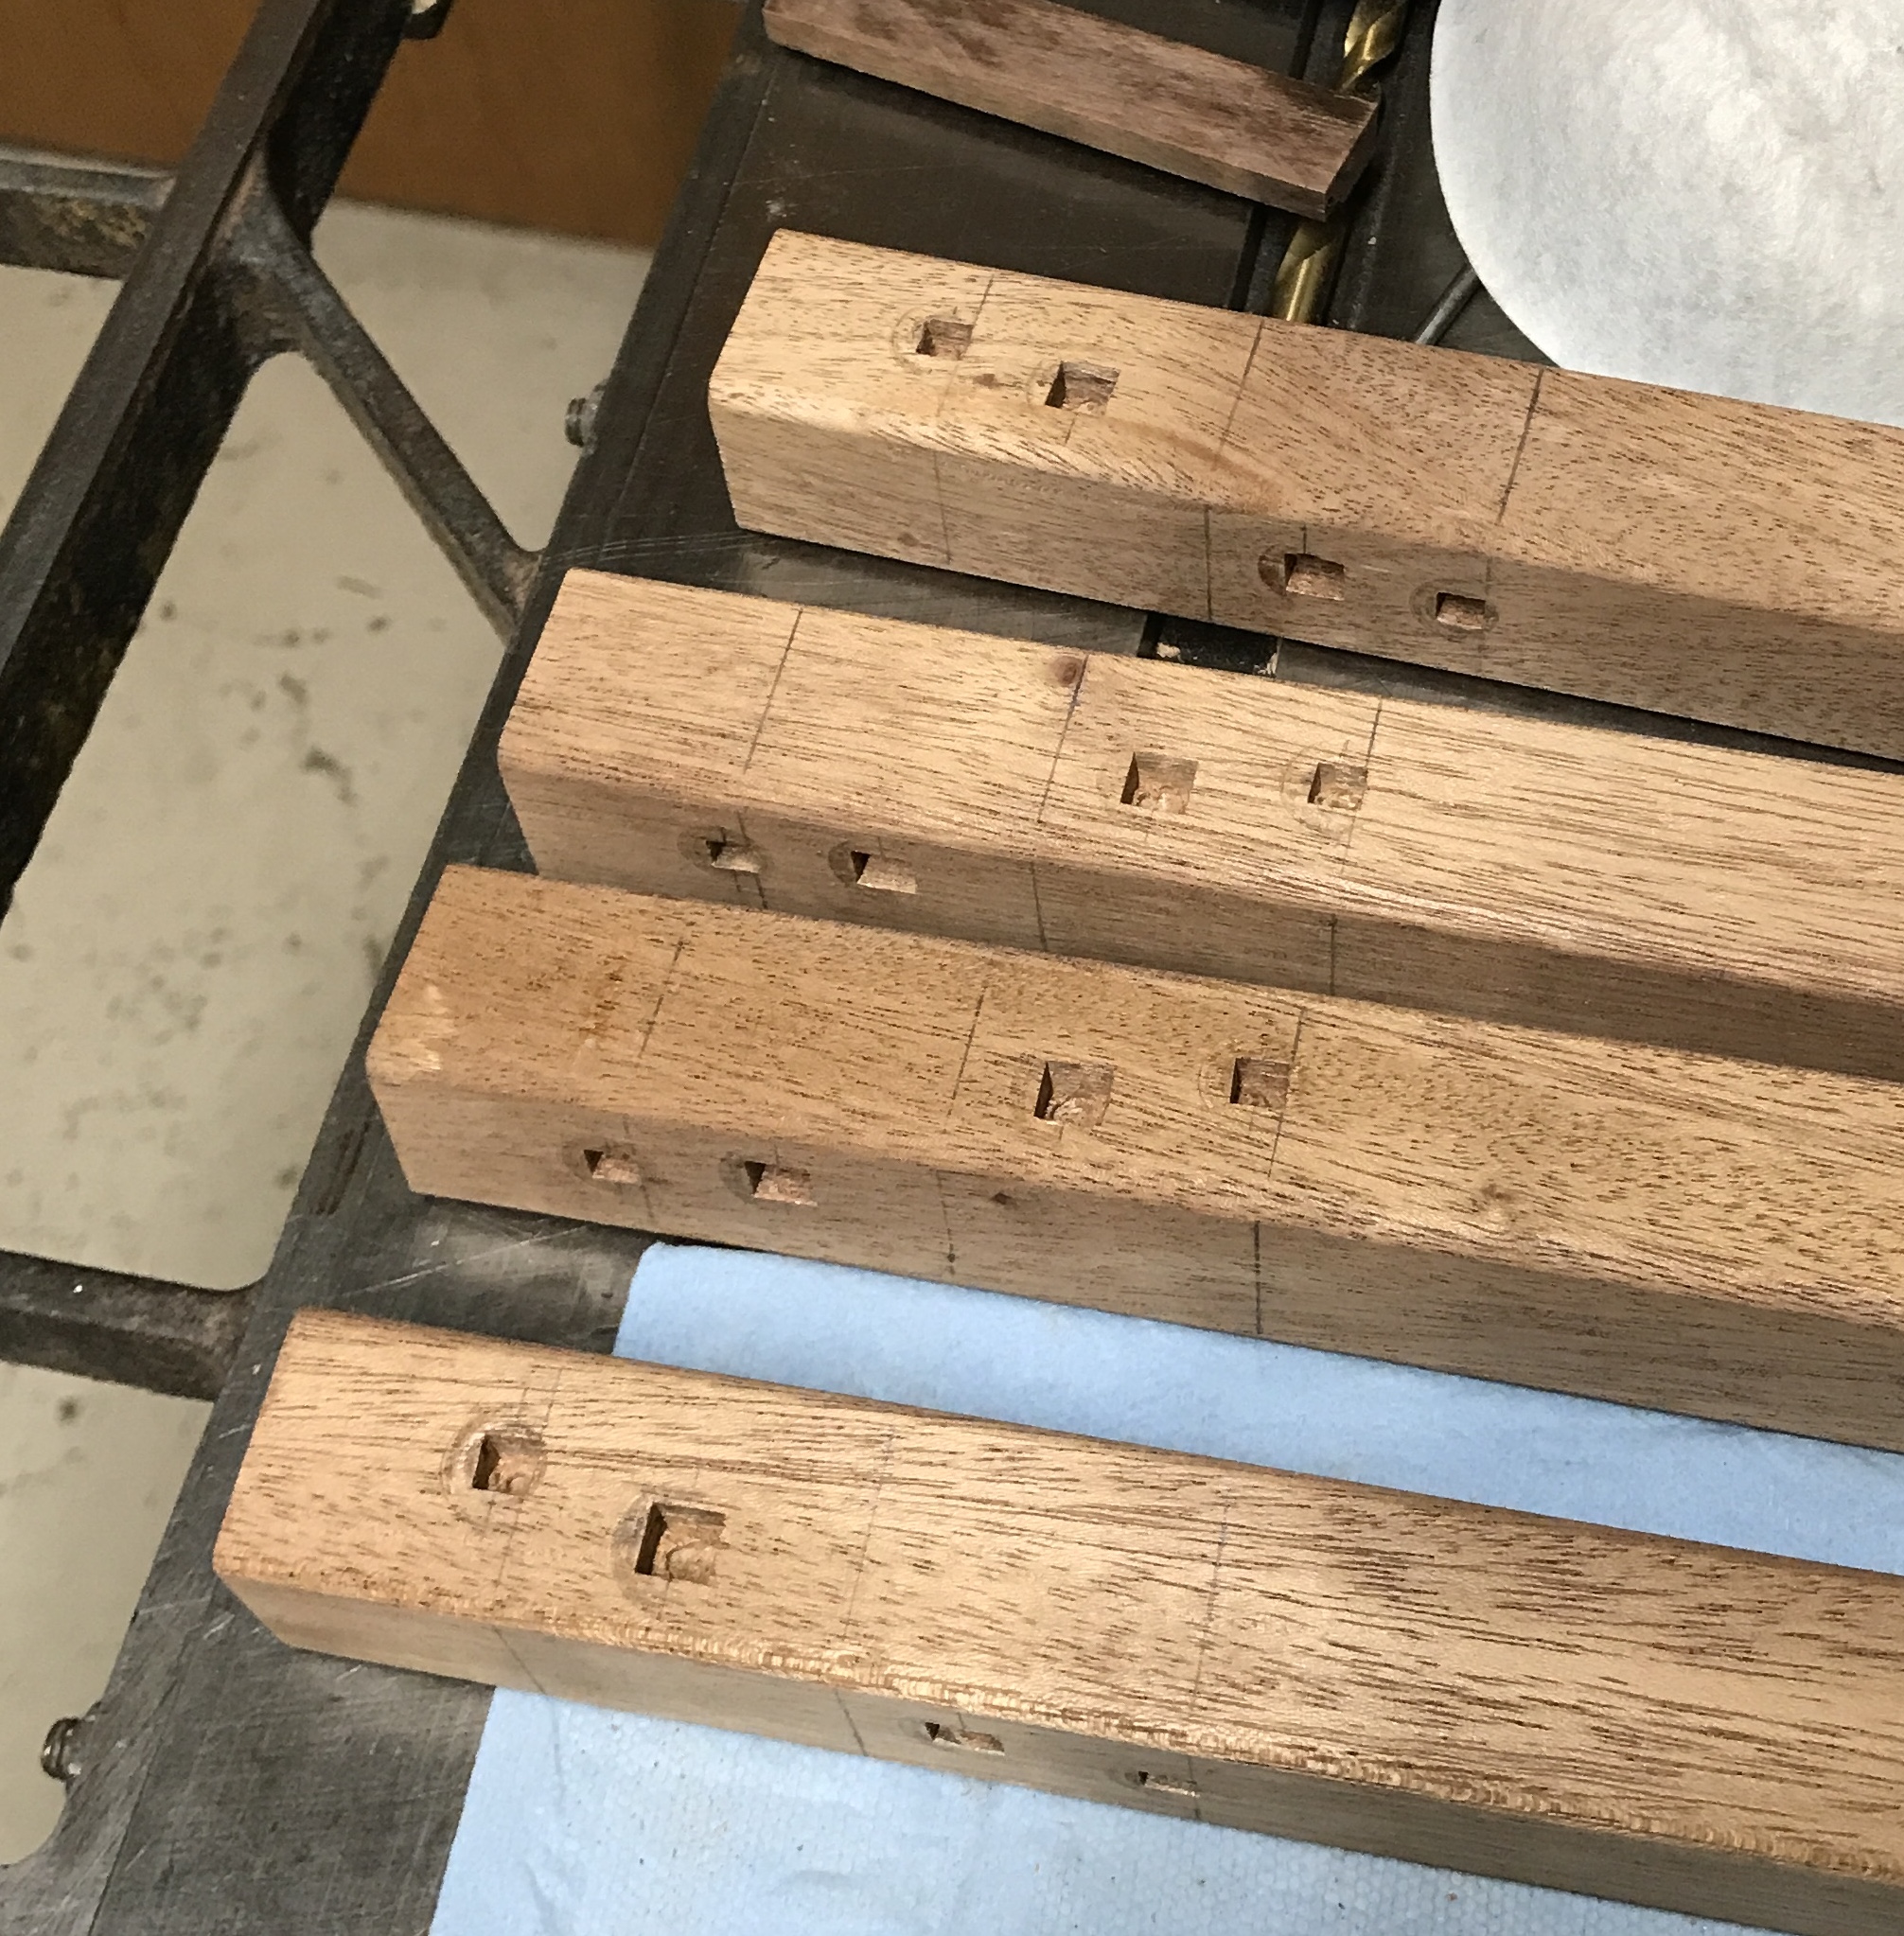
The dot holes were tackled first. All of the marks were punched. The holes for the 3/8" dots made by the mortiser were 0.215" deep. A stop was set on the 13/64" bit at this distance. The drill press was used to drill the 16 holes for the 1/4" dots. Similarly, with a stop the 8 holes for the 5/16" dots were drilled with a 17/64" drill.
The 16 holes for the 1/4" dots were punched square with the 1/4" square punch. The drill was inserted into the punch and then into the hole. The punch was aligned with the aid of a square. Some tearout was observed and burrs could be felt on the outside of the punch. These were removed with sanding. The punch was driven in about halfway and then chips were removed. It was then hammered in to full depth. After difficult removal from full depth the remainder of the chips were removed with a pick. The same process was repeated with the 5/16" square punch completing all of the holes for the dots. The photos below document the process and the final product.
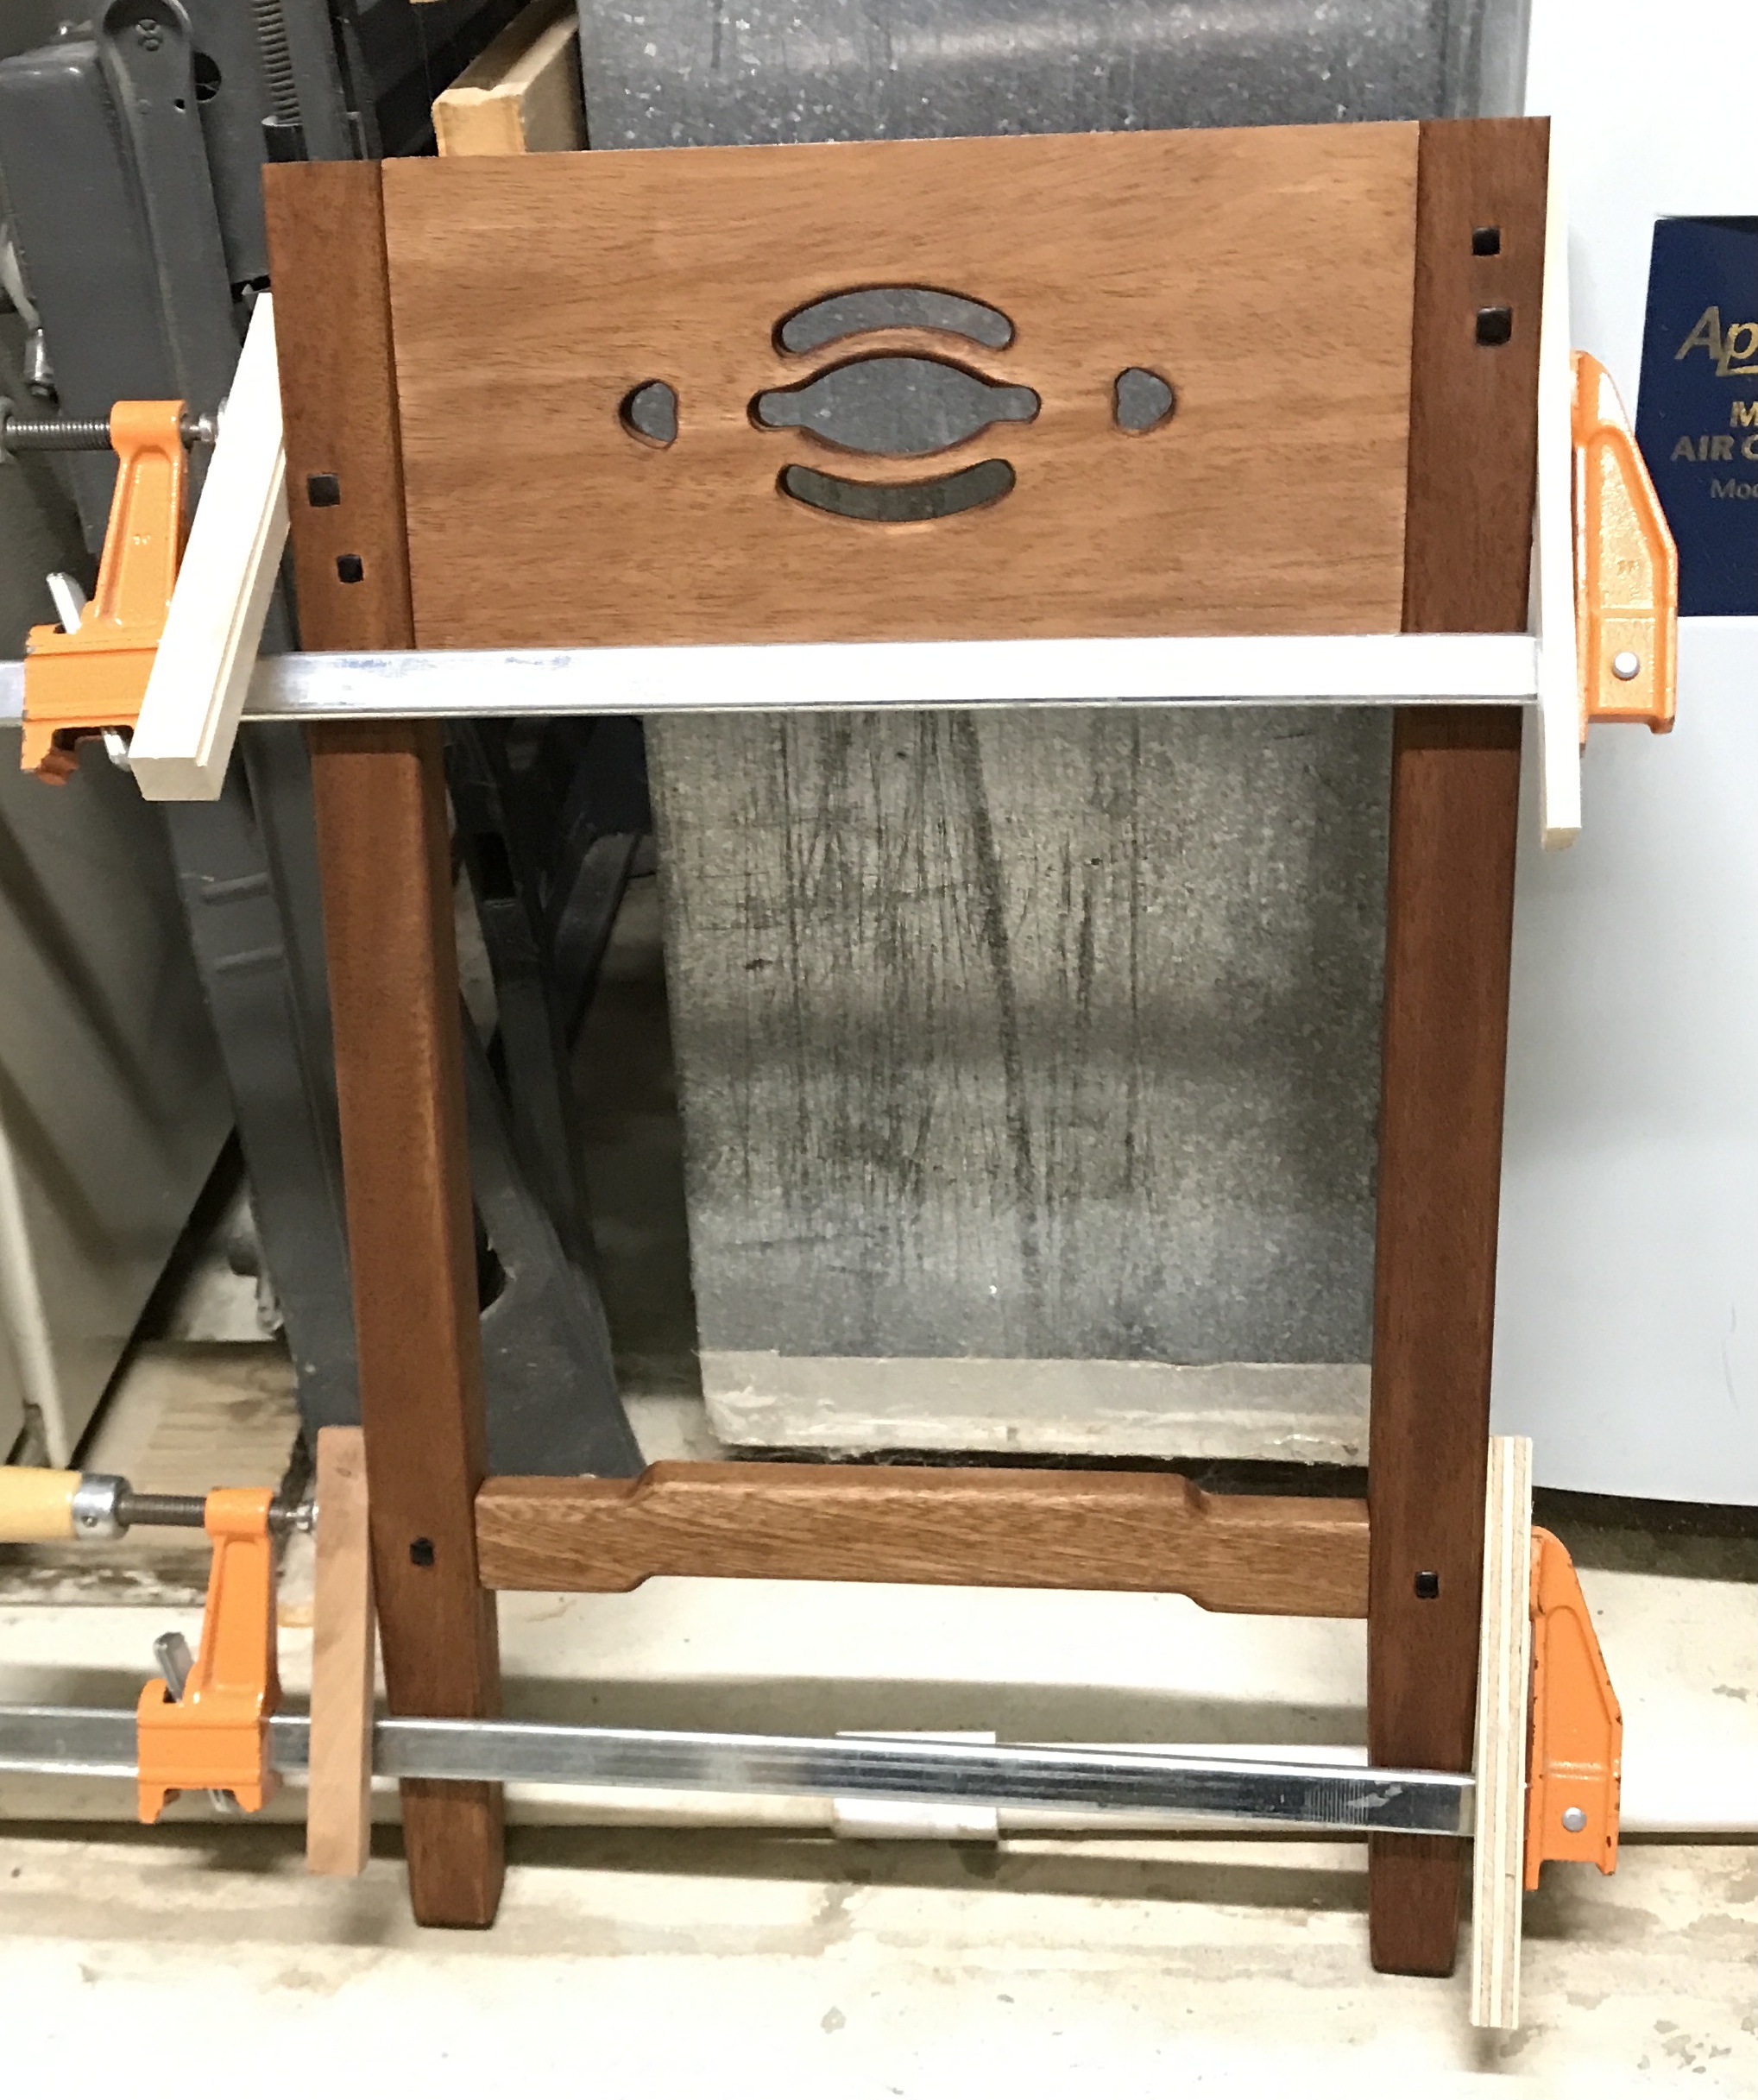
The tapers were attempted next. Multiple attempts to utilize the taper jig in the table saw were fruitless. Switched to the rasp and used it to remove the bulk of the material. This was followed with a card scraper to produce the final taper. The tapers are not perfect, but after rounding the corners they should be adequate.
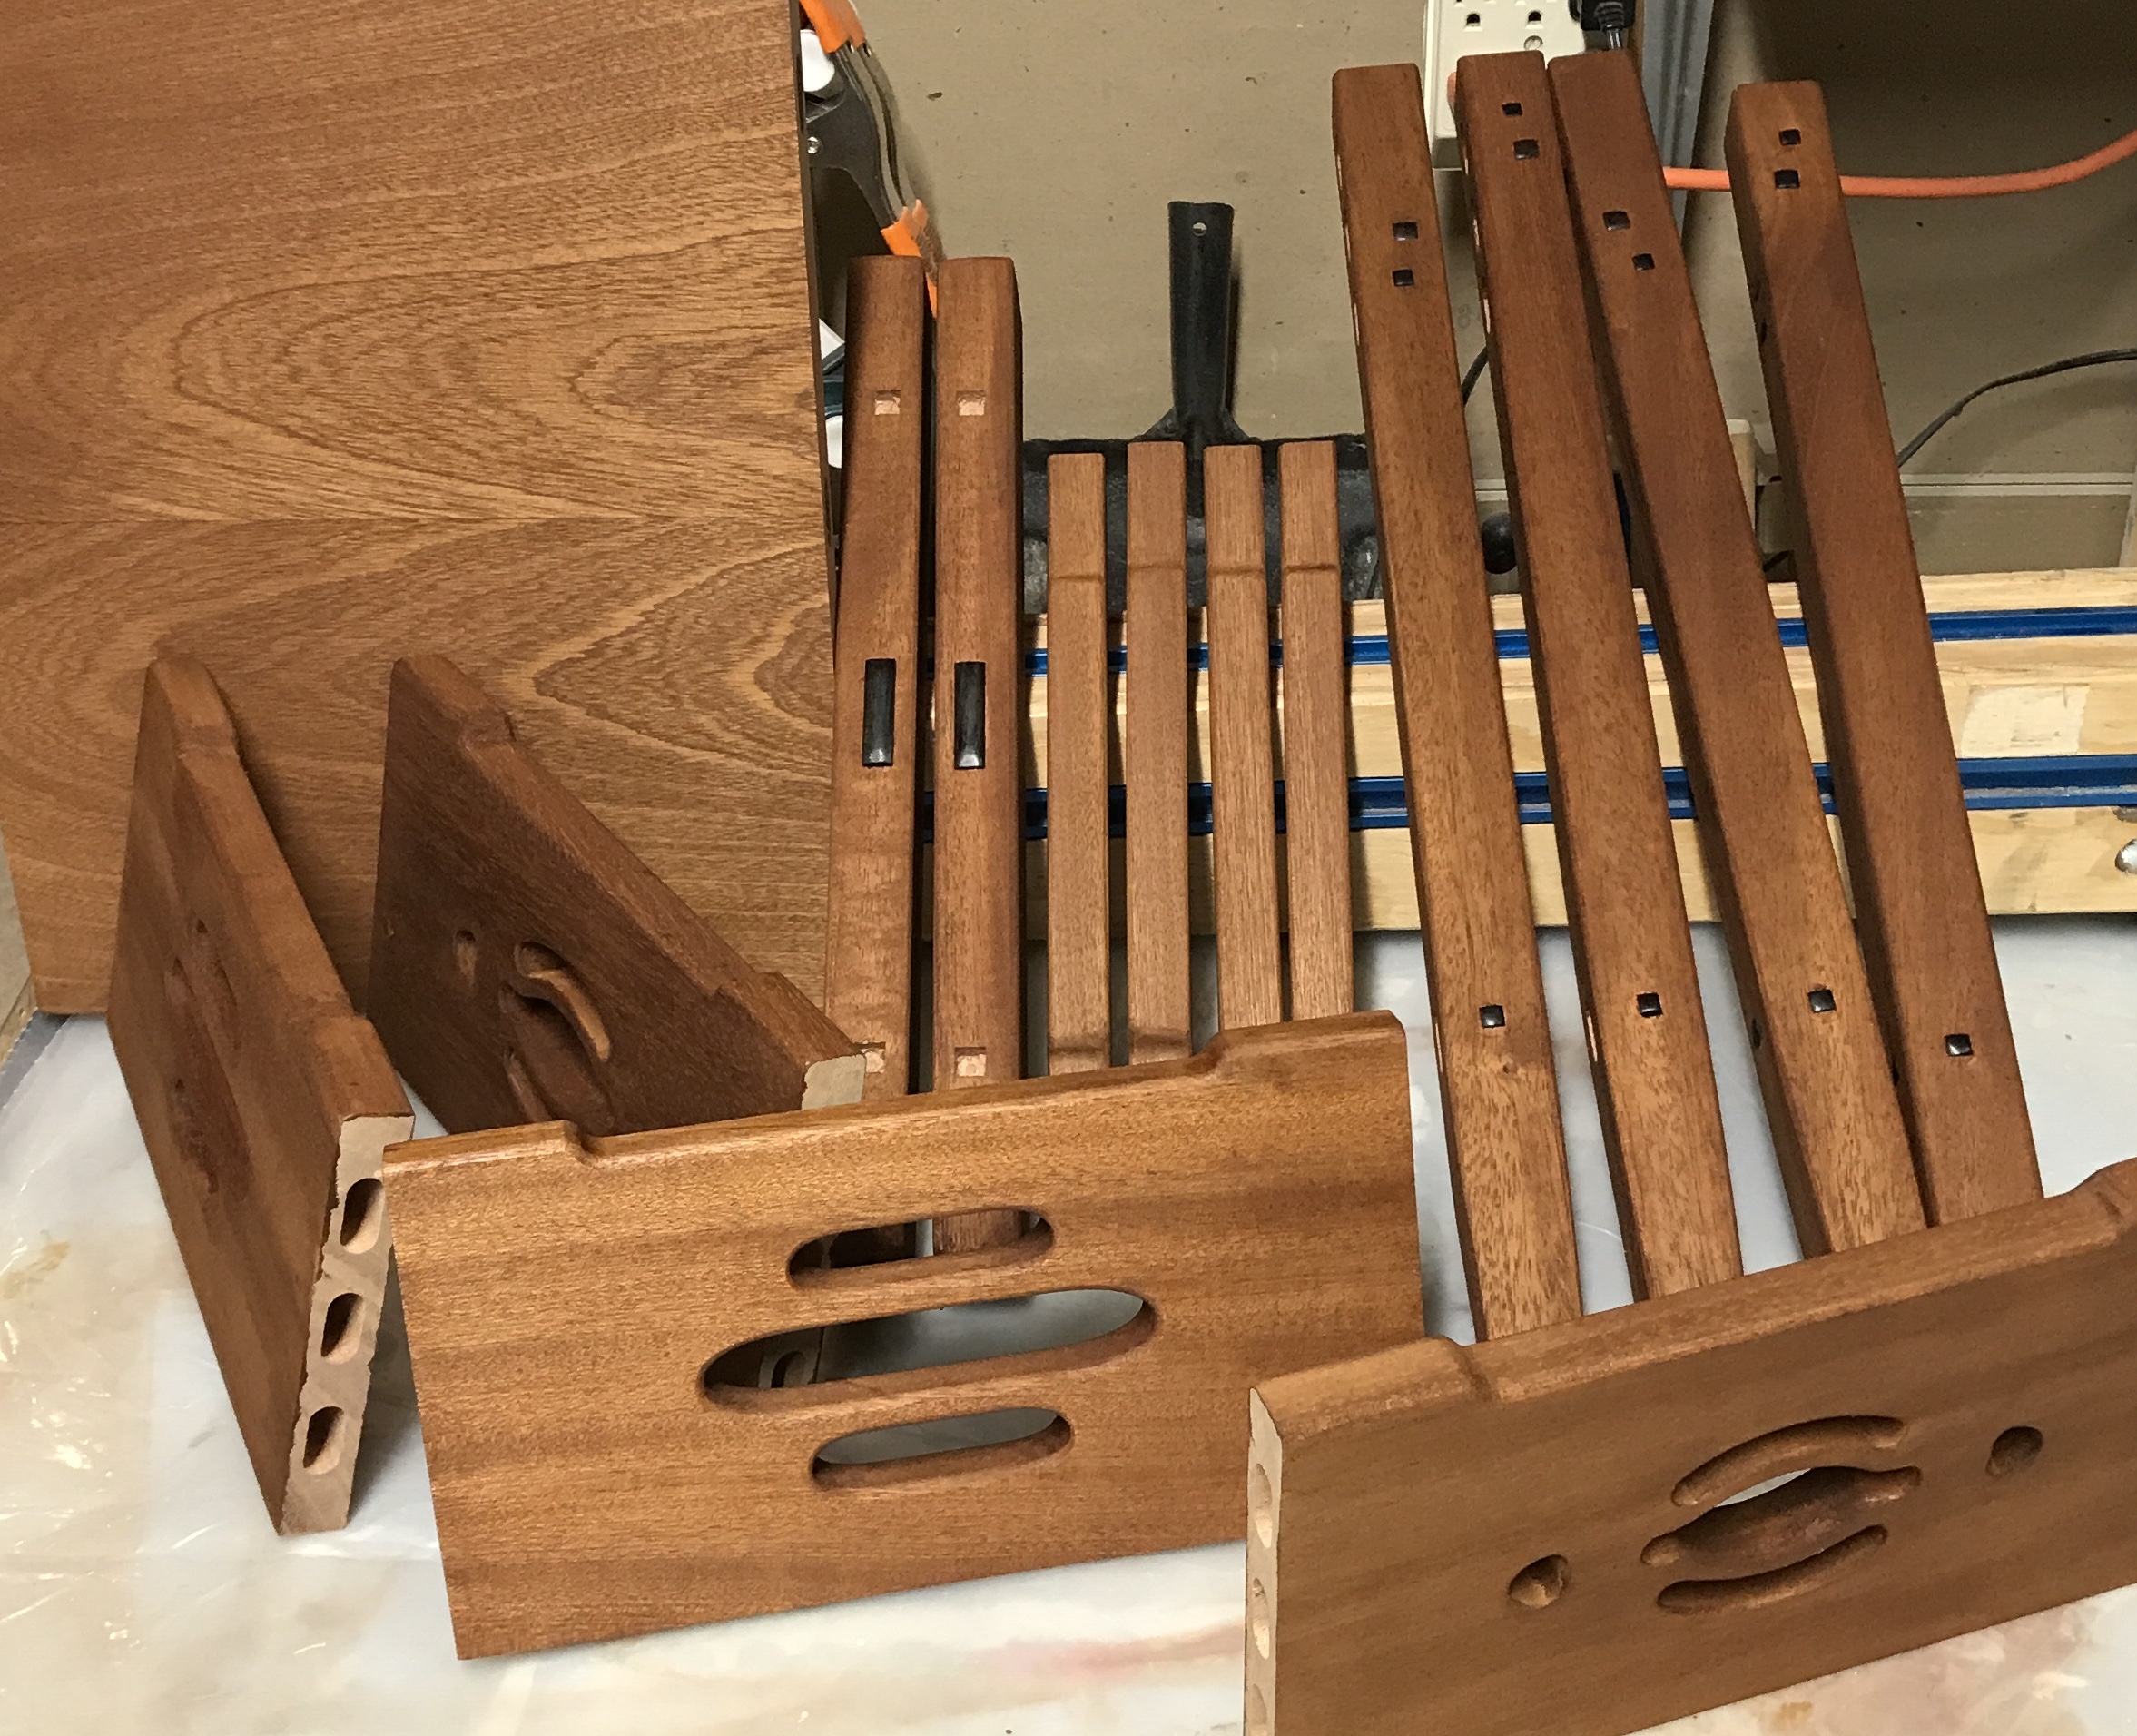
All of the corners were rounded. The outside corners were rounded with 80 grit paper on a sanding block. The inside edges were rounded with the same paper, but held with the fingers. A few router burn marks were also sanded away. All of the pieces were sanded with 120 grit paper on the orbital sander. The photo below shows the parts at this stage.
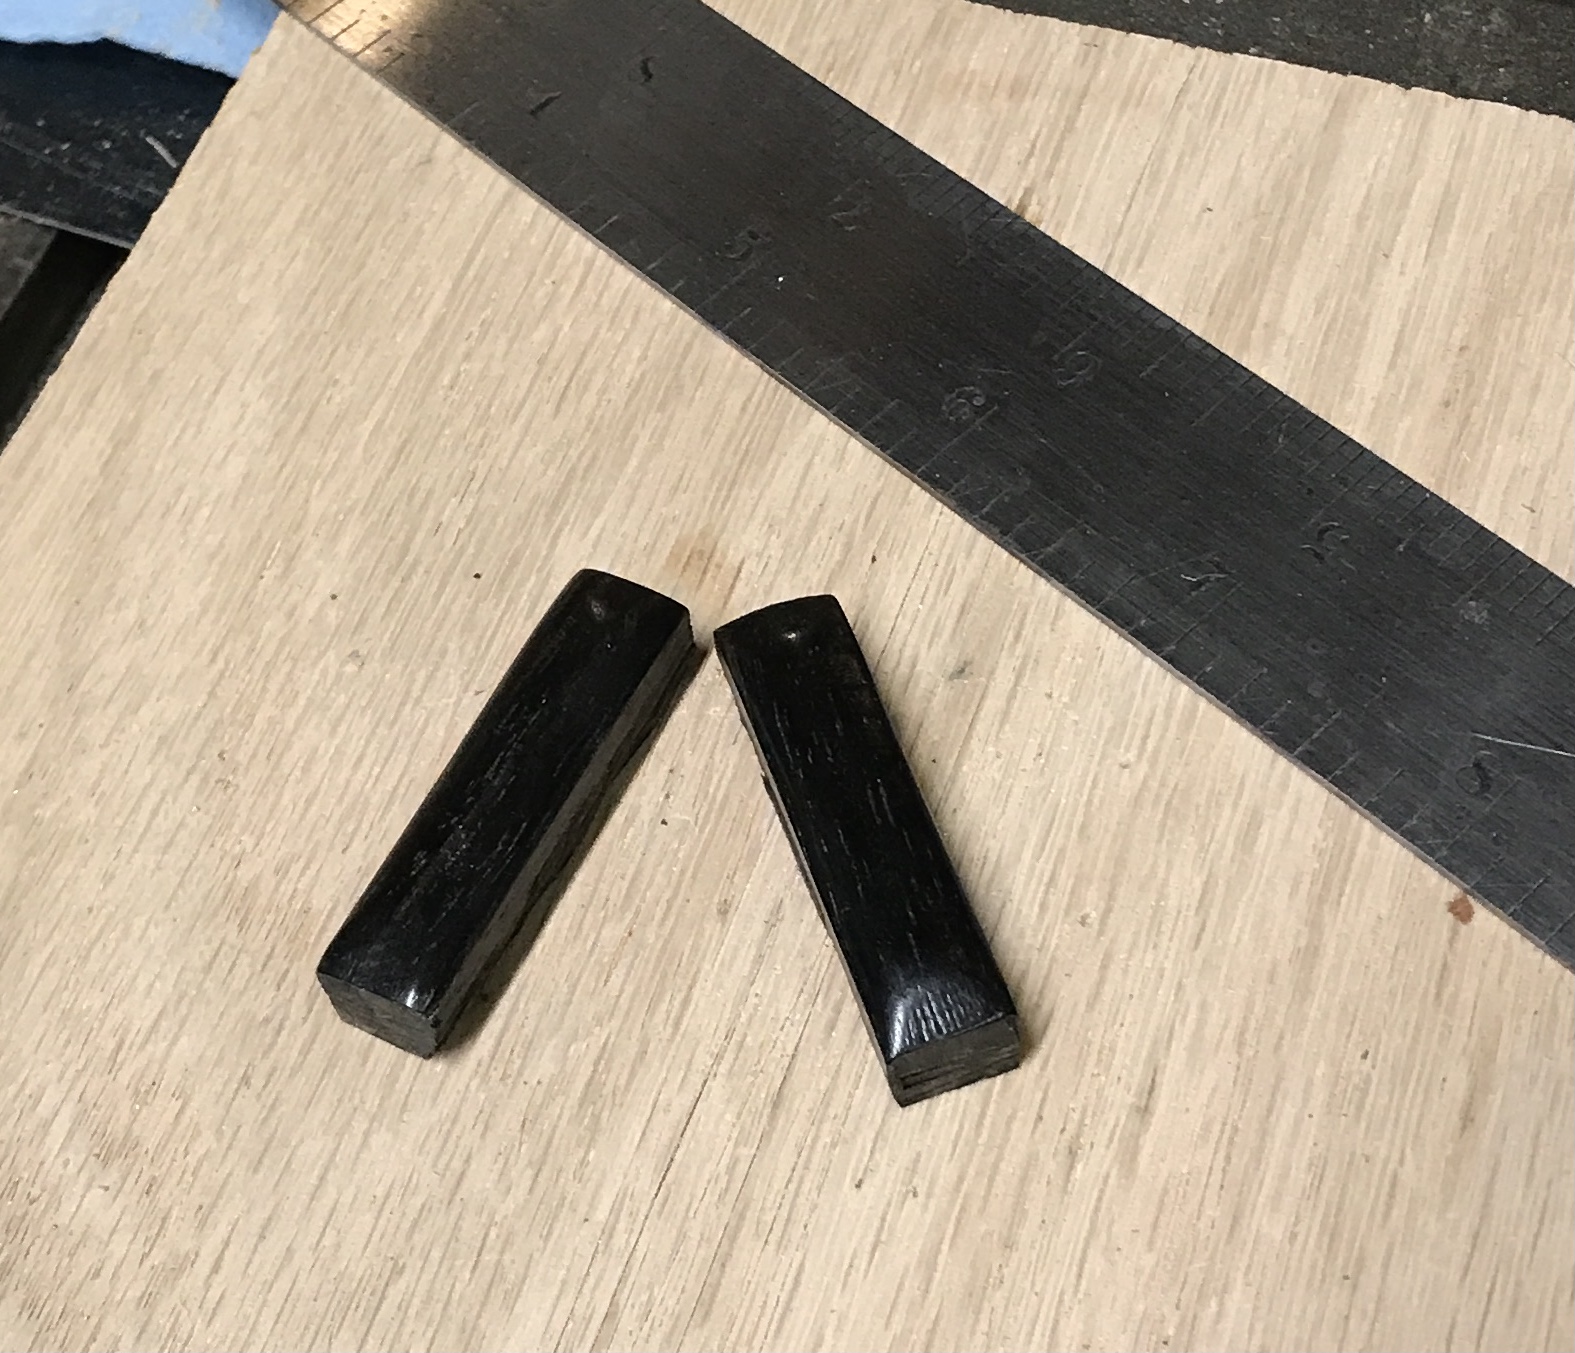
The orbital sander was followed by hand sanding all of the roundovers with 120 grit paper. Quite the workout over a two hour period! The final two dots were finished this morning. The semi-finished blank was aligned with one of the long mortised dots. It was marked and sawed on the mark. The saw cut end was marked from corner to corner, about 1/16" from the top of the curve. It was filed to produce the 'fingernail' profile. The edges of this profile were softened with the file. The dot was sanded up to 600 grit and then polished (blue rouge on the aluminum wheel). This was repeated with the other half. The photo shows the two completed long dots.
All of the parts were sanded with 220 grit. This includes all of the roundovers and the insides of the cutouts. The dots were installed next. The 3/8" specials were the first to be installed. After getting the first in with glue and realizing it was too thick to go all the way in, the second was sanded on the belt sander to remove some ebony from the back side. It went deeper, but still probably not deep enough. The 1/4" and 1/8" dots were thinner and were all glued into their respective square holes.
An email was sent to Reid asking about stain and finish. Staining is next and I would like some input before screwing things up.
Reid suggested using General Finishes from Woodcraft. His mix is 7 parts orange dye to 4 parts medium brown dye. I purchased both dyes. I found a plastic bottle containing 13 carbide drills. I made a wooden fixture to hold the carbide drills. The bottle was washed. Using a teaspoon 28 parts orange and 16 parts medium brown dyes were combined in the bottle. A can of semi-gloss polyurethane was also purchased. The last few times I used the old can it dried leaving brushstrokes.
There is one part of the table where end grain is exposed, the breadboard ends. I am worried that it will stain darker than the rest of the table. A search on the web turned up a recommendation that came from Bob Flexner's book on finishing. End grain absorbs more stain because it is rougher than the long grain even though they were both sanded to the same grit. The recommendation is to sand the end grain an additional two grits, or 400 in this case. This sounds simpler than using a wash coat of 10:1 water to glue.
The ends of the breadboards were sanded with 320 and 400 grit paper. The inside curves on the bottoms of the aprons were sanded similarly. As a test of the stain on long grain the underside of the table top was sanded with 220 grit paper and then stained with the mix of orange and brown. The stain was easily applied with a towel. I like the color. The stain takes two hours to dry. Then the wood was checked to determine if there was any raised grain. There was so I sanded it with 320 grit paper.
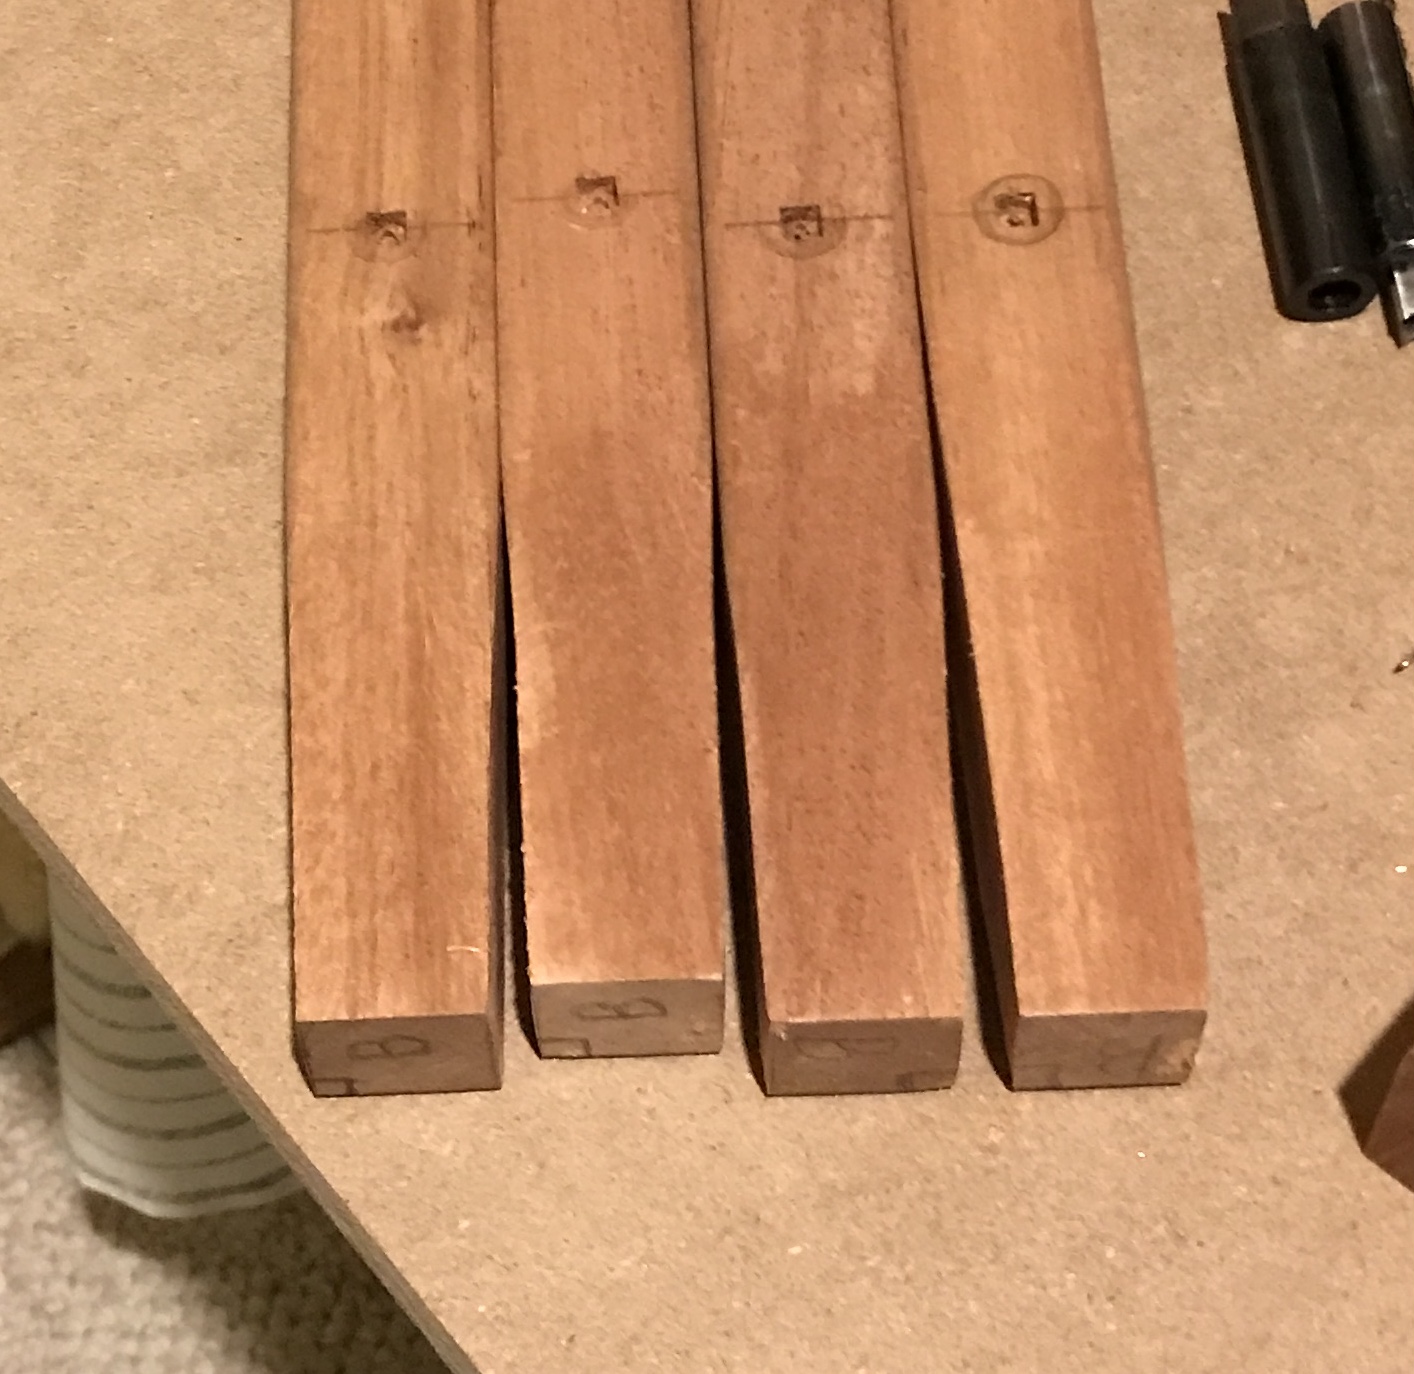
The table parts were stained this morning. I found it necessary to go back over each piece before moving onto the next. This resulted in a deep brown stain. The holes in the aprons were stained using a piece of towel wrapped around a popsicle stick. The photo below shows all of the stained parts.
After a break for Alan Lacer's Woodturning class it was time for glue up. The top was tackled first after repolishing all of the dots (blue on the plastic wheel). The center domino was glued and put into glued holes. The two outer dominoes were only glued to the table top and not the breadboard ends. Once both breadboard ends were attached to the top, holes were drilled through the last four dot openings. Screws (#10-1.5") were put through the breadboard ends and into the top. #8 screws would have been the better choice if I had any. The #10 heads barely fit into the square holes. The last four dots were glued into place to hide the screws.
Two opposite sides were put together next. The legs were carefully matched so the remaining holes would align for the other sides. Glue was put into the holes on the legs and on the aprons and stringers. Glue was put on the dominoes and these were hammered into one leg. The apron and stringer were knocked onto the inserted dominoes. They didn't fit!!! The dominoes are about 1/16" too long. The apron and stringer were removed. The dominoes still inserted were sawed off, about 1/4" was removed. The apron and stringer then seated firmly. The next set of dominoes were cut off before gluing and installing. It was necessary to use a clamp to draw the parts completely together. This was repeated for the matching side.
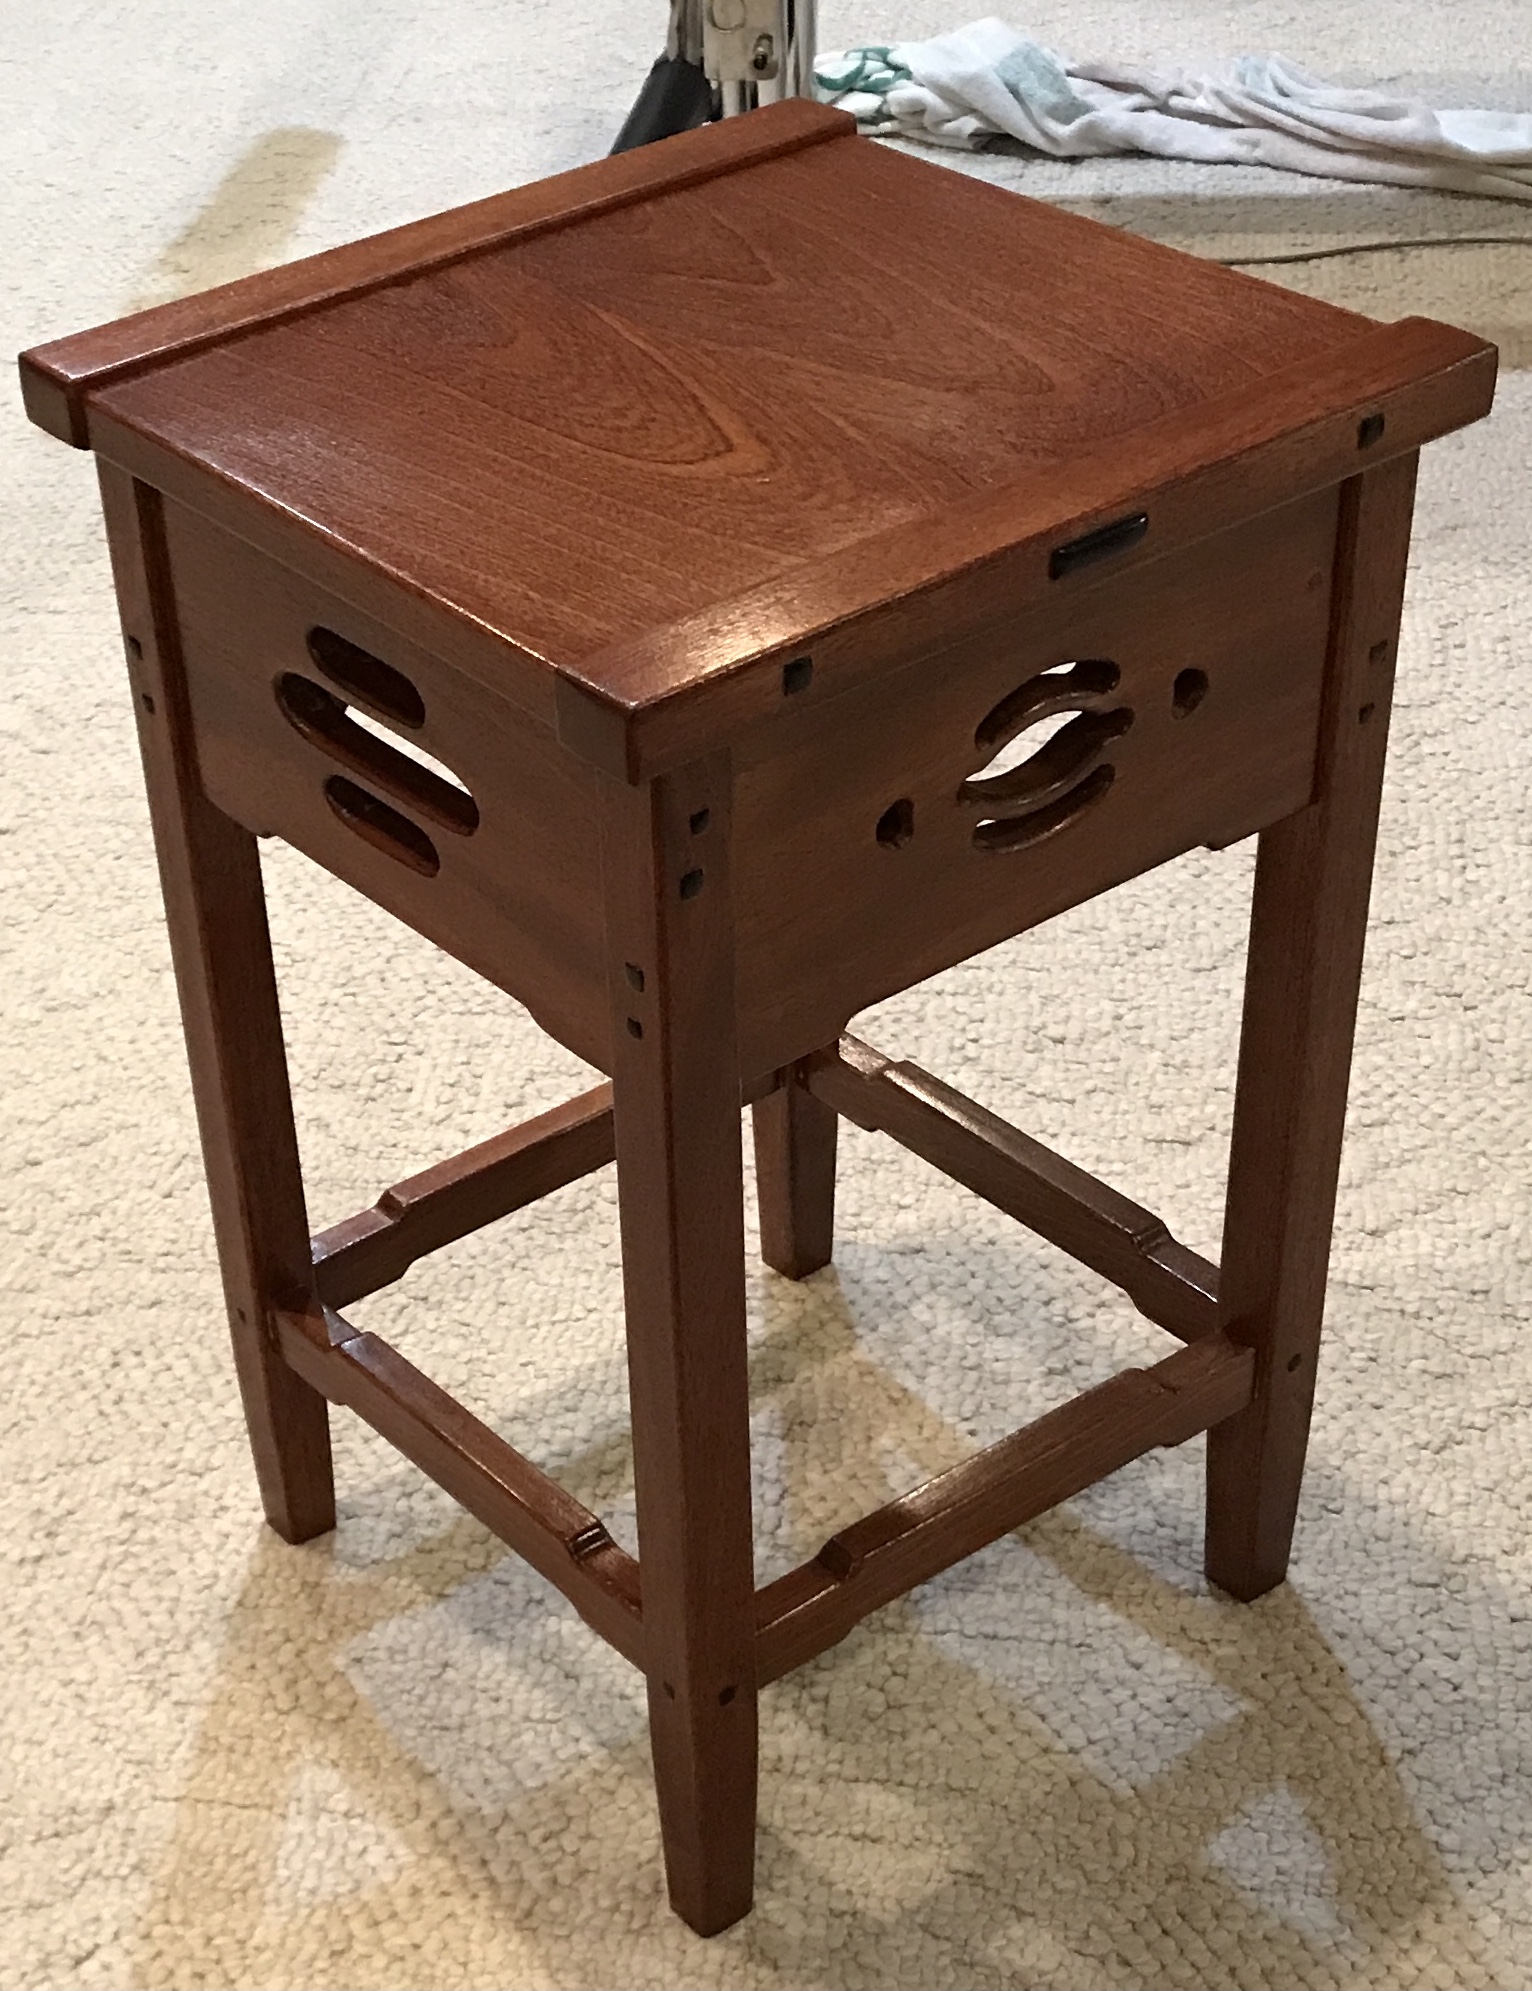
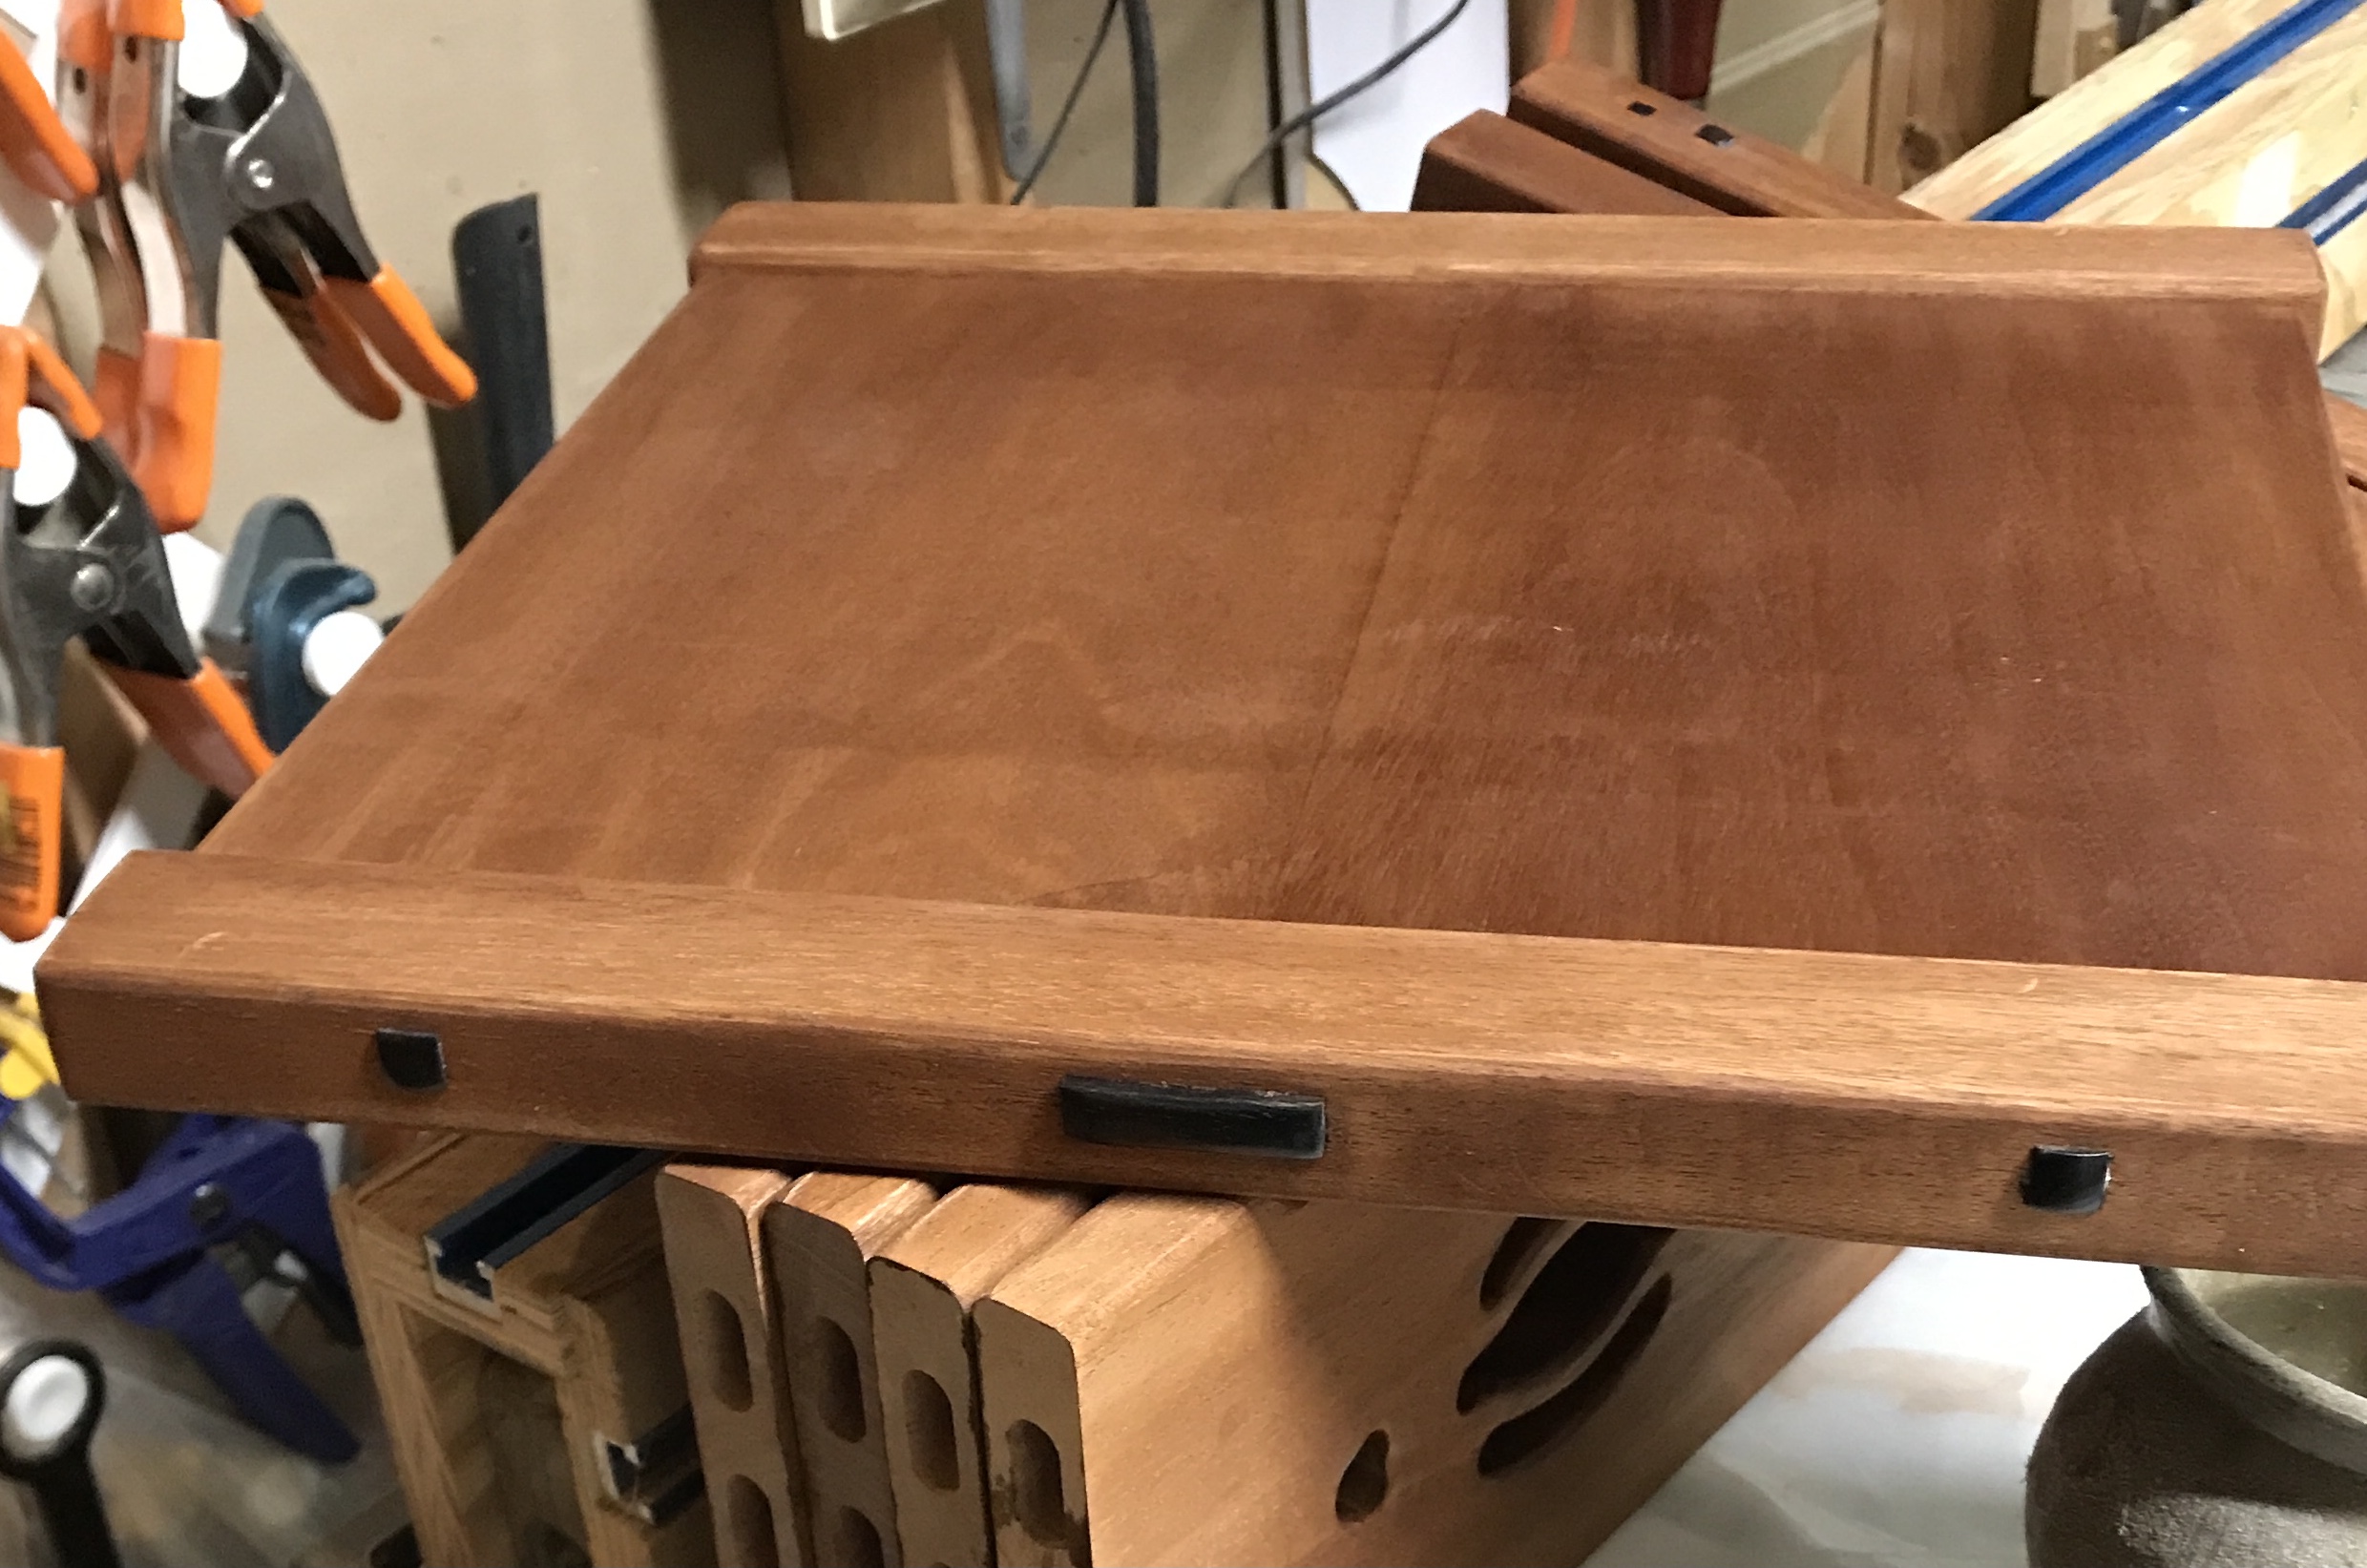
Put on the first coat of polyurethane. Some of the stain comes off in the water based finish. The finish has to dry at least 2 hours between coats. Probably longer with the lower basement temperature. Left it over night to dry. This morning I found a few spots that got no poly as I sanded the first coat lightly with 320 grit paper. These were touched up and left to dry. The second and third coats of polyurethane were applied with no sanding in between. The photos below show the top laying on the legs after the third coat dried.
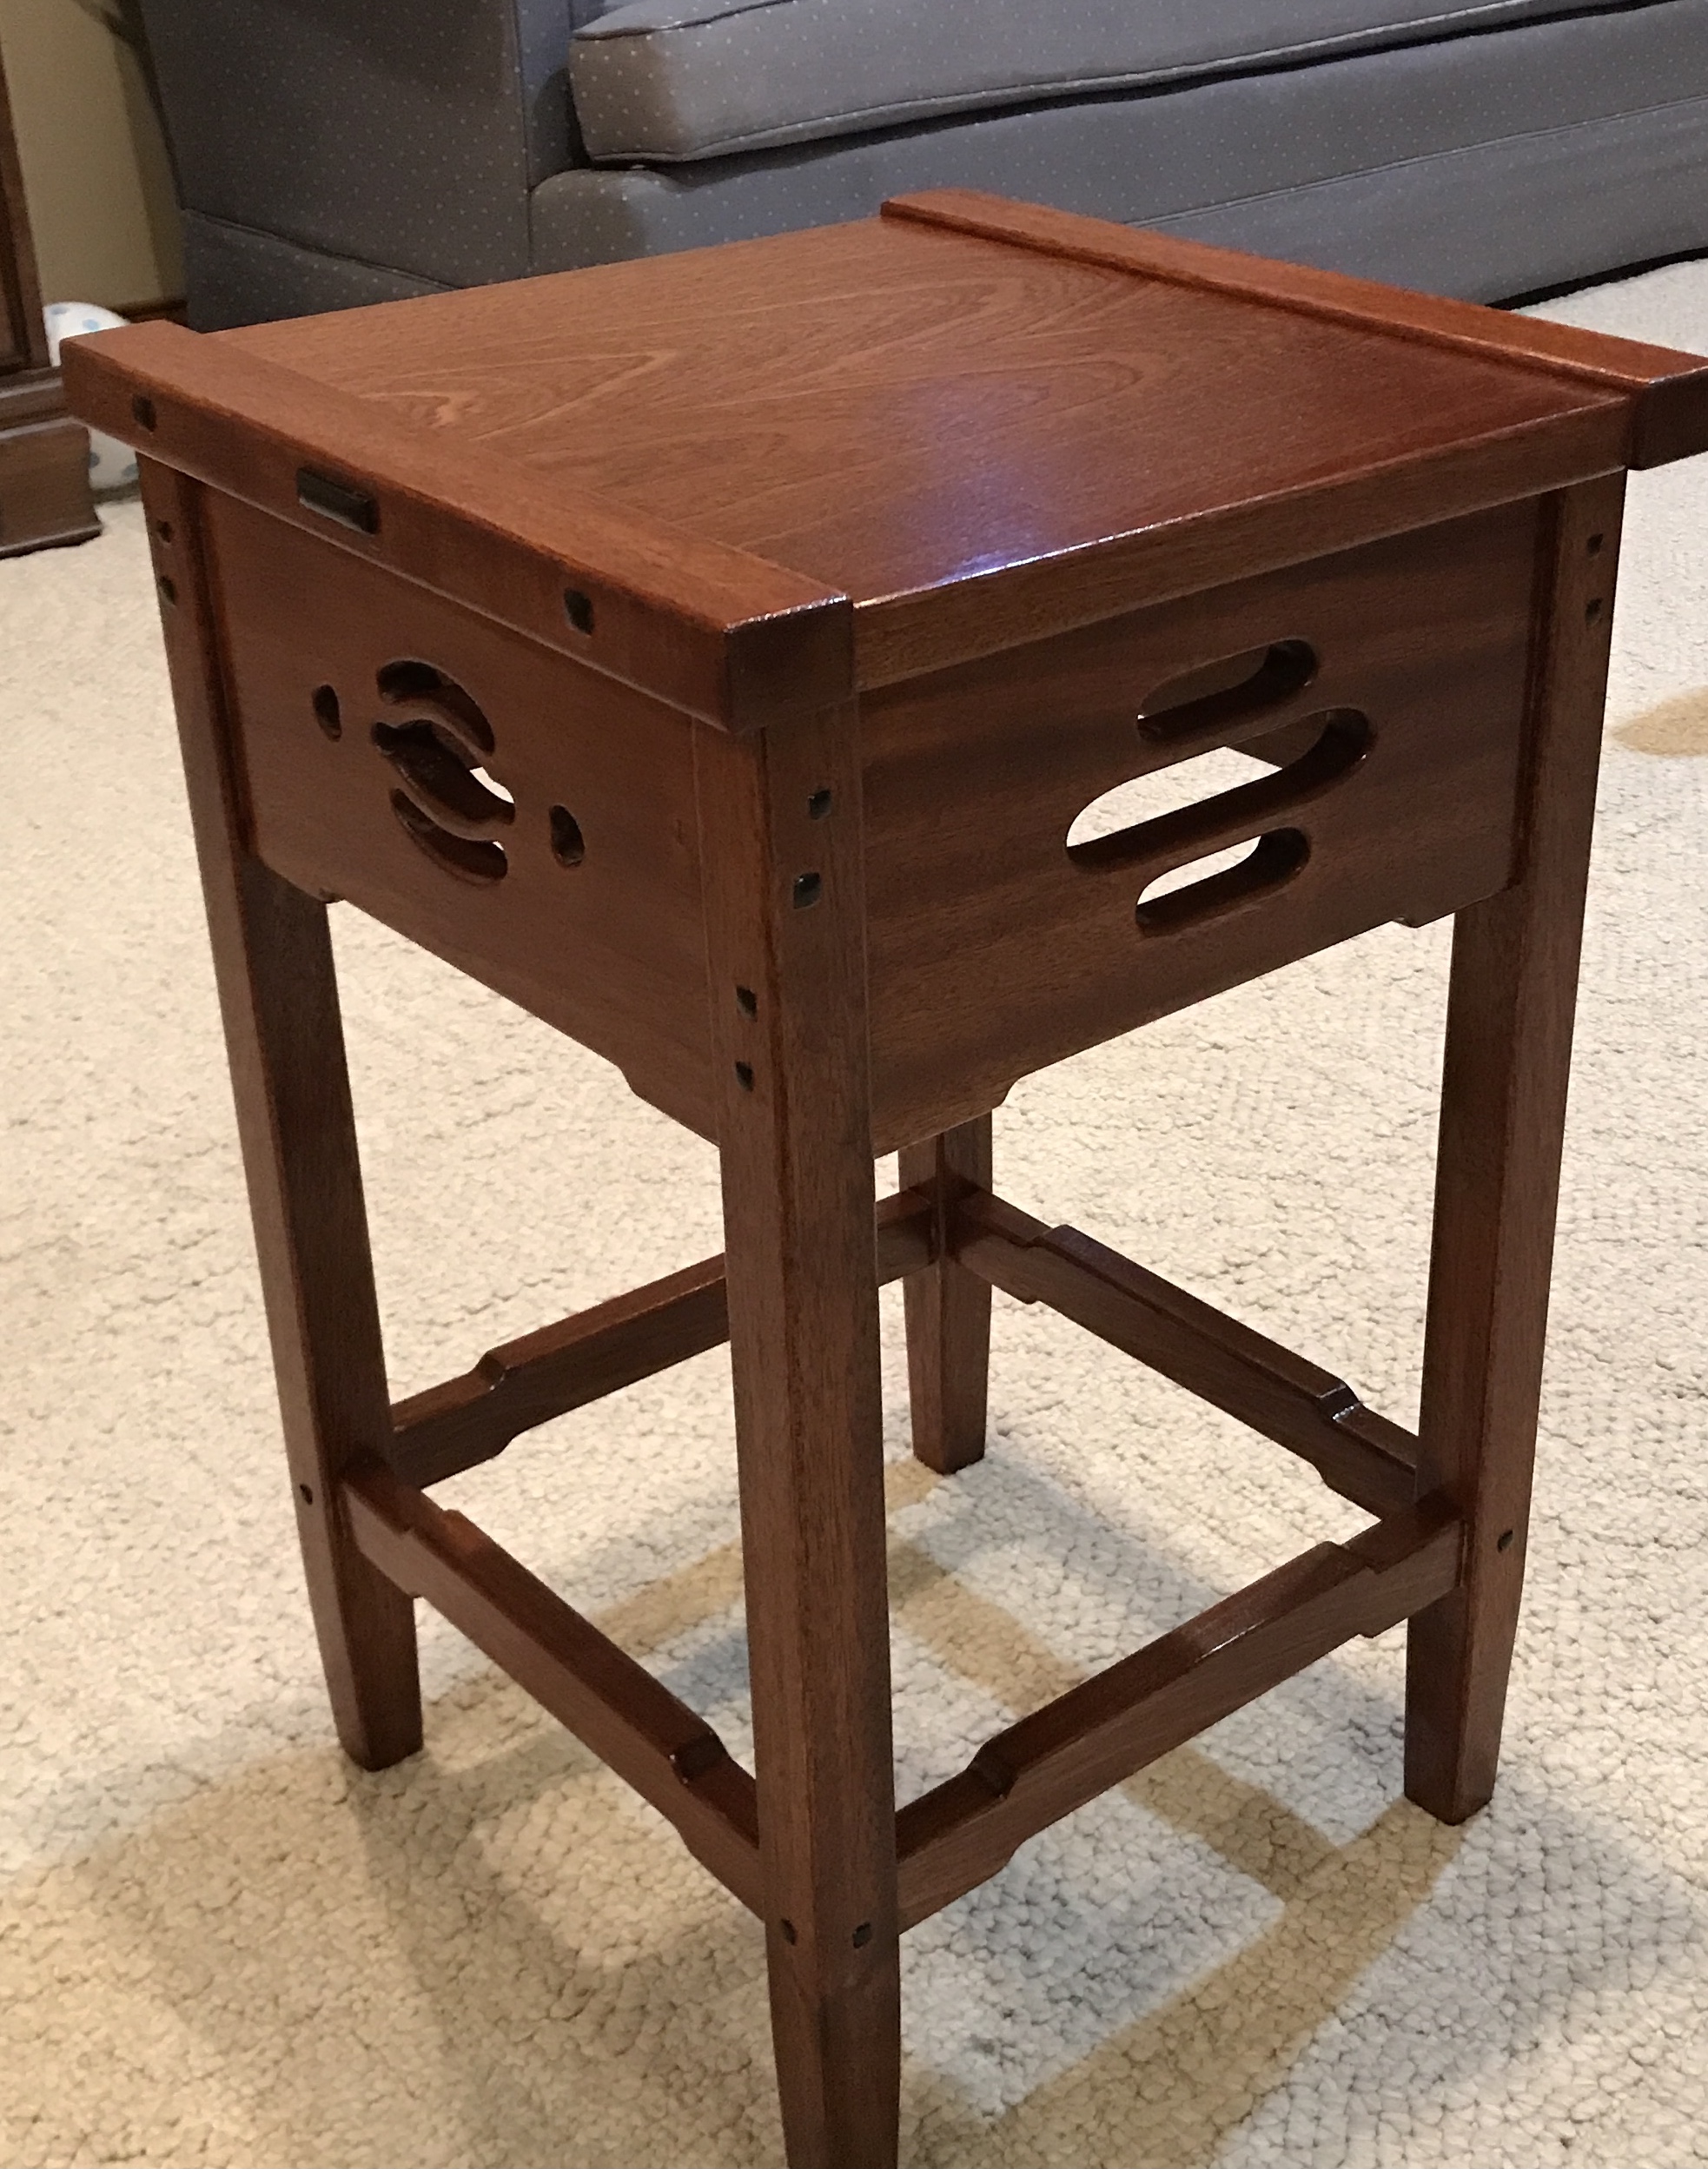
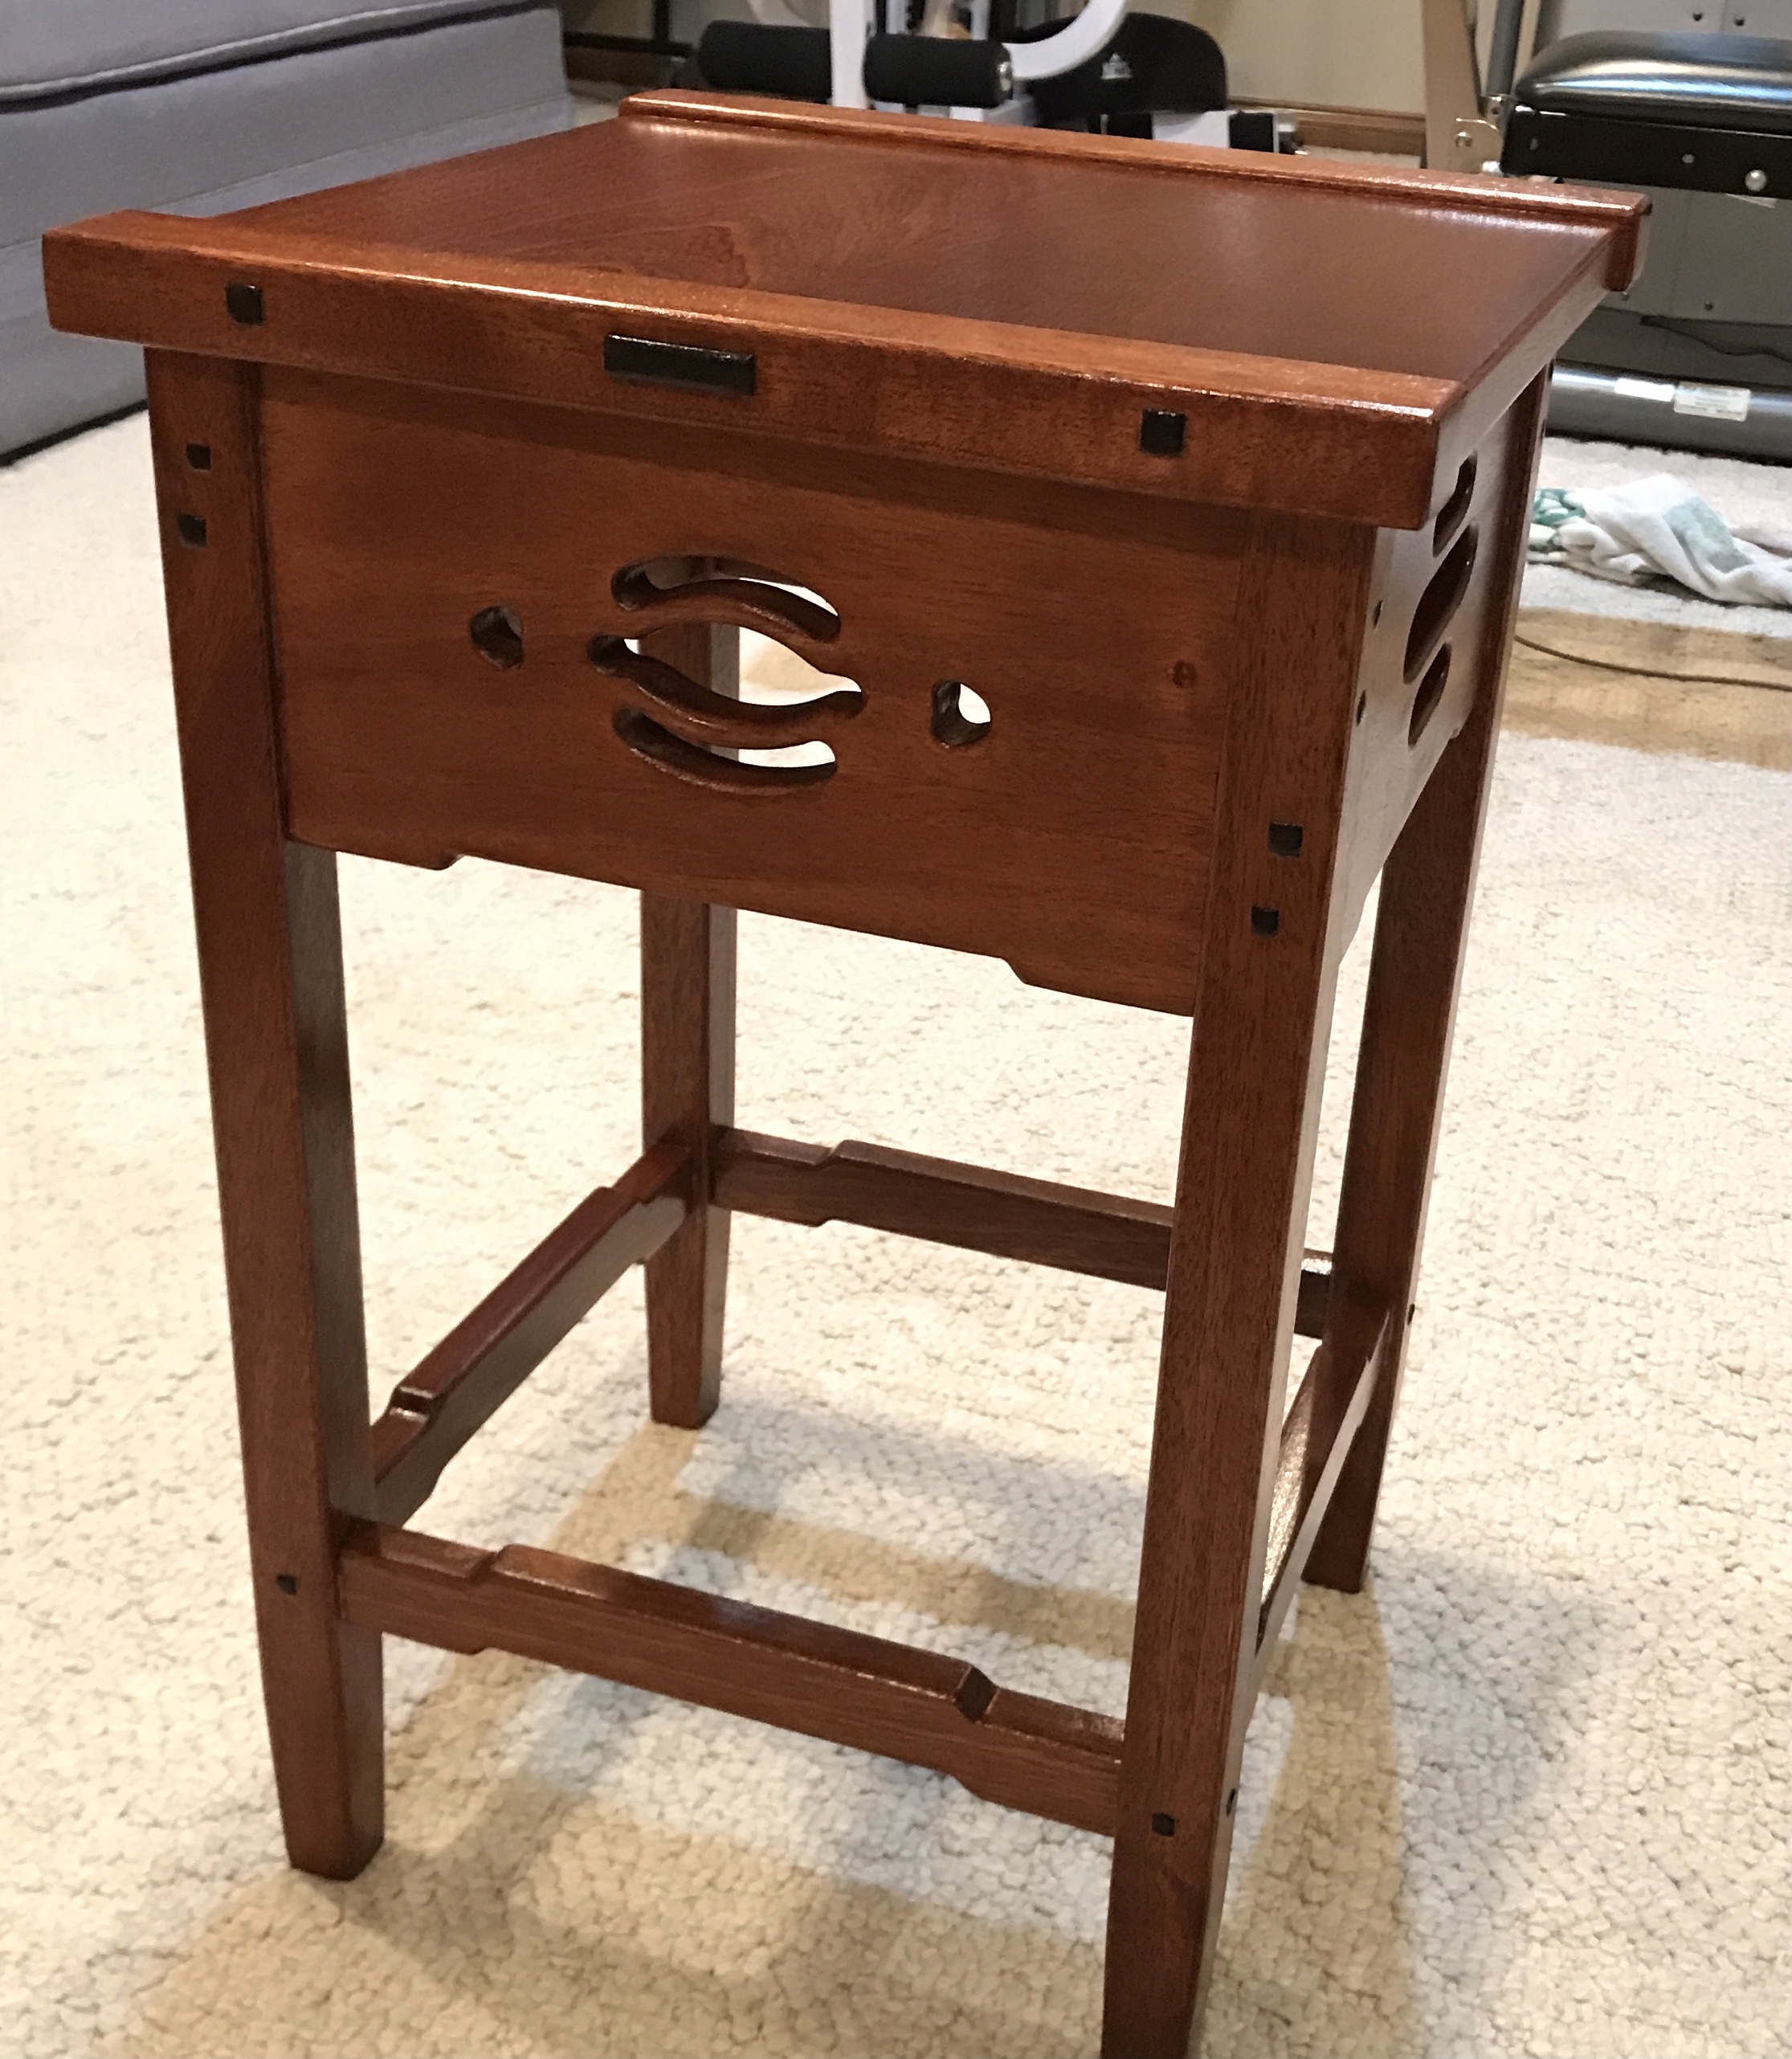
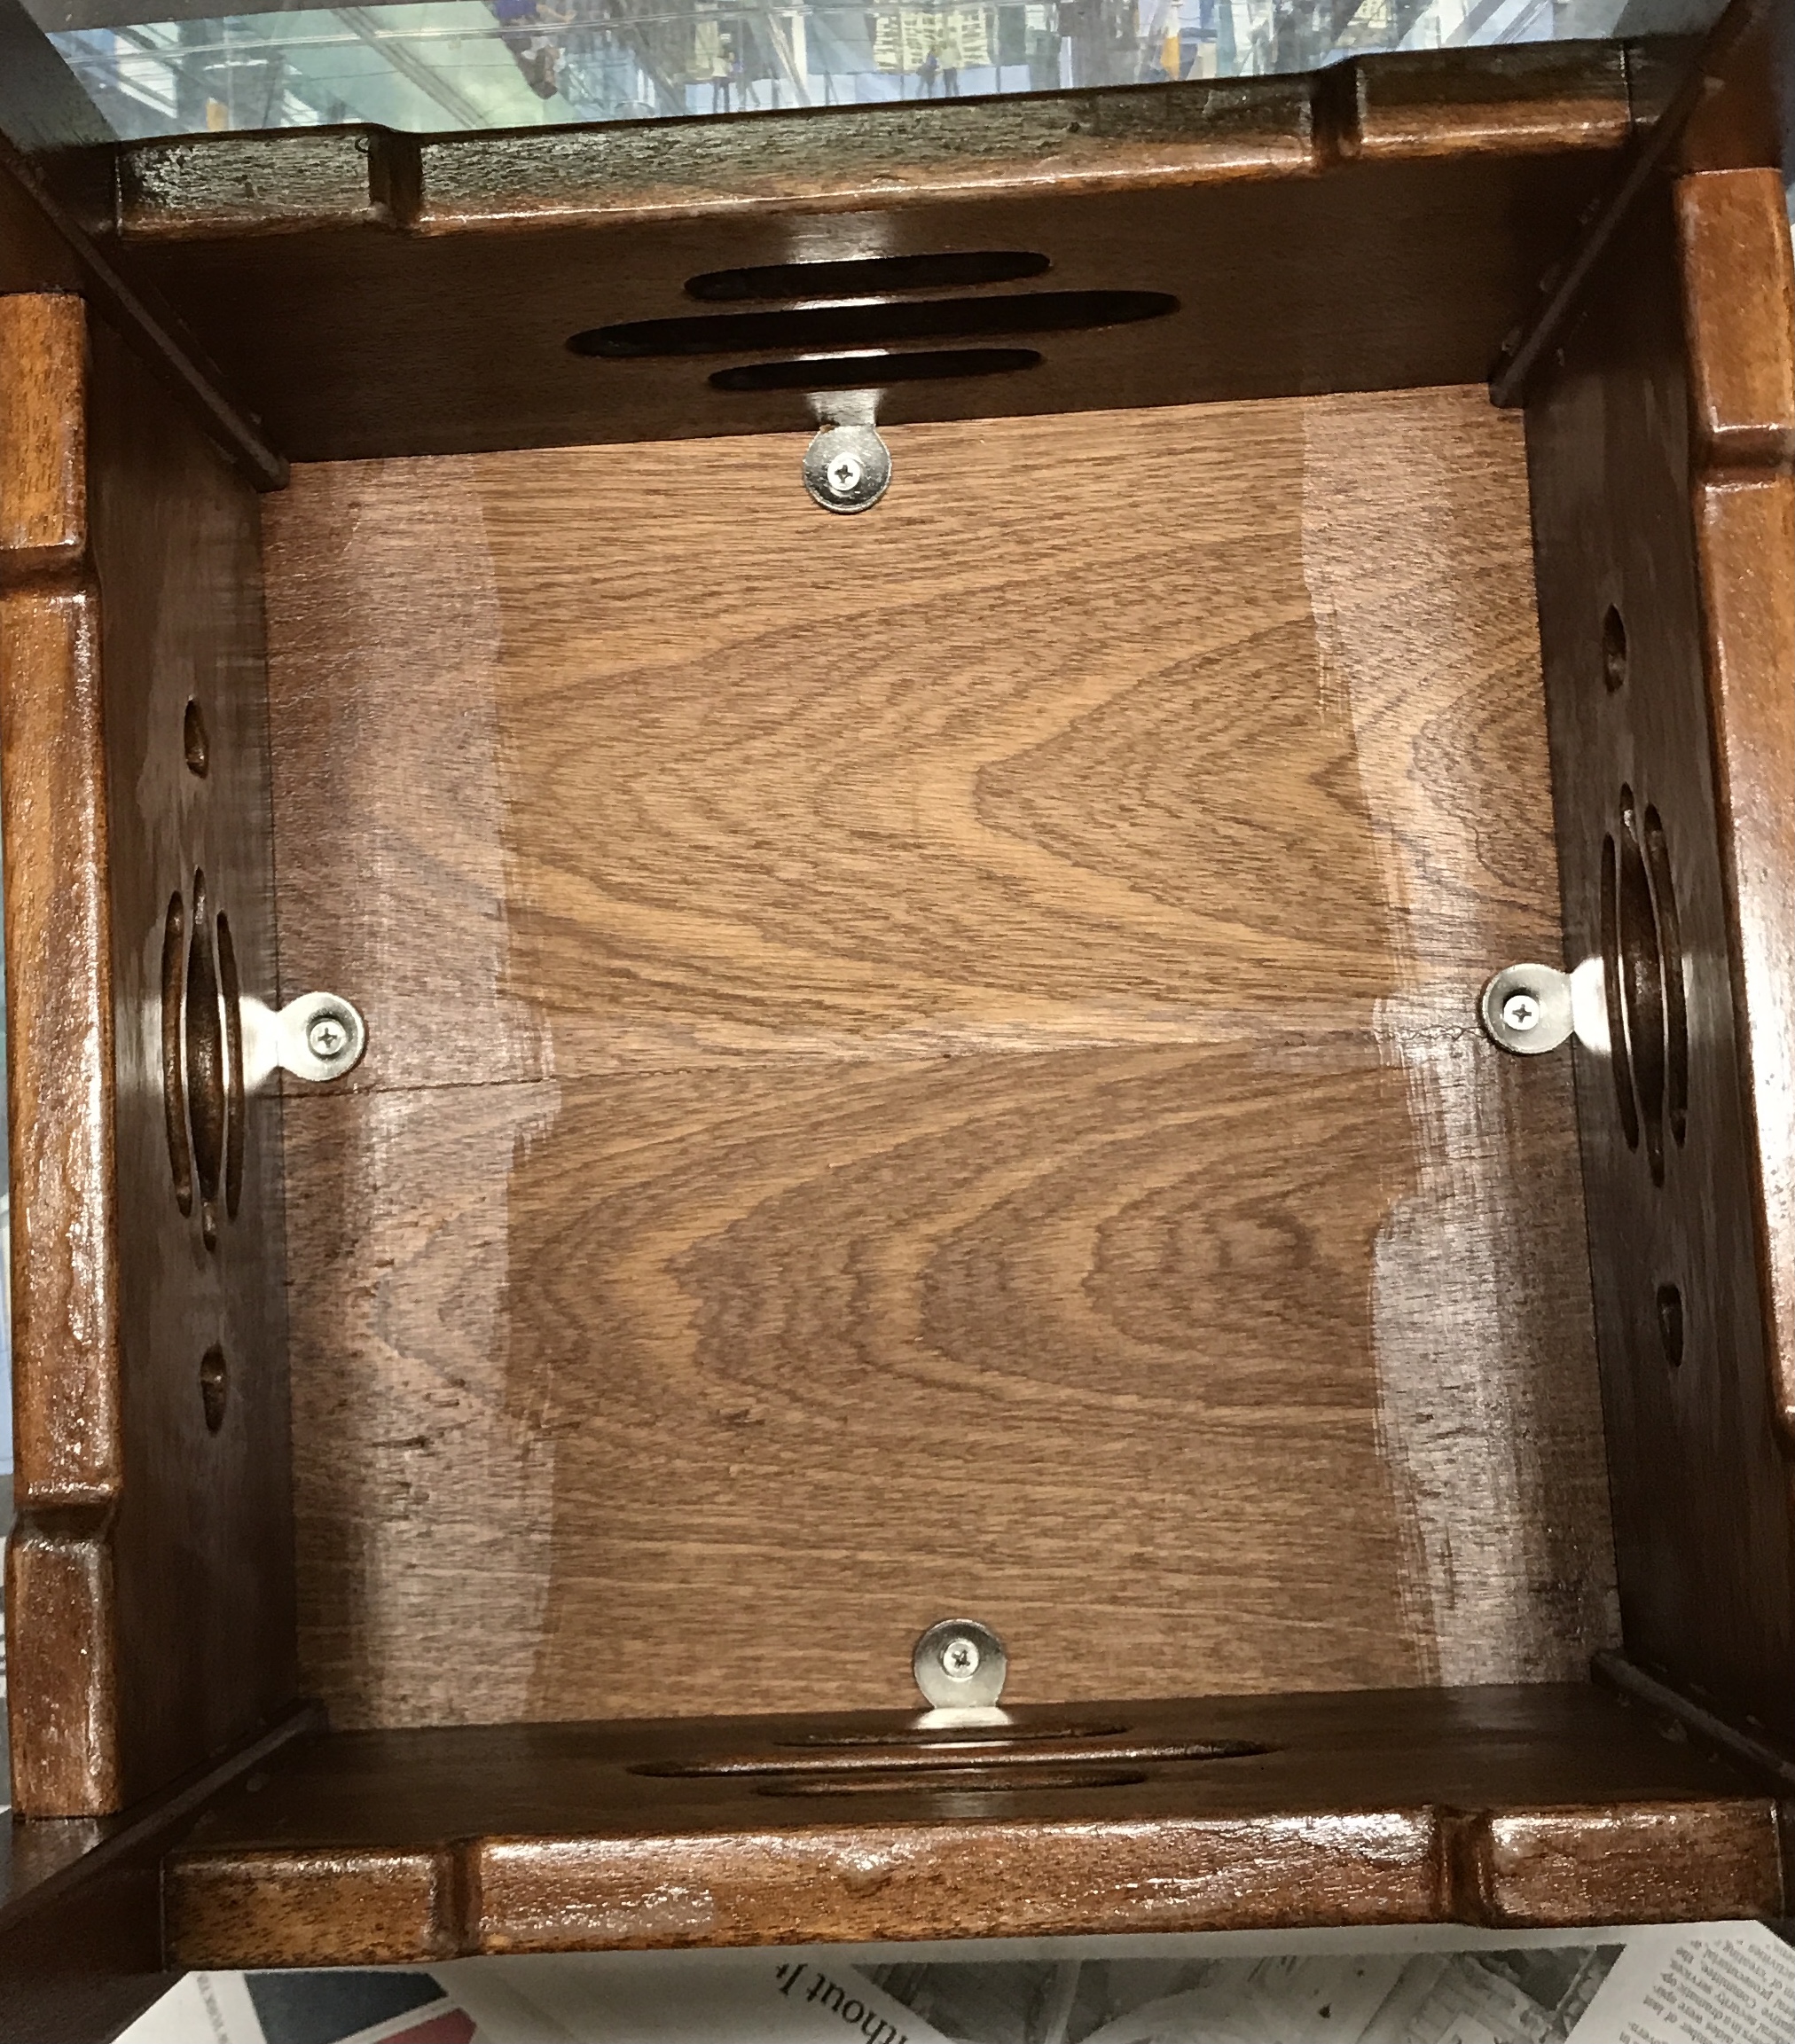
Attaching the top was the final task to accomplish. The attaching hardware consists of steel 'eights' with two screws each. After looking on Rockler similar devices were found with instructions for installation. A 5/8" Forstner bit was used to make a 1/16" deep hole for the small end of the 'eight'. A pilot hole was drilled and the hardware was attached. The table top was laid on the floor bottom side up. The leg assembly was centered on the top. The positions of the 'eights' was marked on the top. The top was drilled with a depth stop. The four screws were installed by hand. The cordless drill could not get to the screws. The new screwdriver made in the woodturning course had a small enough bit to drive the screws home. This work and the final product are pictured below.