An octominoes puzzle was spotted at Futility Closet. Someone had mentioned that Ollie liked these puzzles. This looked both simple to make and to do. It is actually nine puzzles in one depending on how the pieces are chosen. It is an octomino puzzle because each of the pieces is made up of eight squares. Four pieces are assembled into a 4 X 8 rectangle. The interesting aspect of this puzzle is the selection of four pieces. Imagine the pieces are arranged on a torus and any four adjacent pieces can be used to form a rectangle.
The plan is to make the pieces and paint/stain them nine different colors. A box will also be made. One side will hold the nine pieces in the appropriate arrangement. Each piece will fit in its own pocket in the box. These pockets will probably be marked by color. The lid of the box will have a 4 X 8 depression for the assembly. (4 X 8 means 1 1/2" X 3".)
This could be a present for Ollie's upcoming birthday. Additionally, the box might have a drawer under the pieces. Maybe even a rod to lock the drawer when the lid is shut. Oh, how I love to complicate simple projects!
The wood scrap heap was searched for a suitable bit of wood. I selected a piece of 5/16" X 3" X 8" lumber of unknown provenance. A decision was made to start with a 3/8" square for the octominoes, that is, all measurements are multiples of 3/8". The nine octominoes were marked out on the face of the wood. The parts were marked out for ease of cutting, i.e., only one inside corner needed, when cutting with a scroll saw.
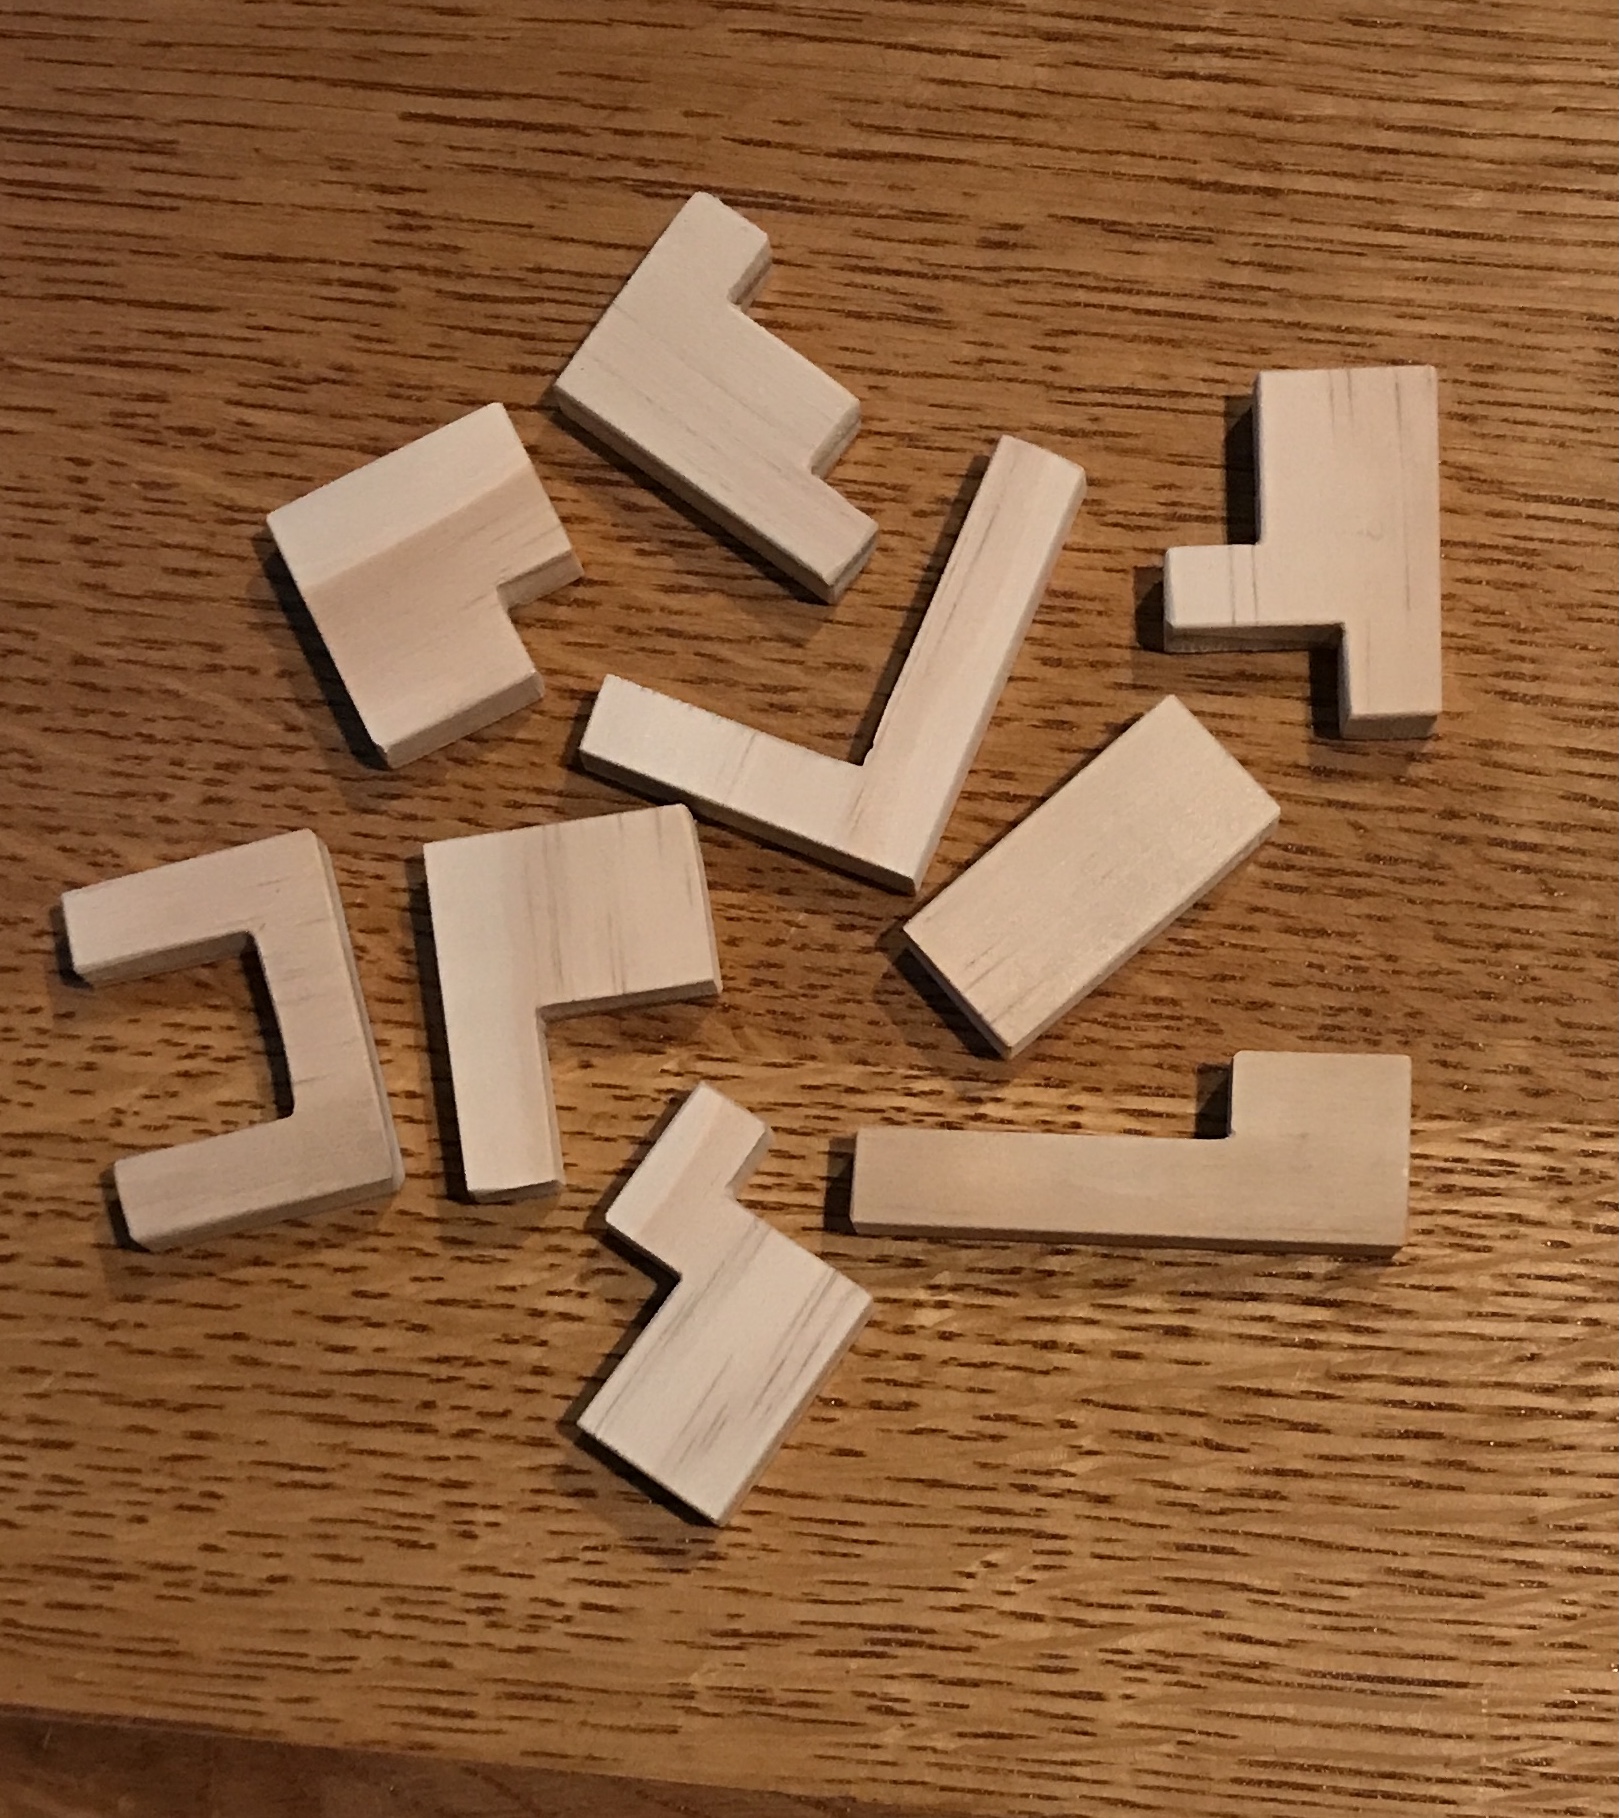
The nine parts were cut out with the scroll saw. After trial assembly a few pieces were adjusted with sanding. All surfaces were sanded with 220 grit paper and all edges were rounded. The picture below shows the nine sanded pieces.
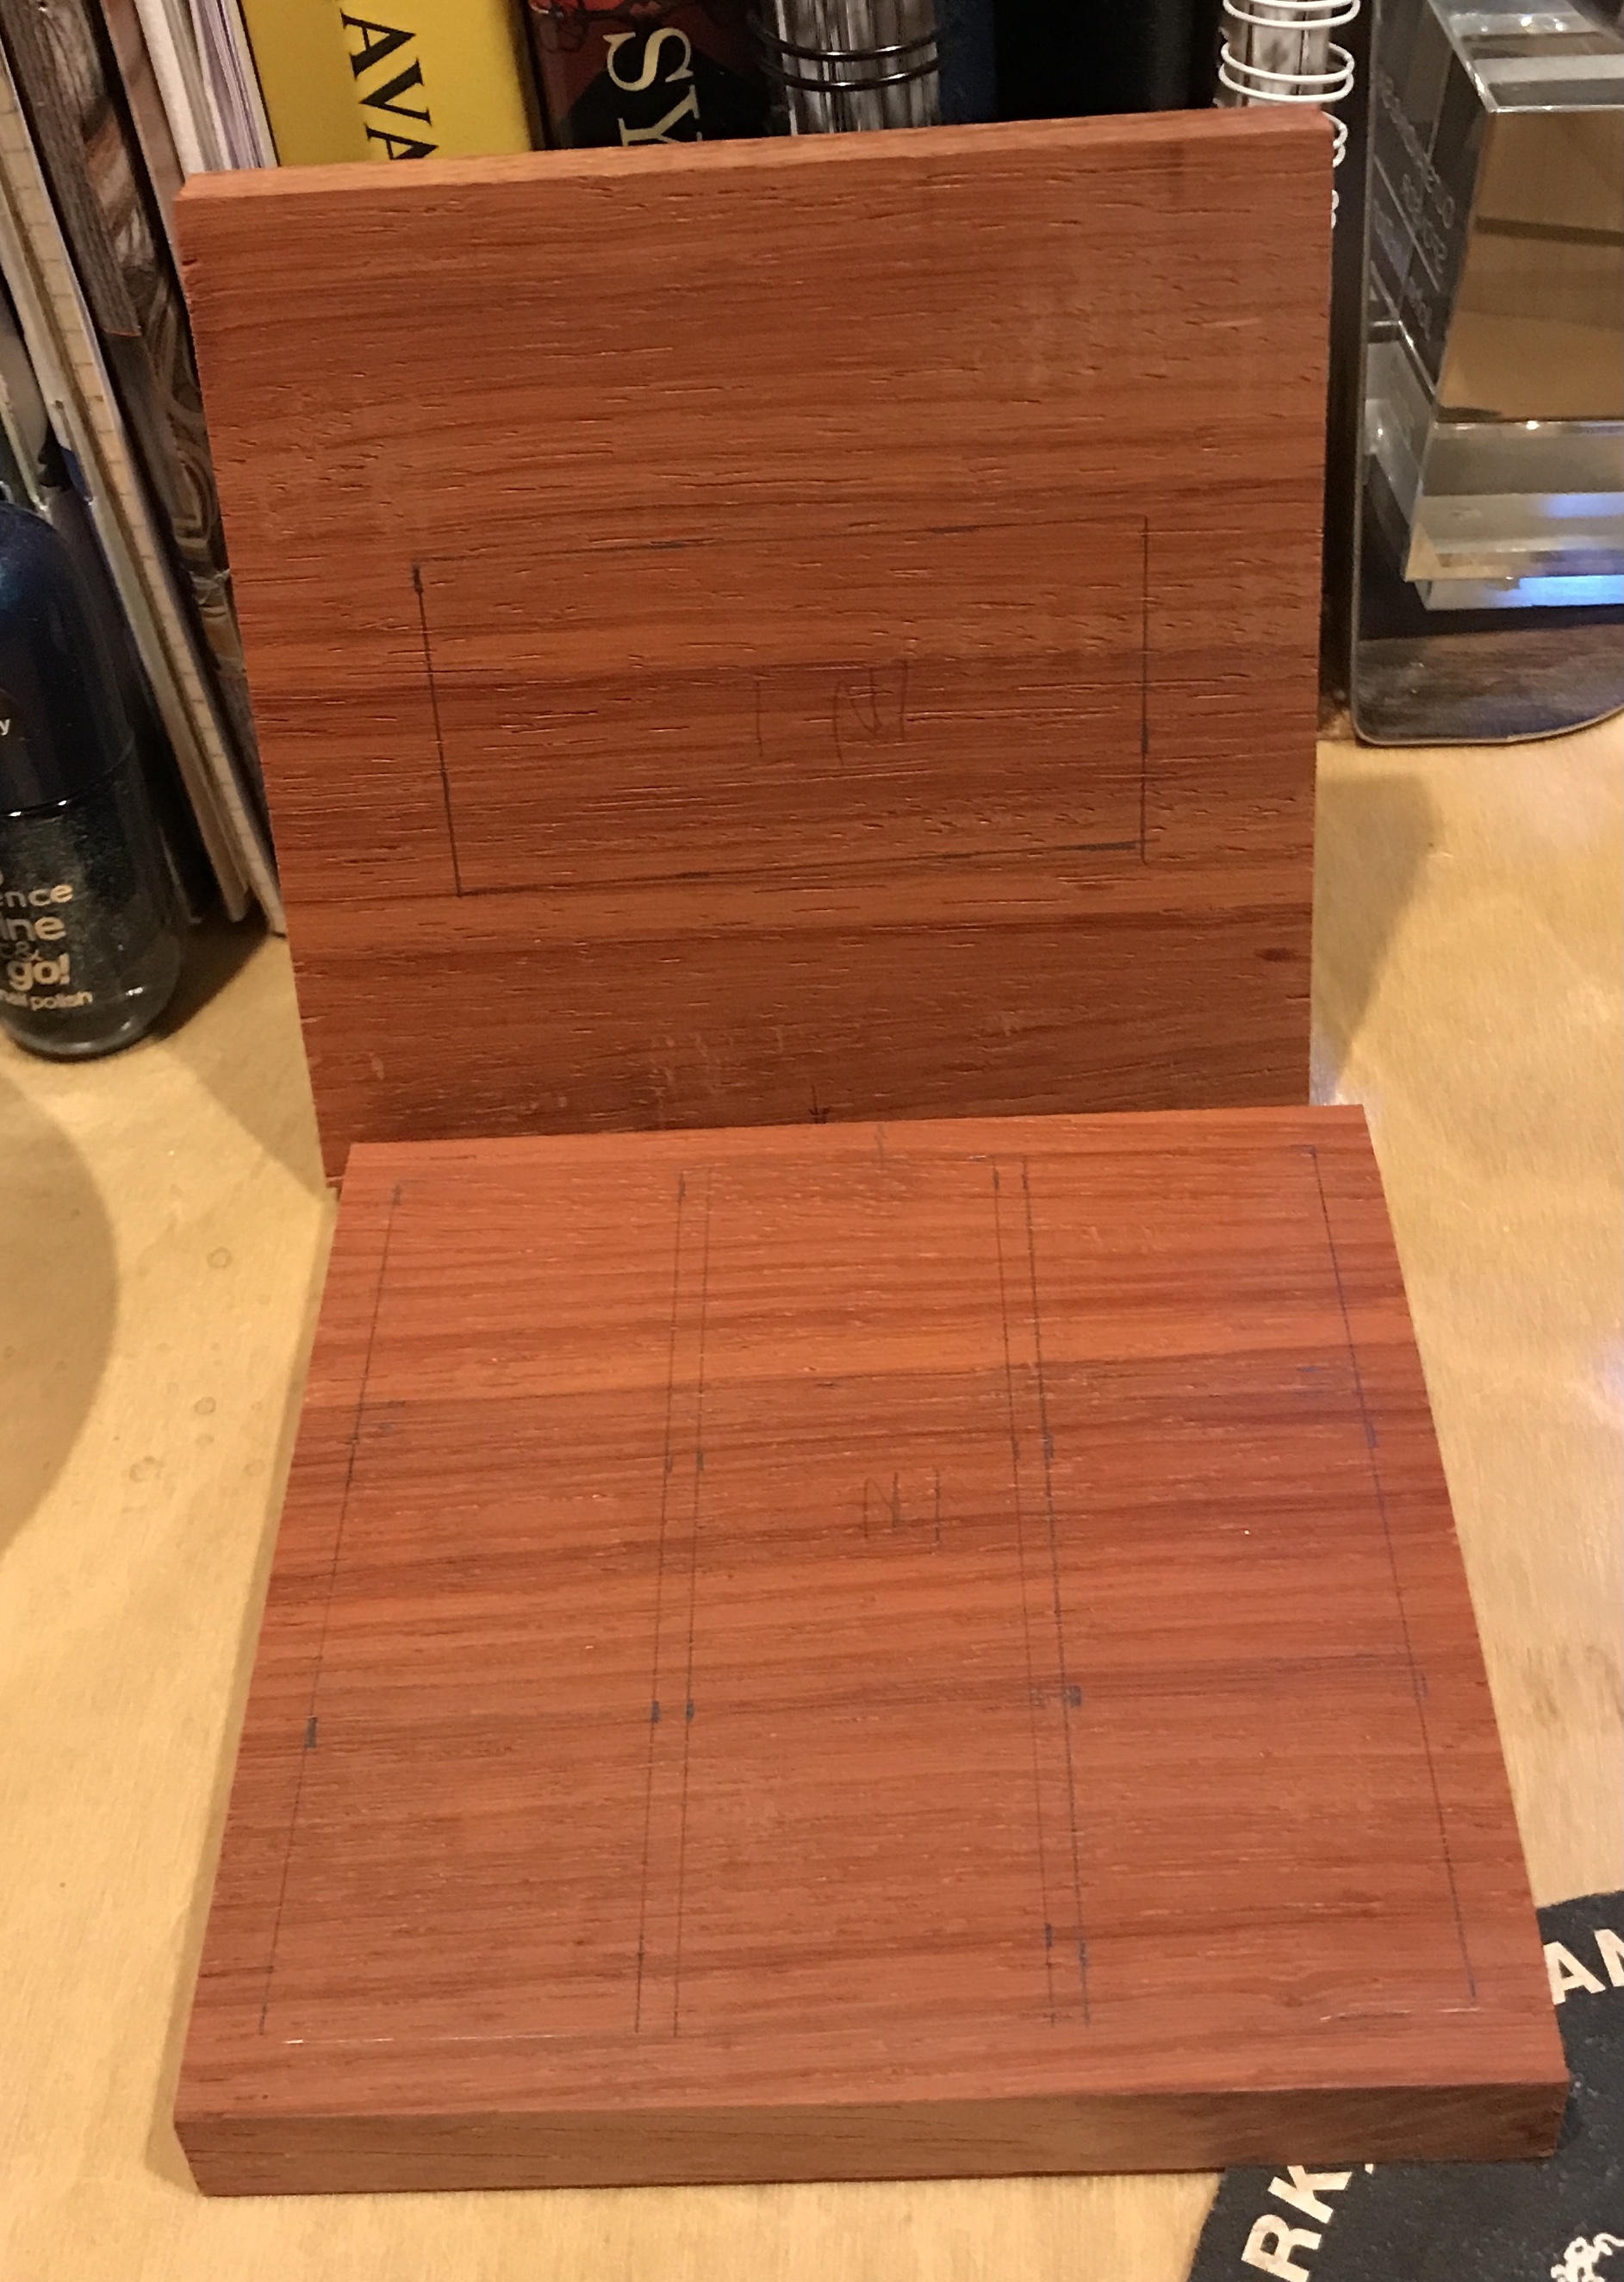
Work was begun on the box this morning. My plan calls for two 1/2" X 4 1/2" X 4 1/2" squares of wood. One will serve as the bottom with a cutout for each piece. The top will have one cutout to hold a completed puzzle. A scrap of red wood of unknown provenance was pulled. It is made from two edge glued boards. It is very smoothly joined. Two squares were cut from this board on the table saw producing orange dust and shavings. The cutouts were laid out as shown below. The top cutout is 1 1/2" X 3". The bottom cutouts are all 1 1/4" square leaving 1/8" between squares and a 1/4" rim.
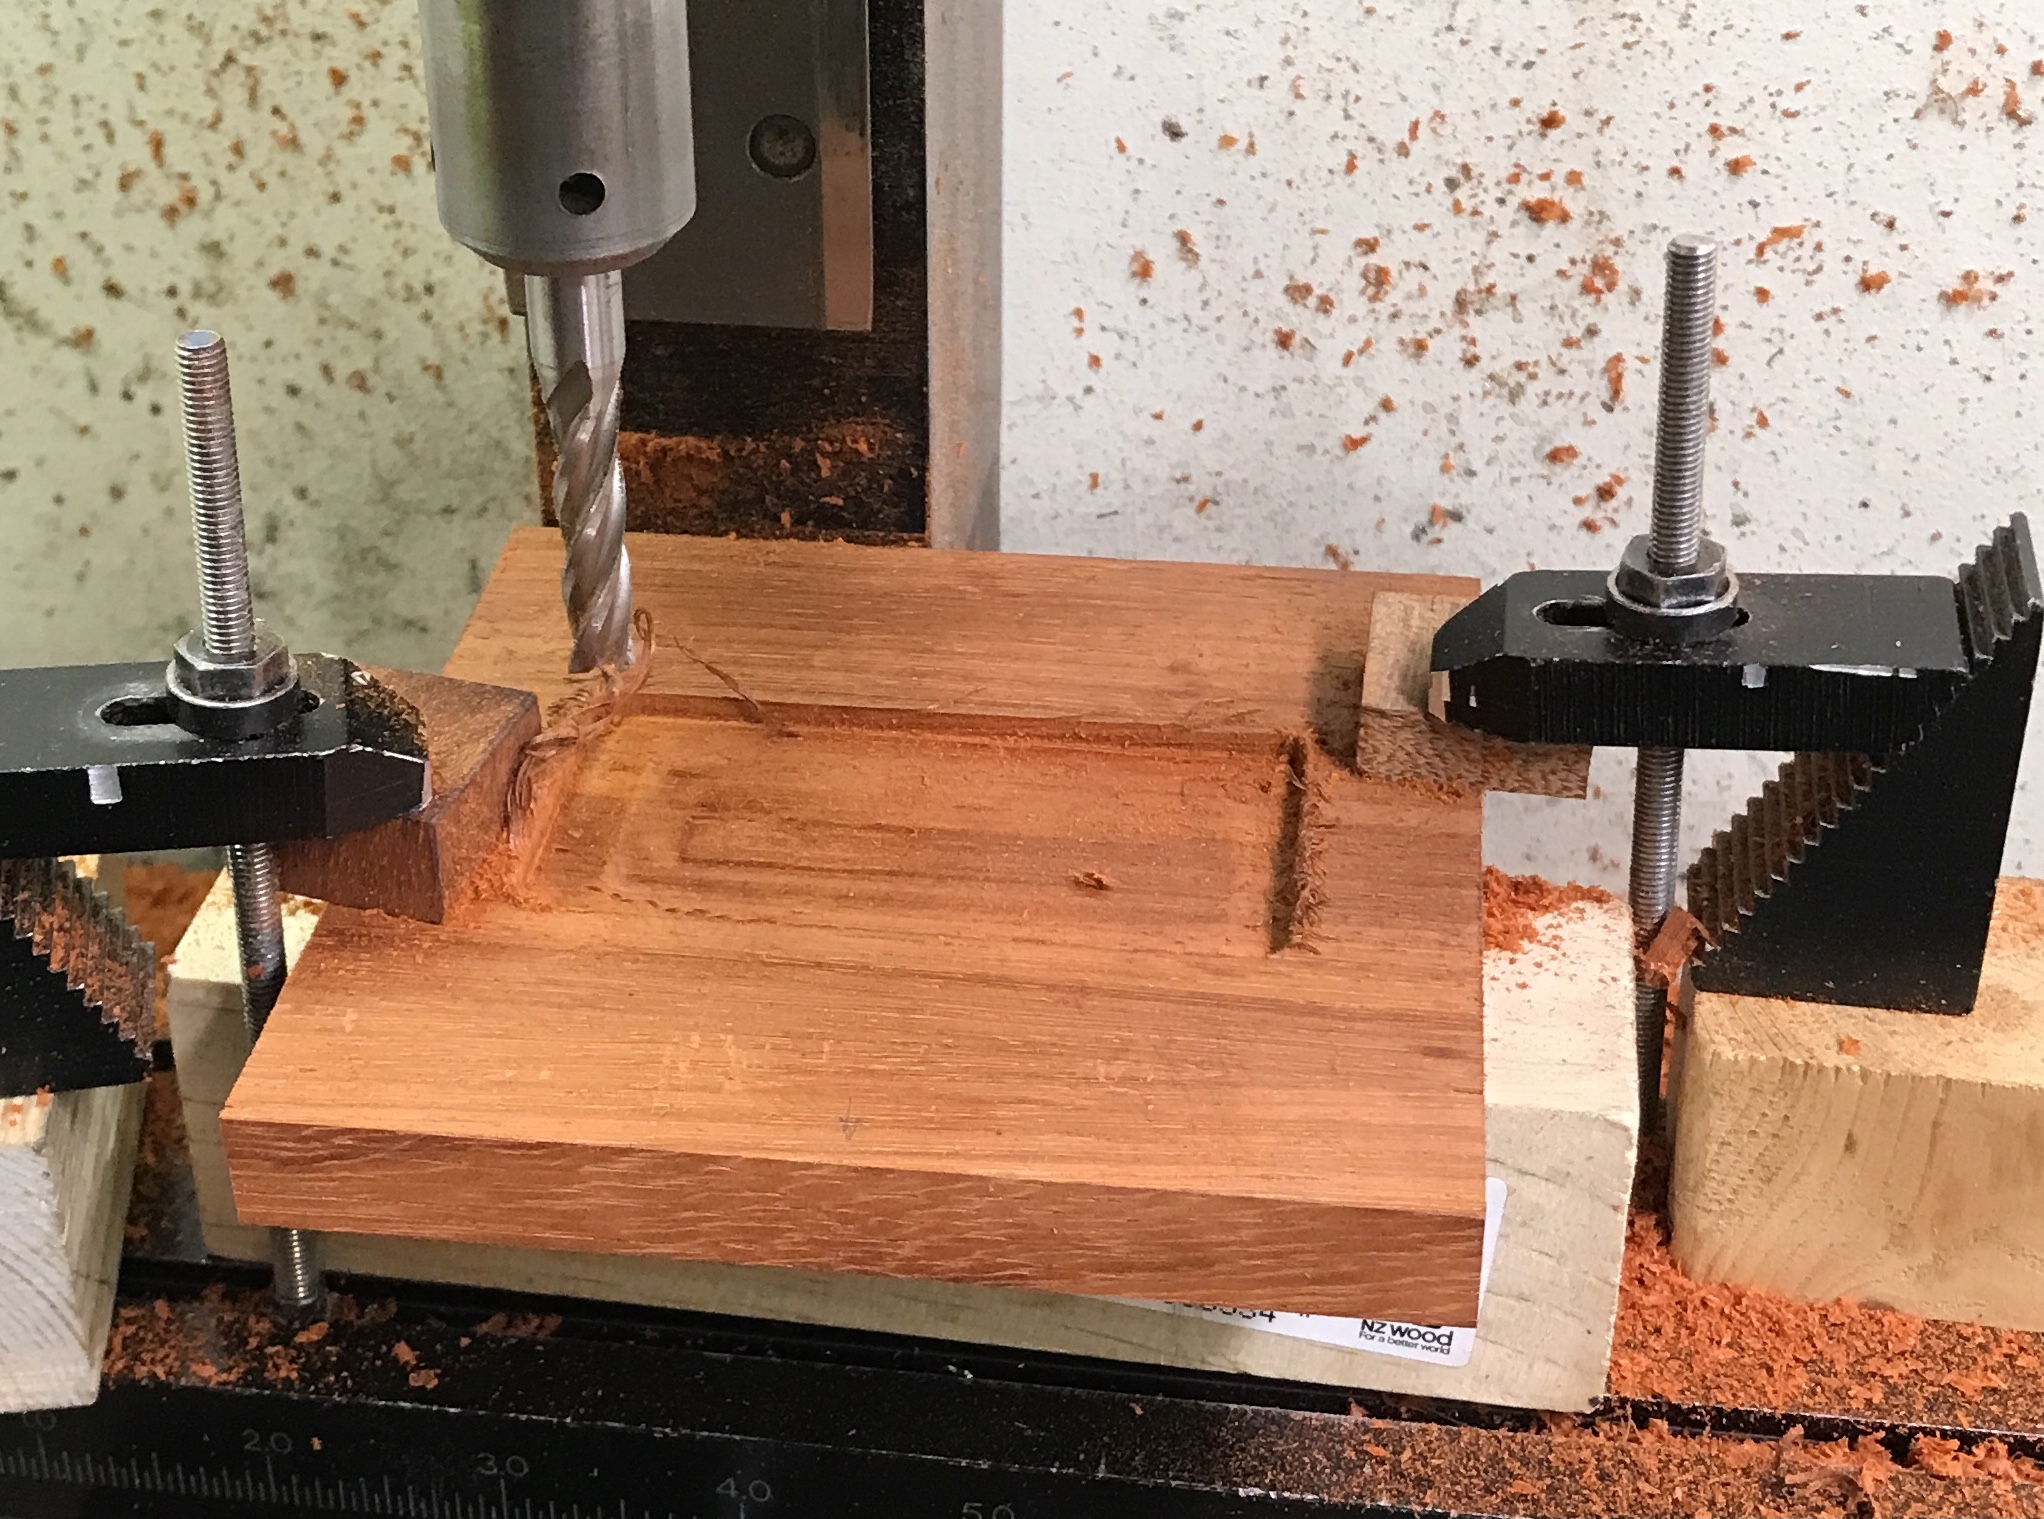
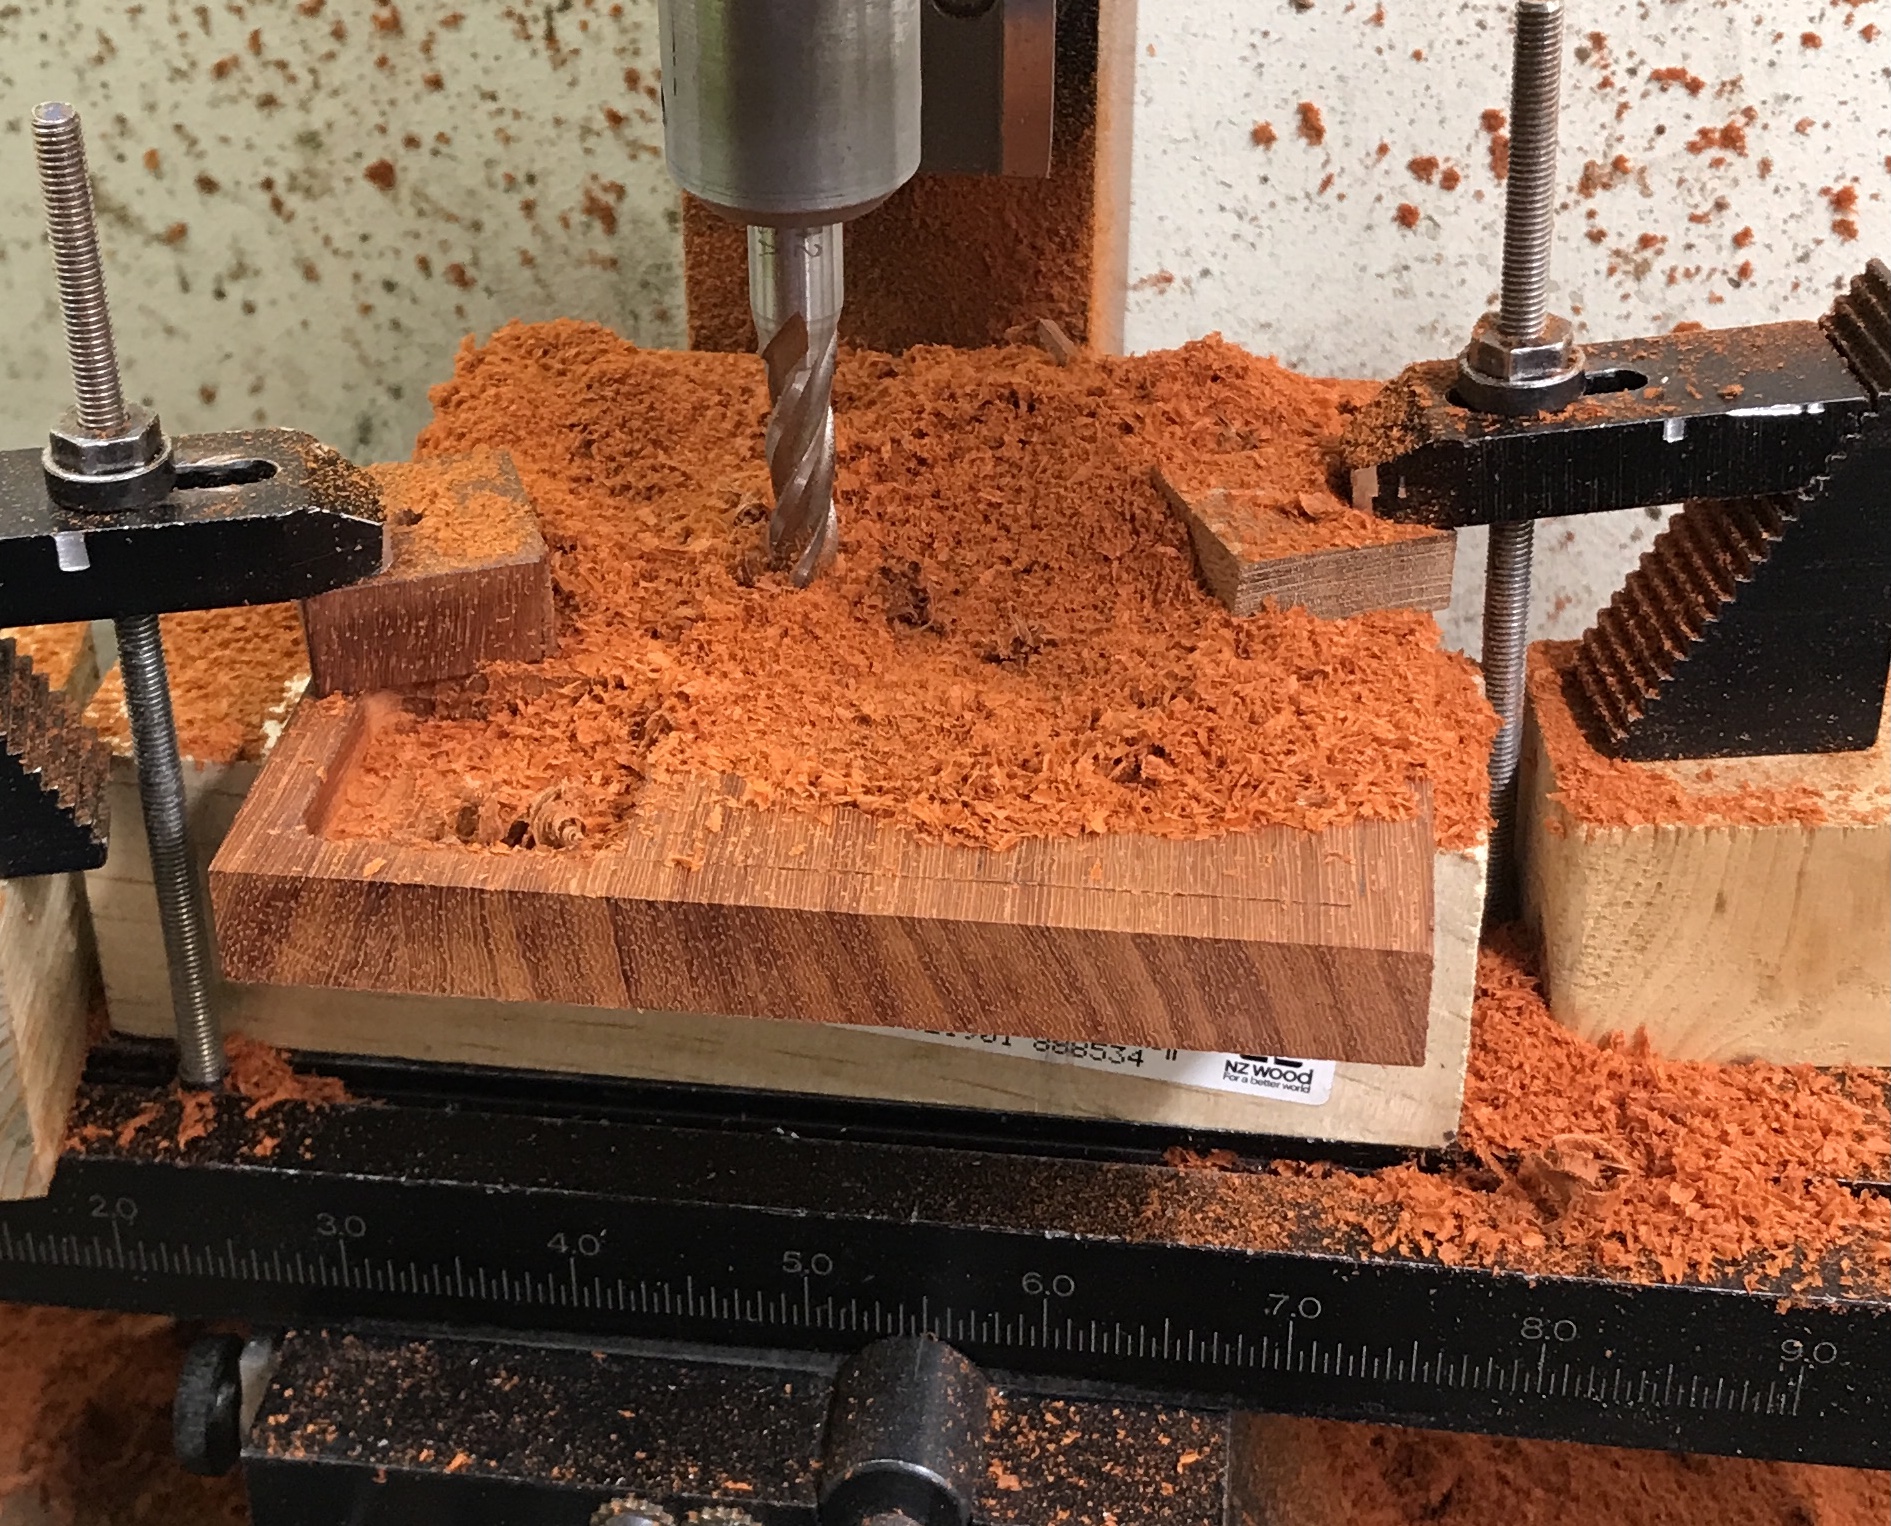
The easier top cutout was made first. It was clamped on a block of wood on the mill table with two strap clamps. The corner was marked for drilling. A hole was drilled about 0.25" deep. A 5/16" wood drill was used, so half of the depth was the spur. The drill was replaced with a 5/16" end mill in a collet. This was used to rout out the box 0.10" deep. An assembled group of four pieces did not quite fit in the box, so the box was enlarged by about 1/32" on all sides. The edges that paralleled the grain are very smooth. The cross-grain edges are covered with "curlies". This can be seen in the photo below.
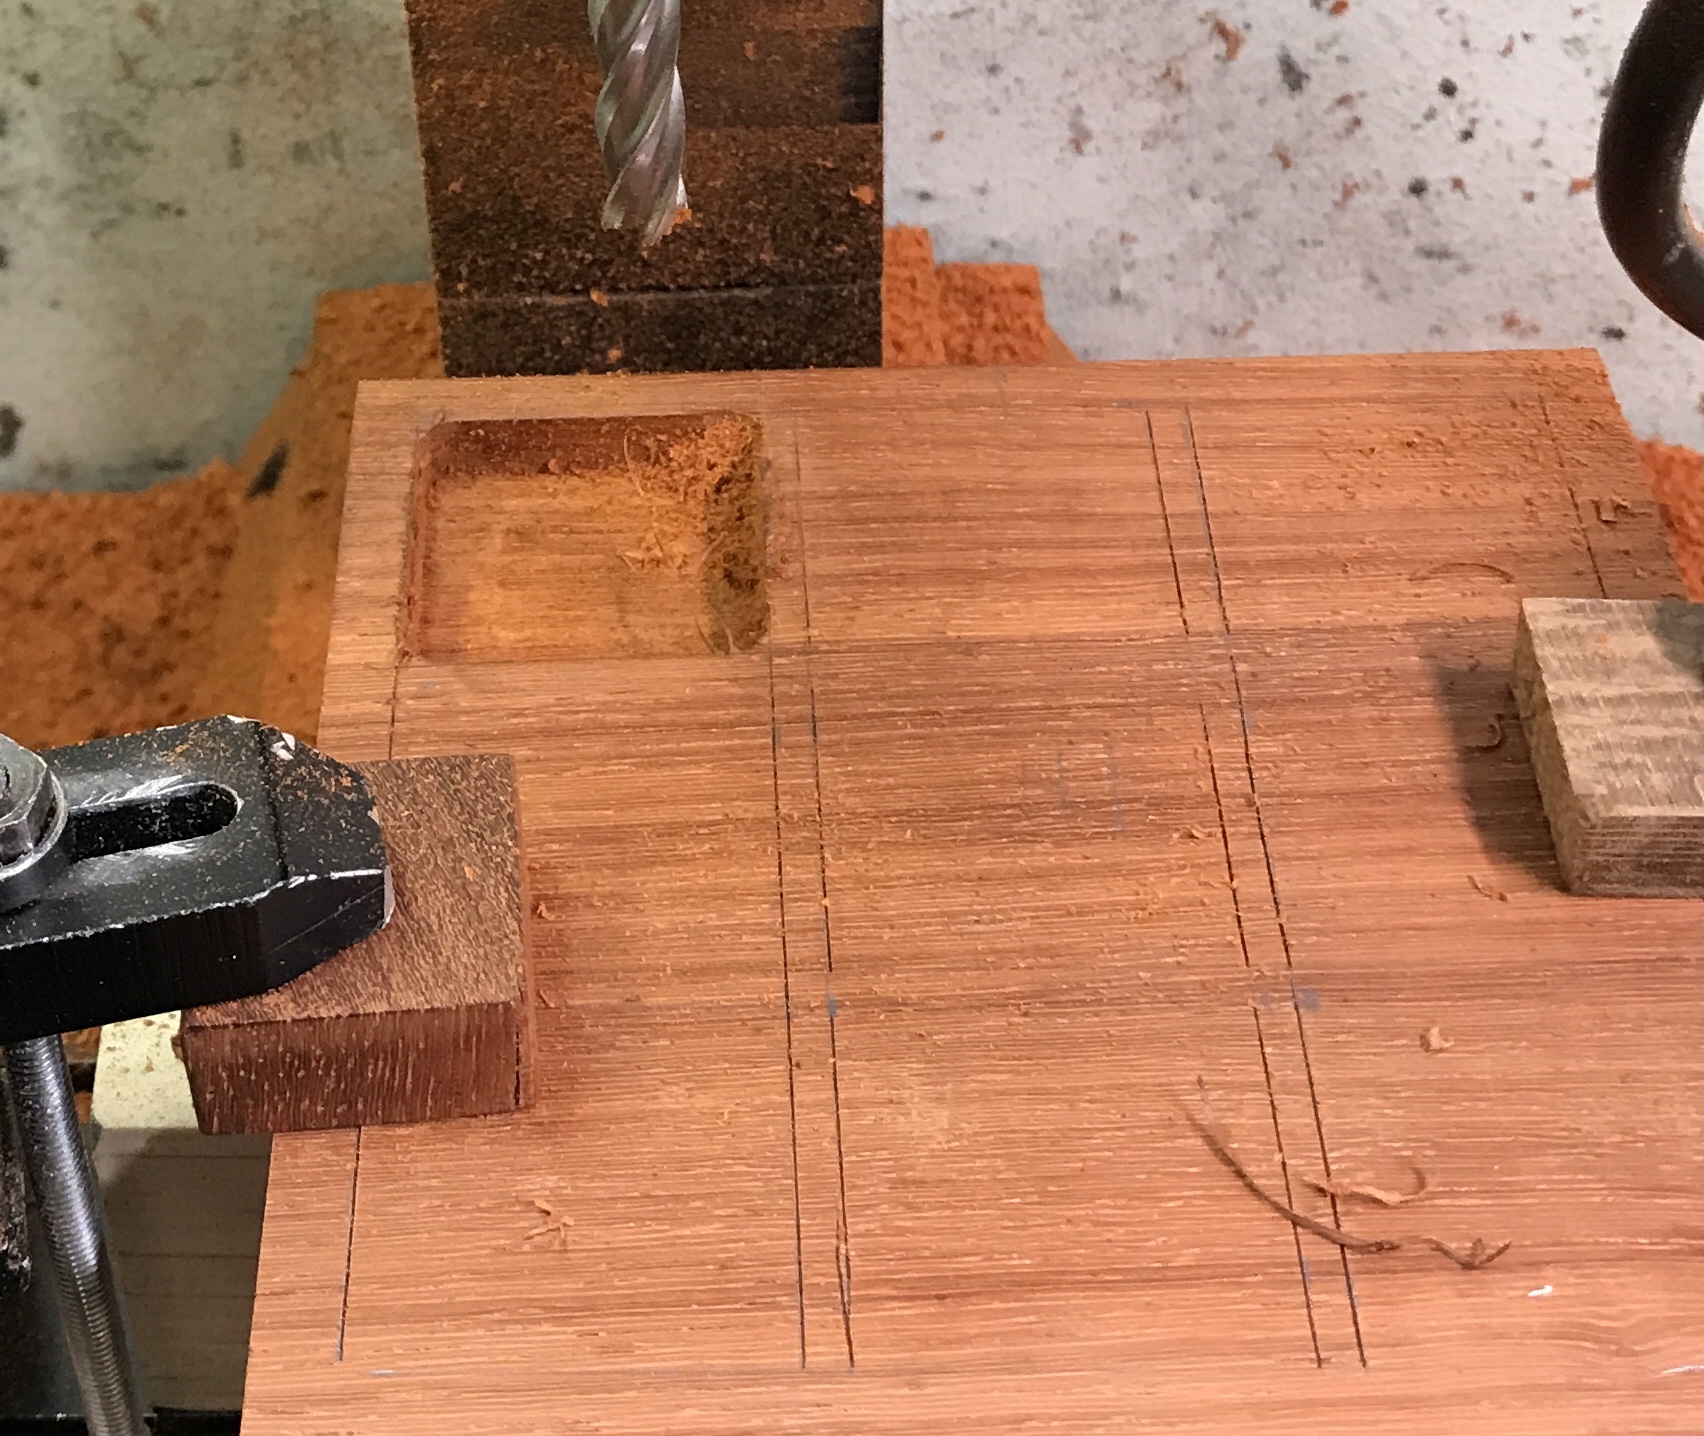
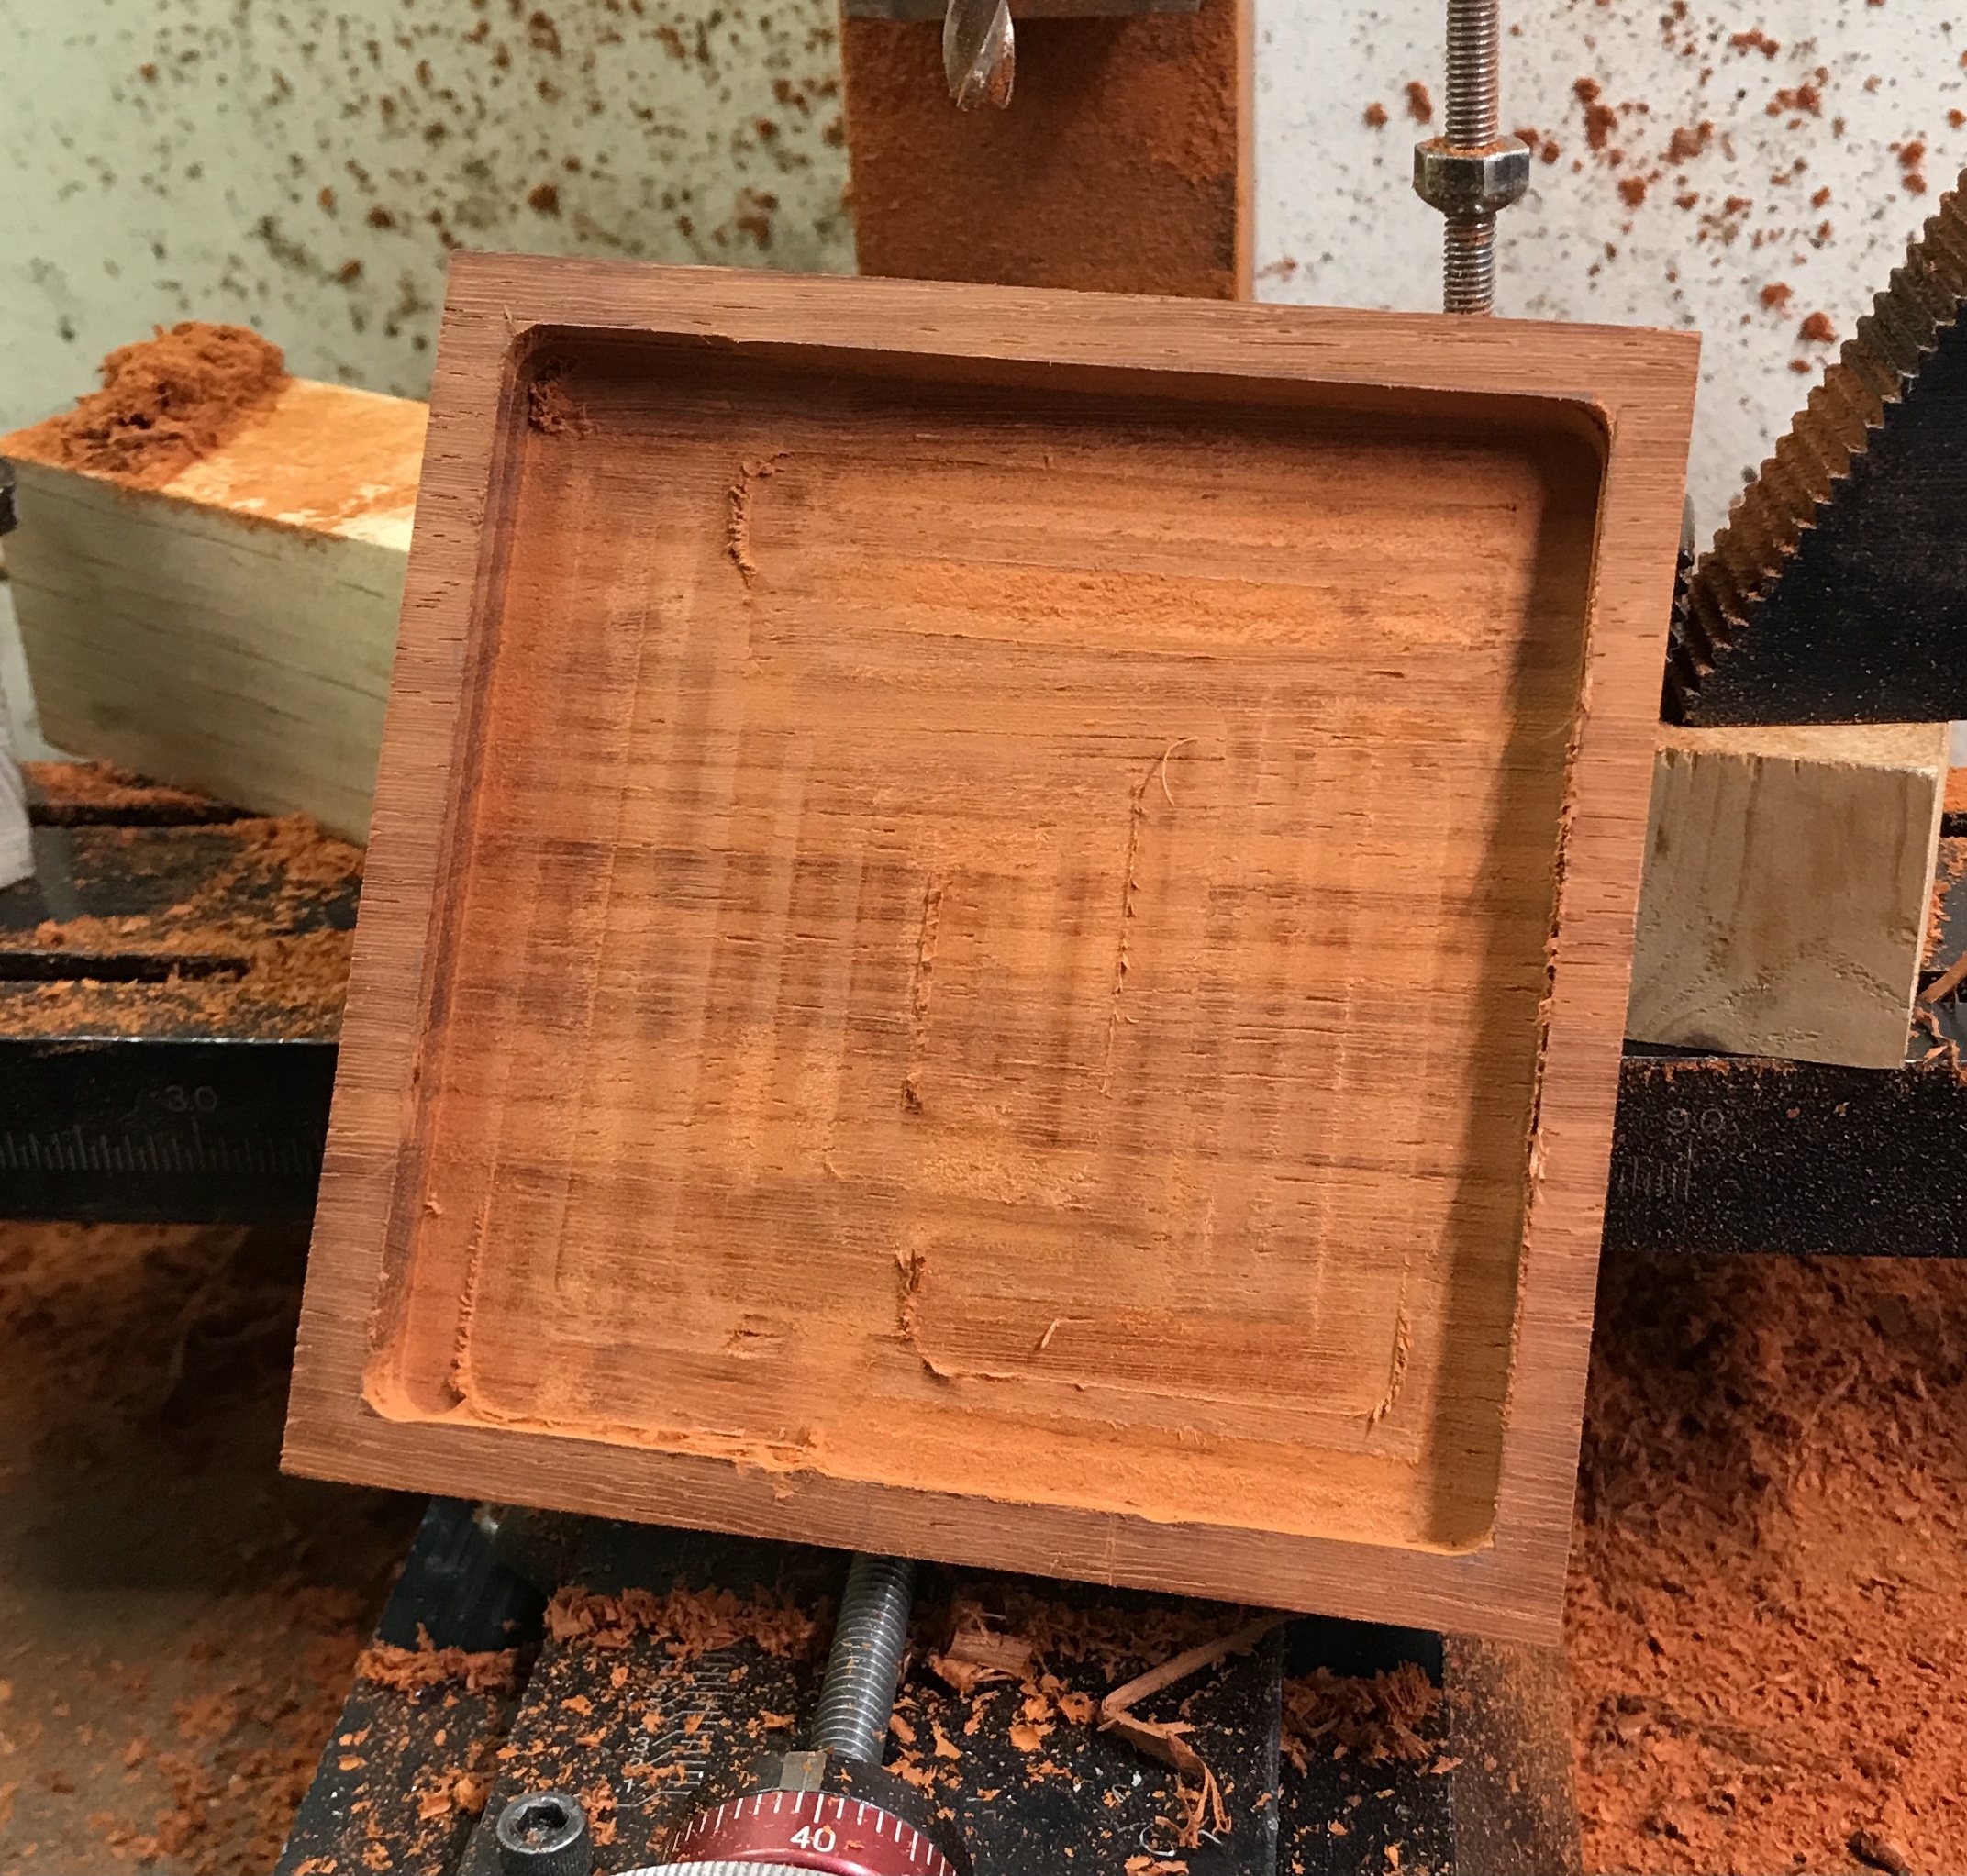
In order to minimize the curlies on the bottom cutouts, the cross-grain edges were cut with the exacto knife. The first three square cutouts were completed. The photo below shows halfway into the first. The squares were cut after drilling a 1/4" deep hole in the corner. They were cut in two passes of 0.125" depth. Checking to see if the pieces would fit, I realized I had made a really stupid error. None of the puzzle pieces were even close except one!
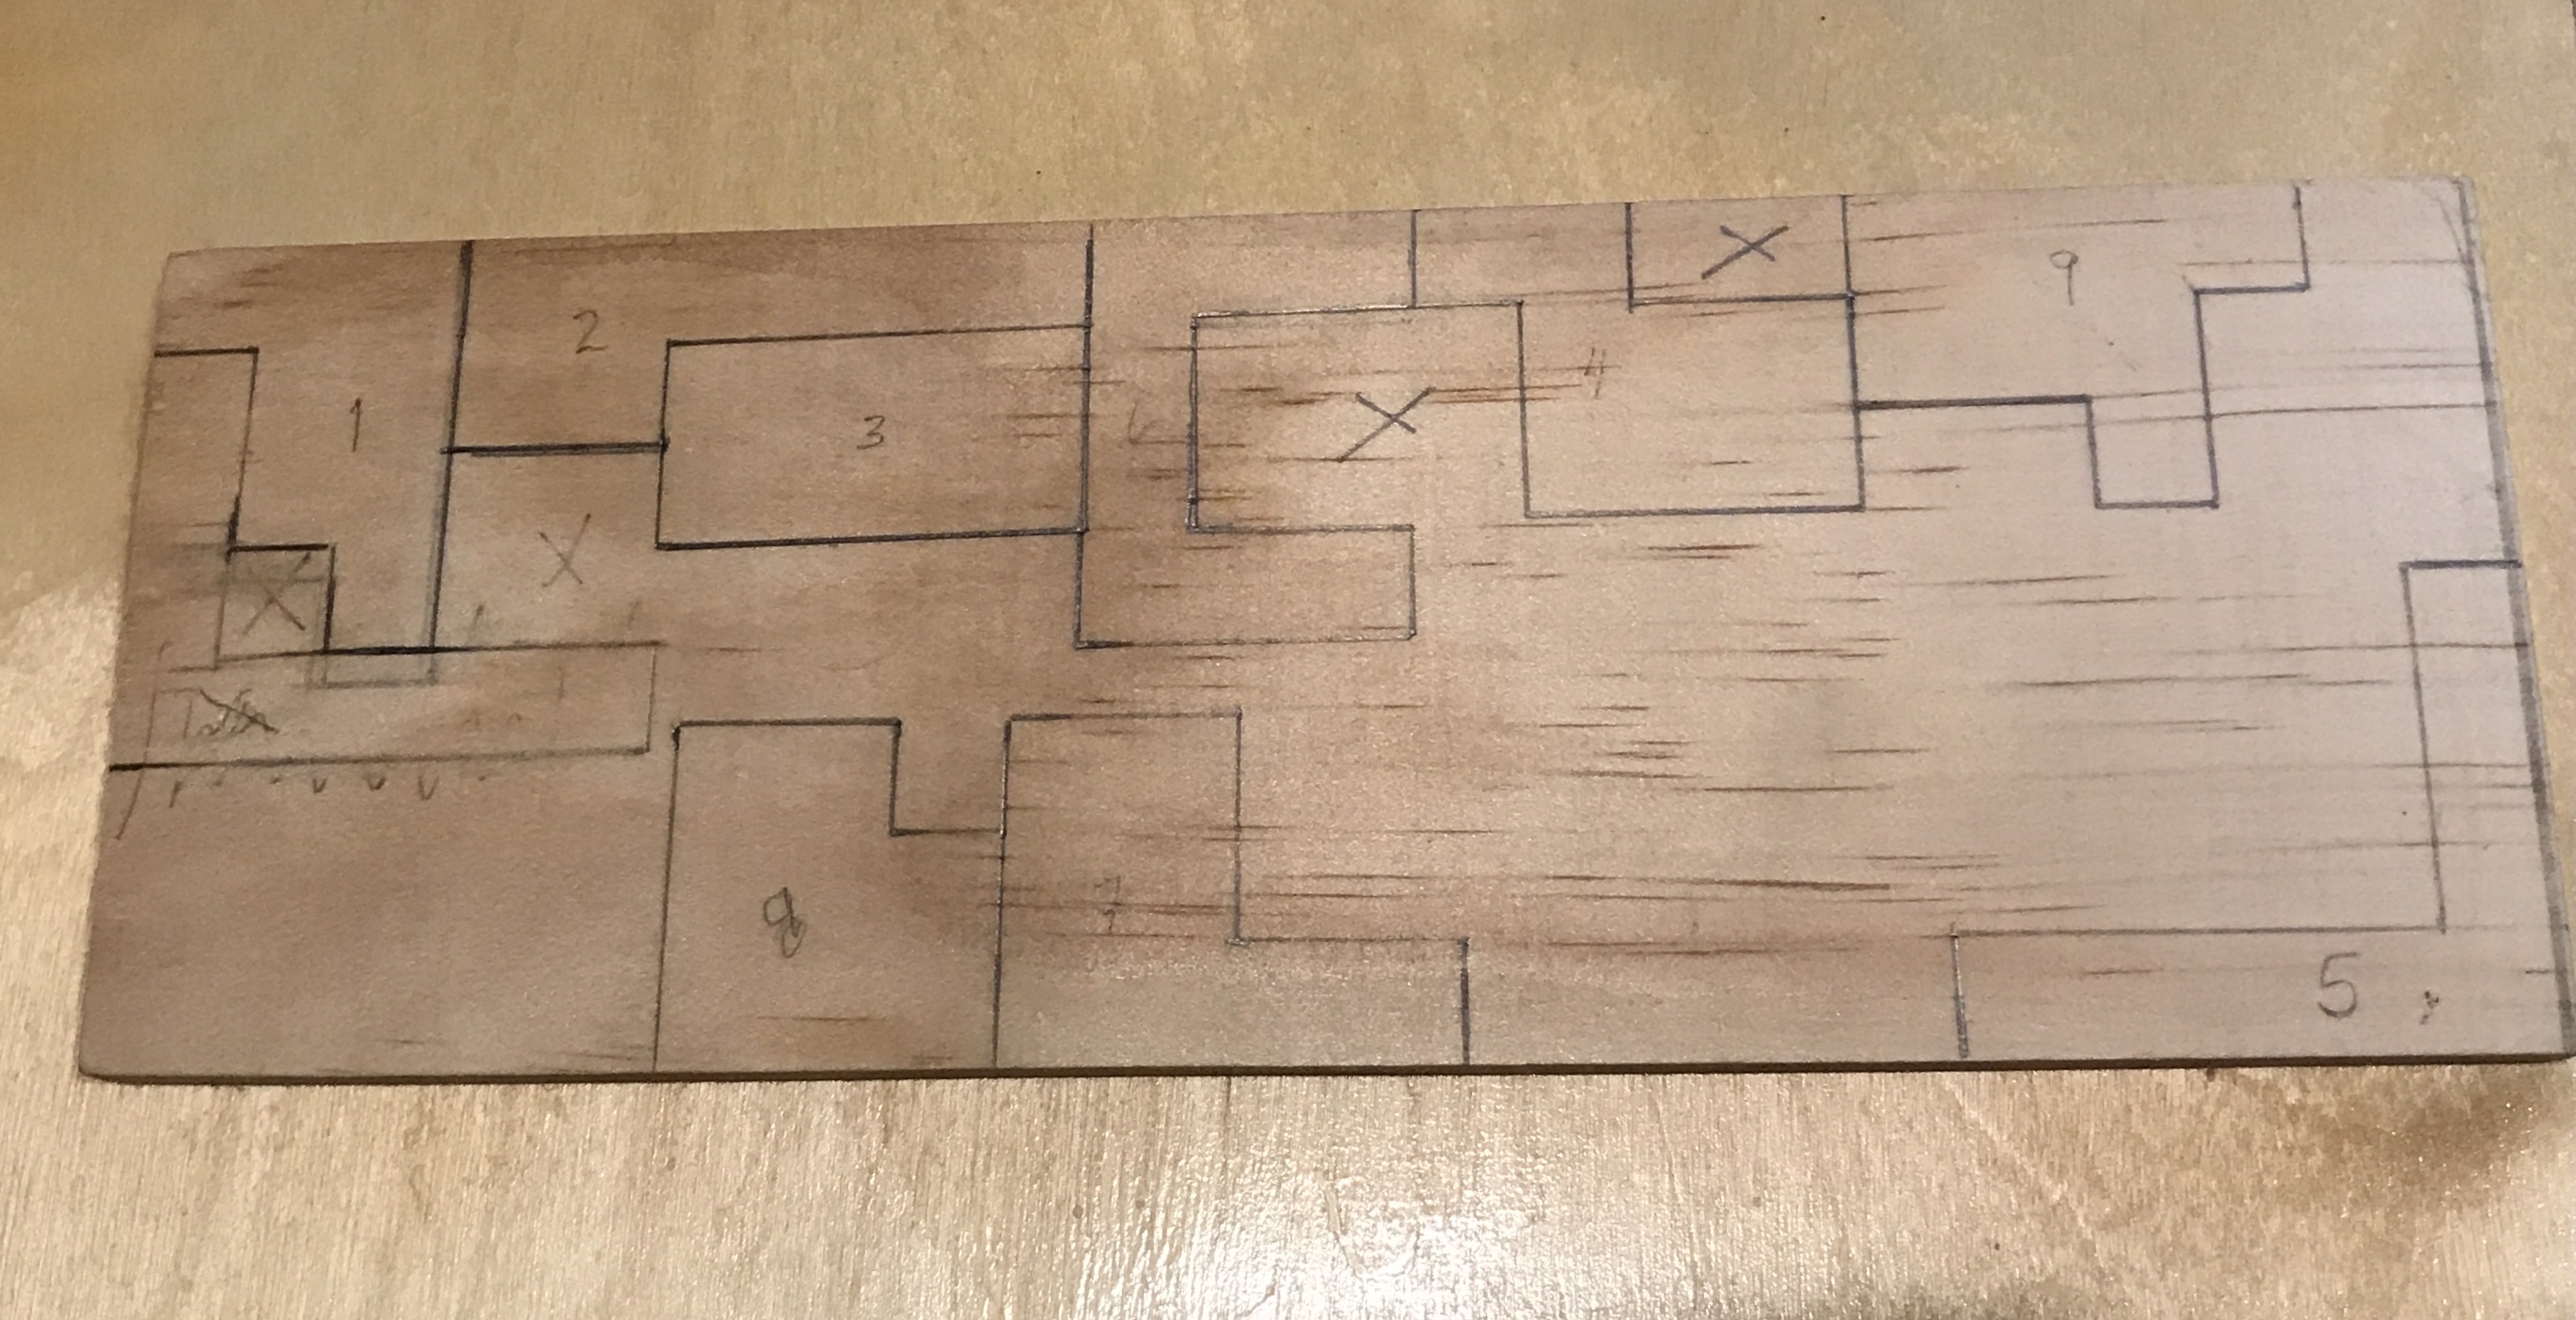
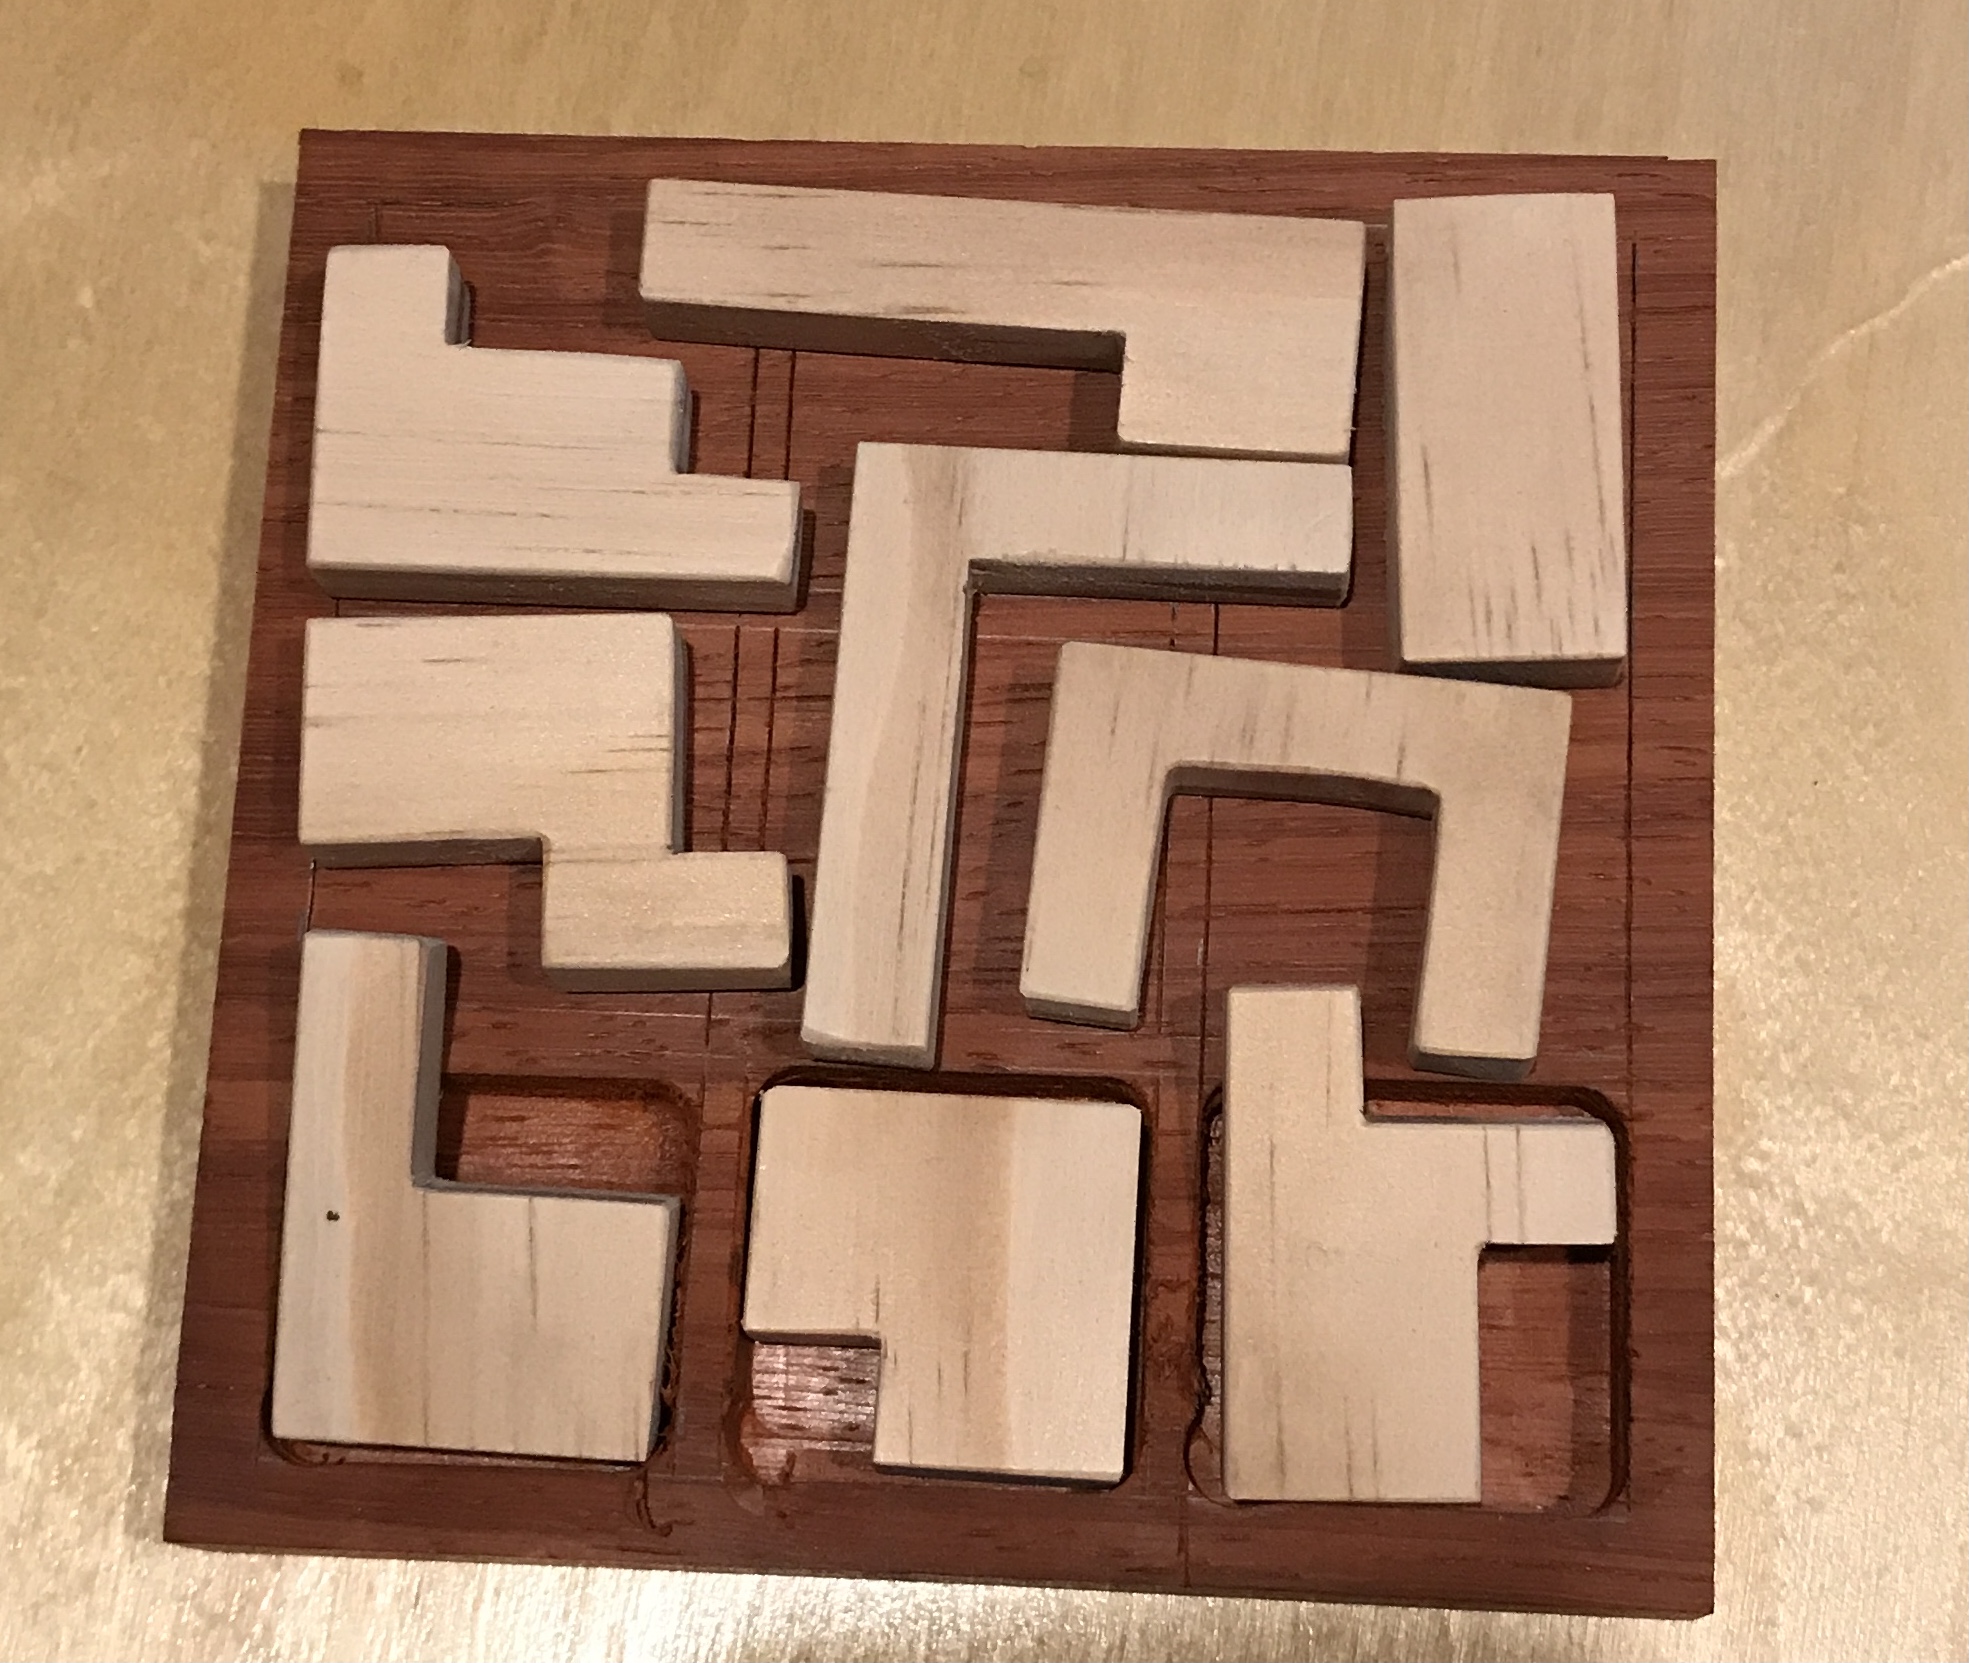
The photo below shows how the pieces might be arranged to fit in a 4" square cutout. Their locations will just have to be marked with outlines or paint. The cutout needs to be closer to 3/8" deep for the pieces to be fully below the top edge.
The bottom was cut out completely this morning. It was cut to a depth of 0.35" leaving a 1/4" rim on all sides. The first photo below shows the intensely orange sawdust. The second shows the product after milling.
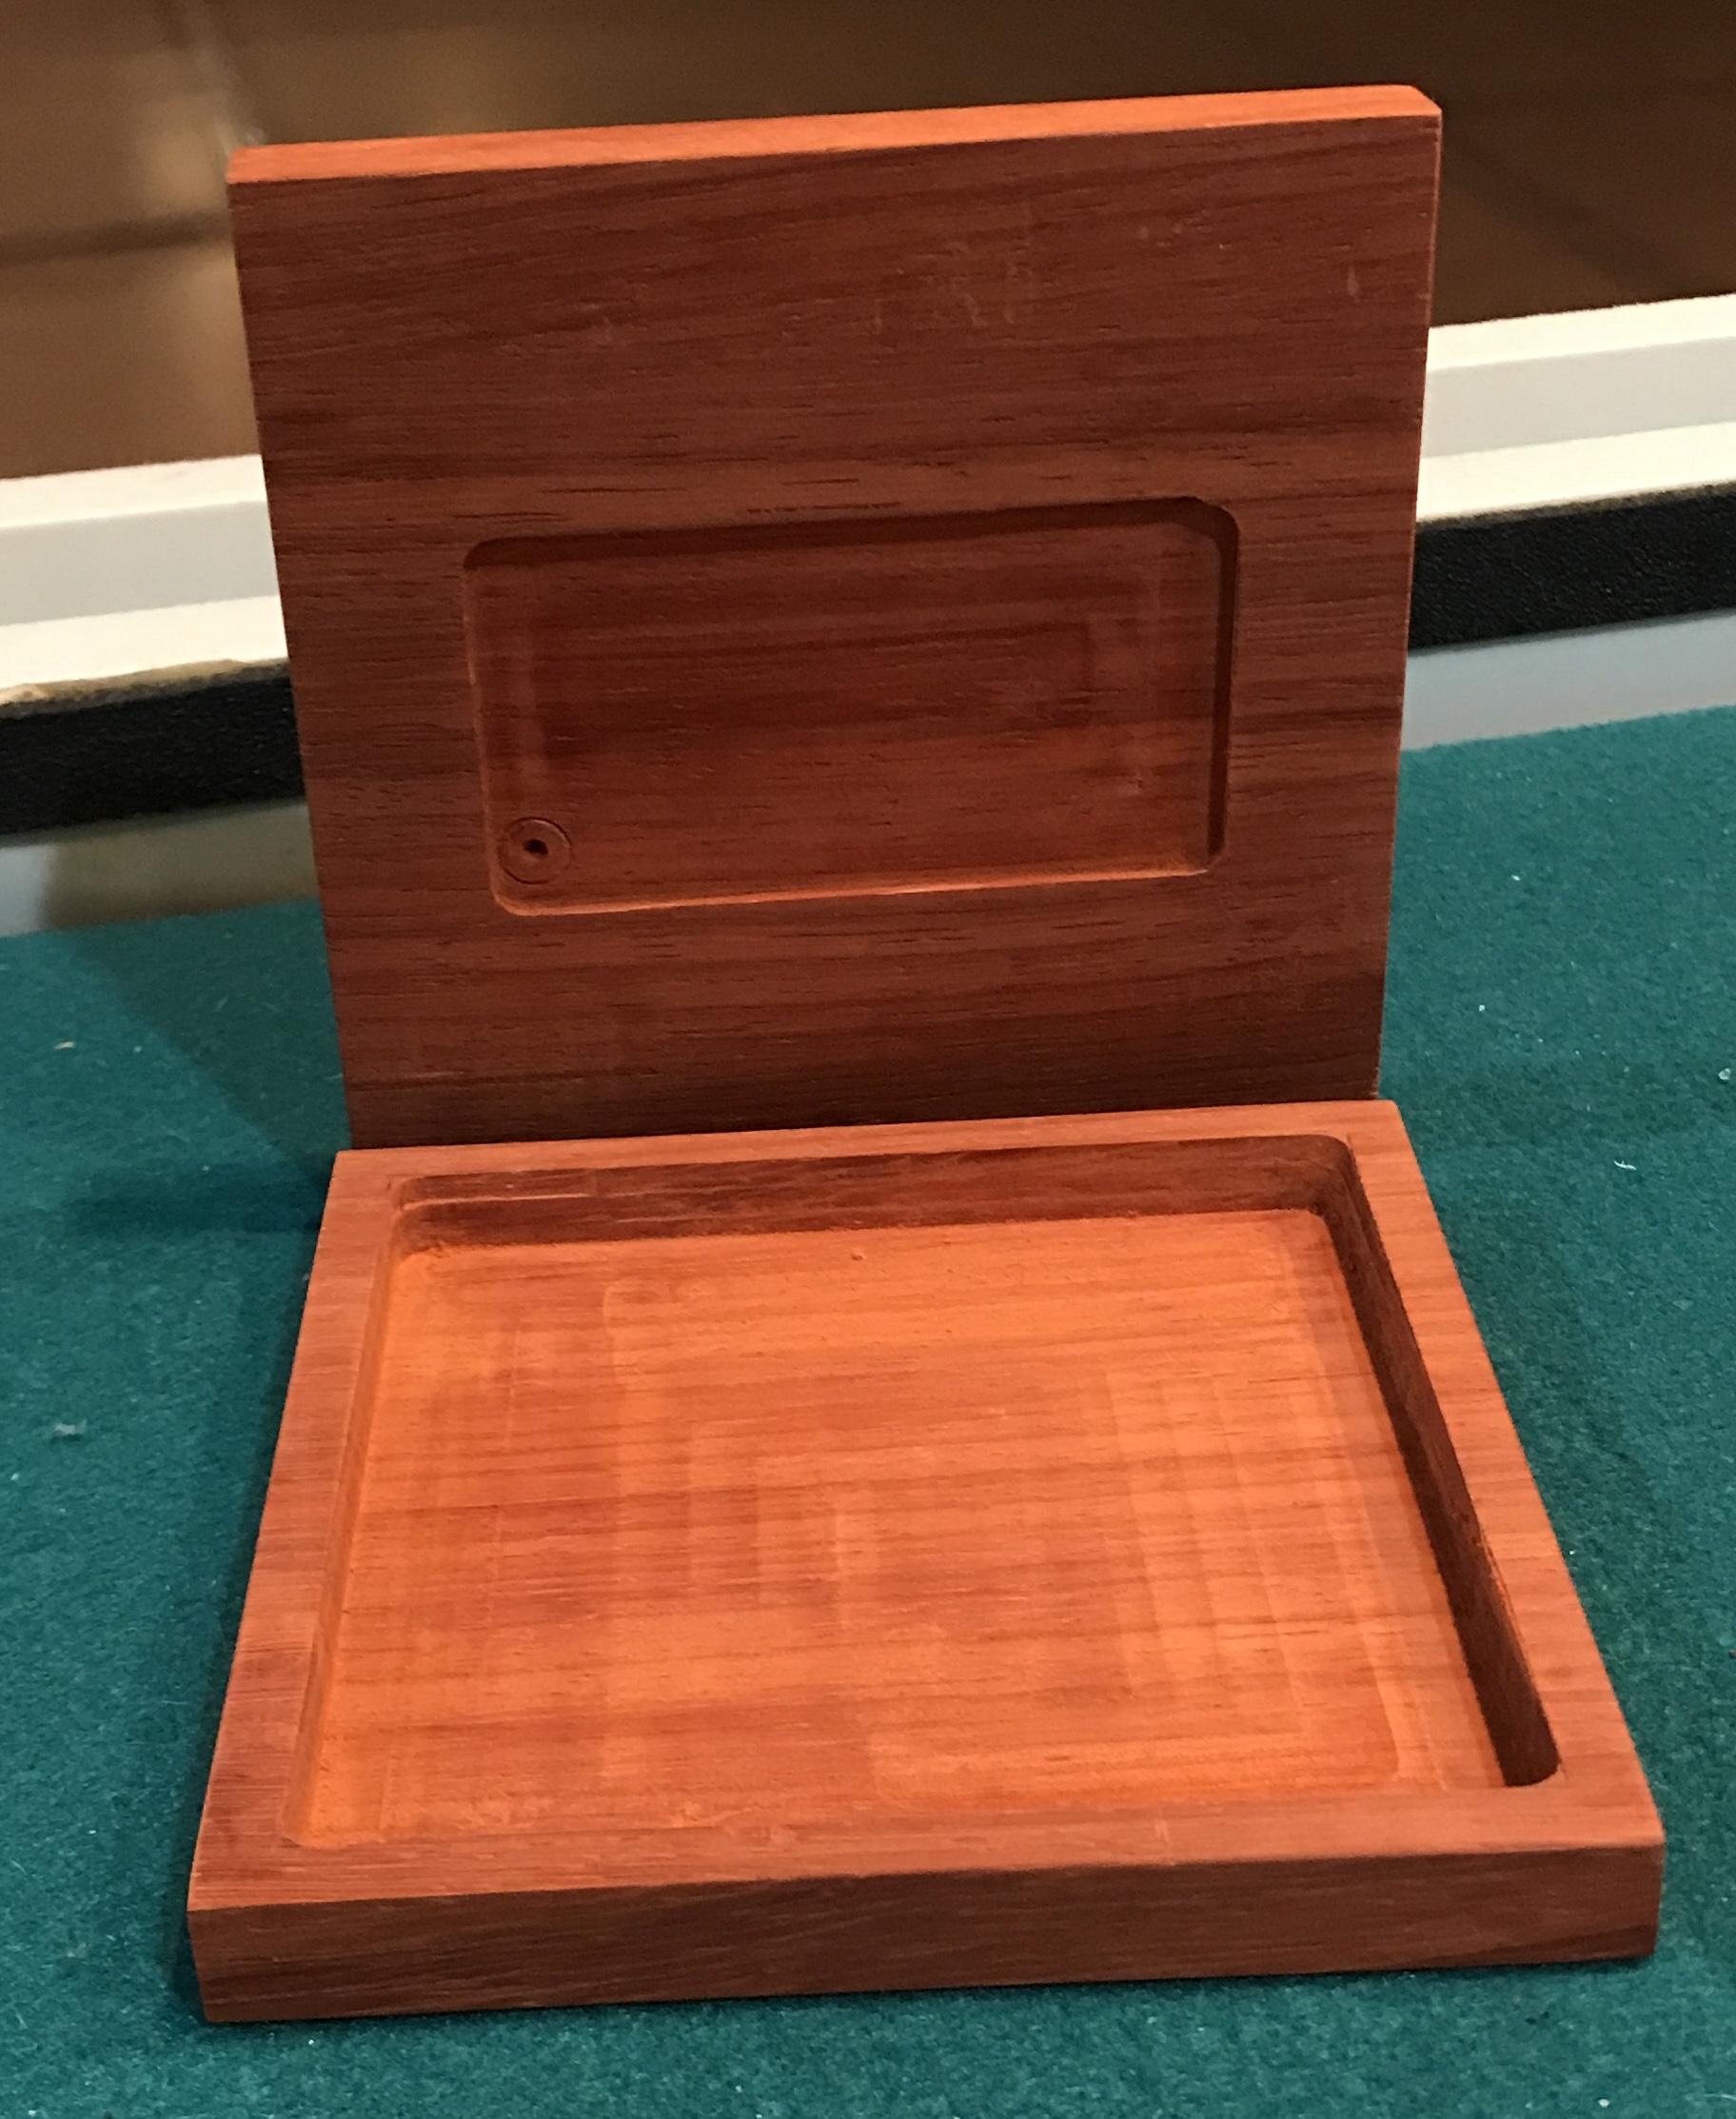
The box was sanded on all sides including the inside. A knife was used to remove the curlies. All outside edges were lightly chamfered. The top and bottom were wiped down with a rag to remove most of the orange dust. The photo shows the sanded box parts.
I do not have any hinges small enough. I will need to look online. Finding small hinges was unsuccessful. I don't feel like making them, so an alternative way to close the box must be found. My plan is to use pegs. Three pegs will used. Two in the back corners and one centered in the front. After clamping the box top to the bottom, the holes will be drilled through. Dowels of contrasting will be glued into the top.
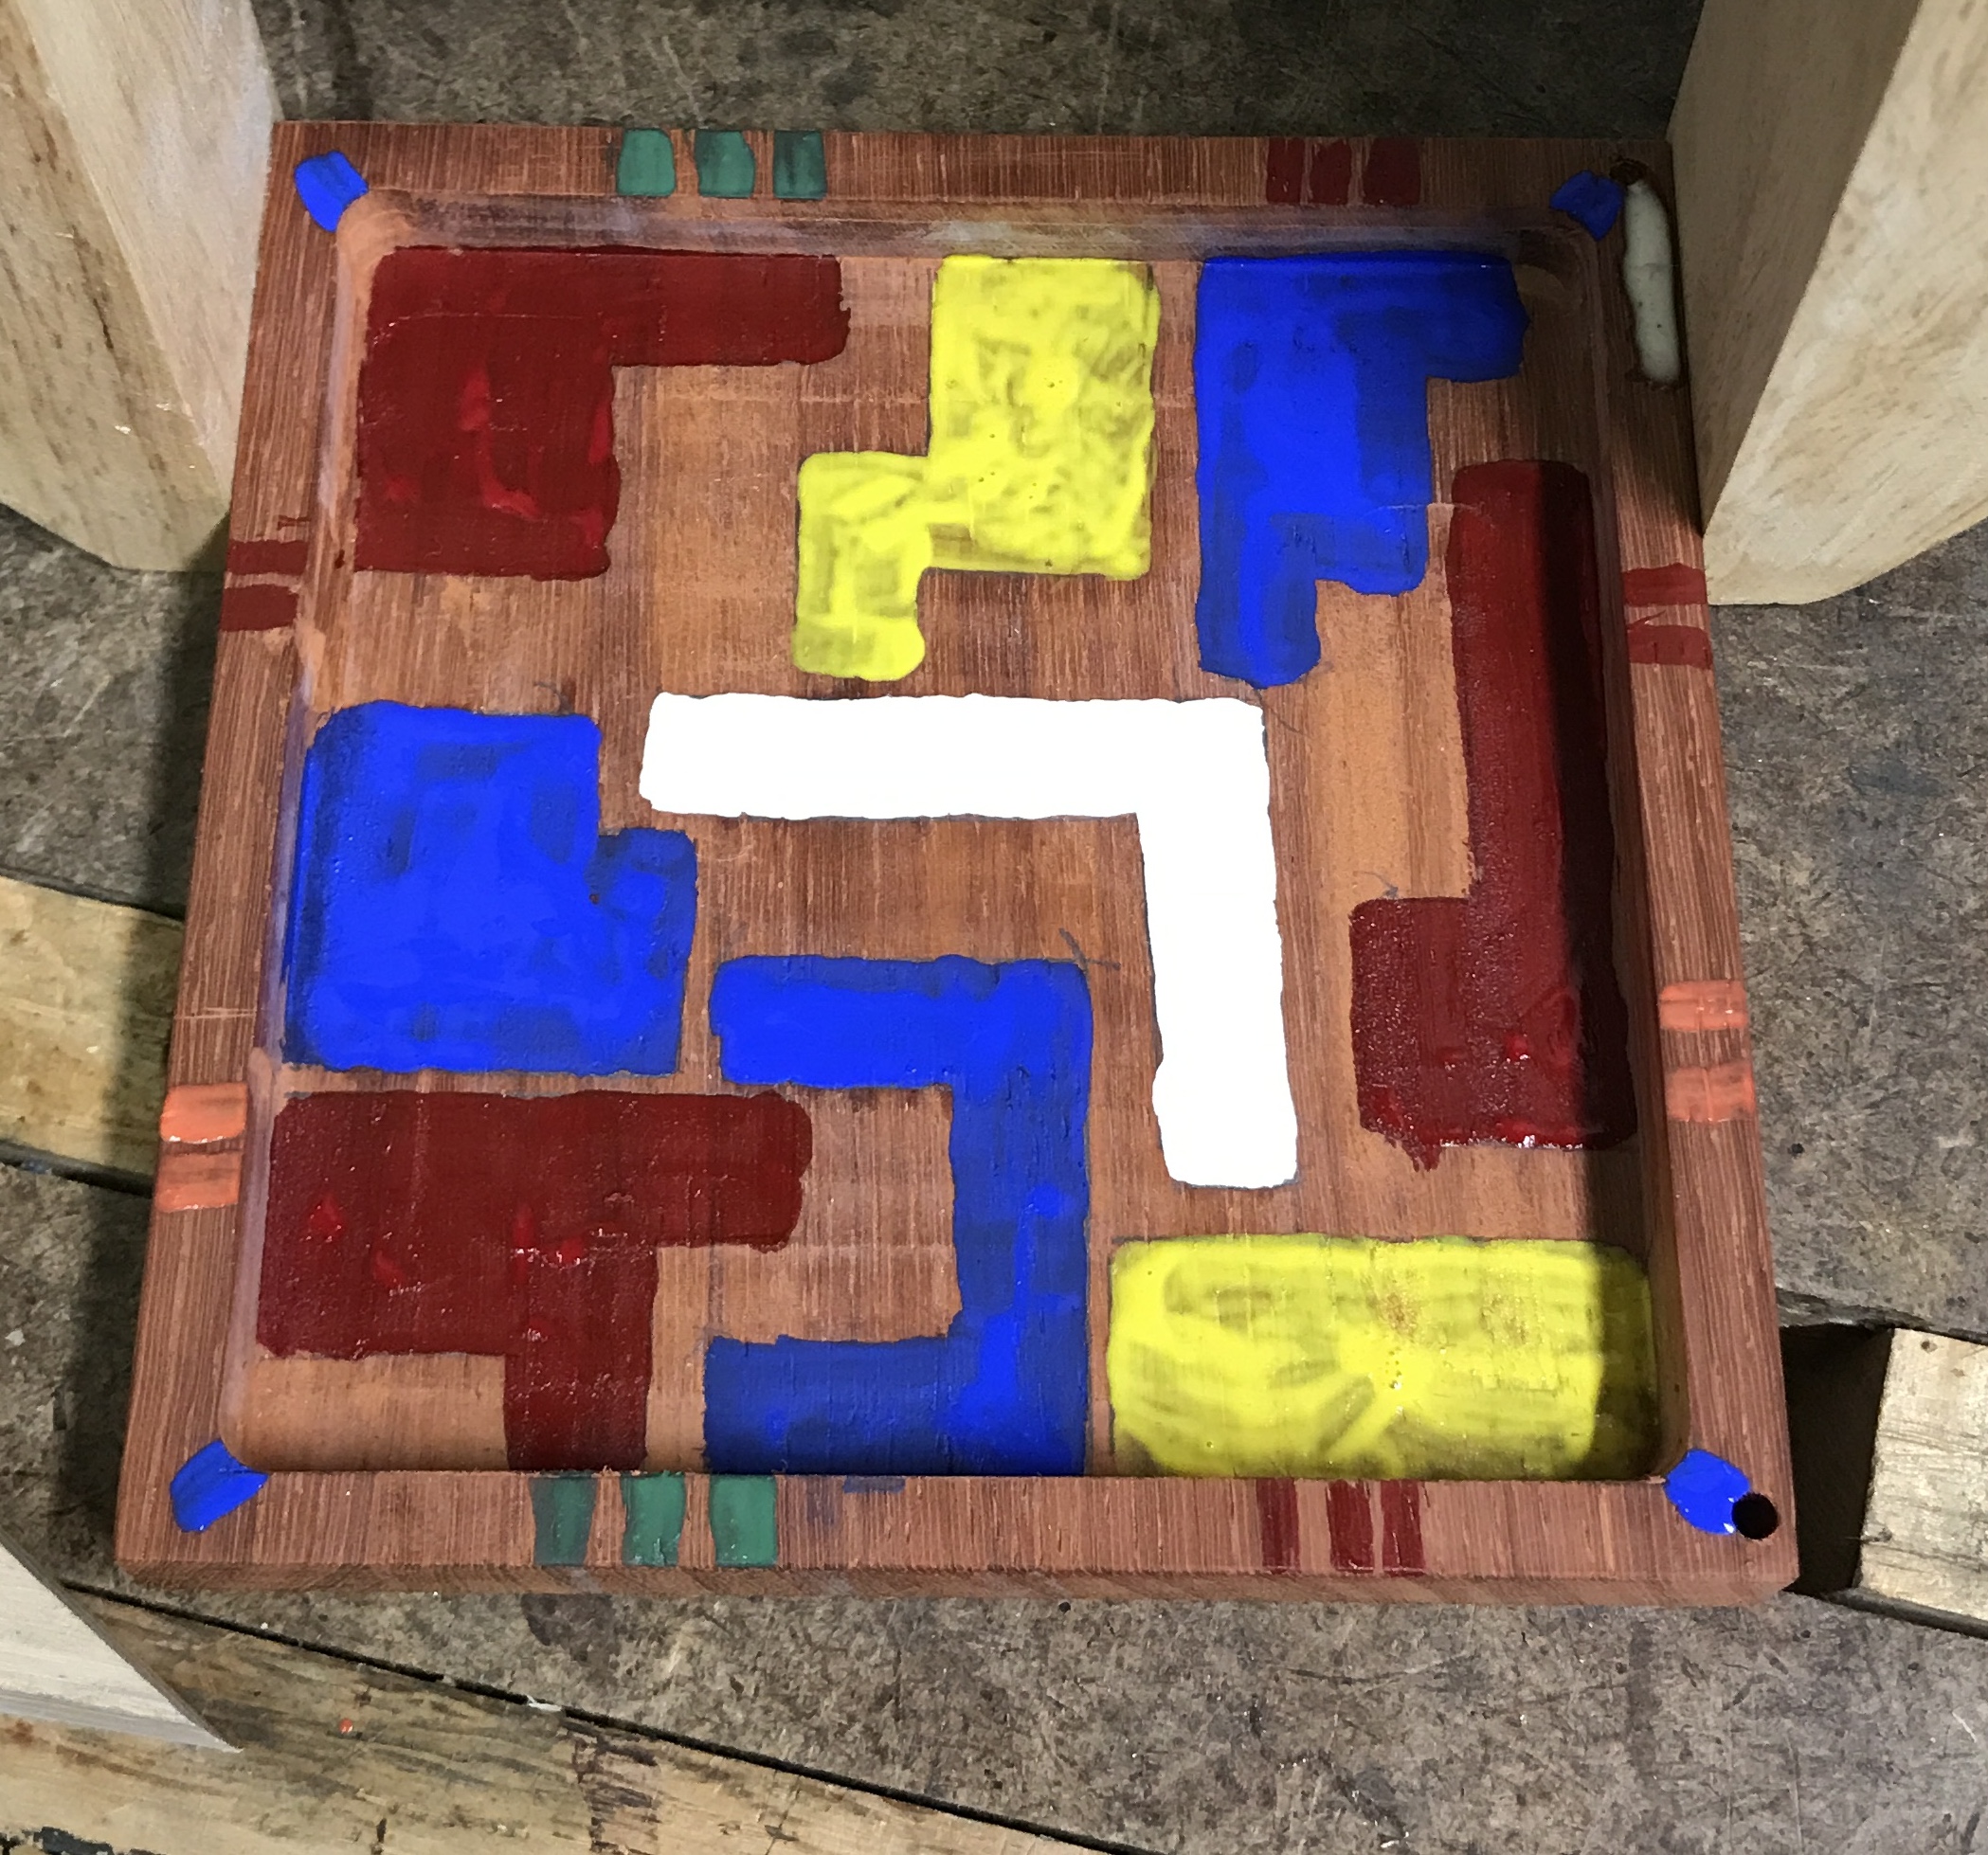
Before starting this the pieces were placed in the bottom and outlined with a pencil. These outlines will be painted in different colors to match the nine pieces. Lines will be painted on the edges of the bottom to indicate the alternate five possible ways of selecting pieces.
The first hole was drilled 1/8" through the clamped top and bottom parts. While drilling the second hole, the bottom split! Aargh!! I am not sure it can be salvaged.
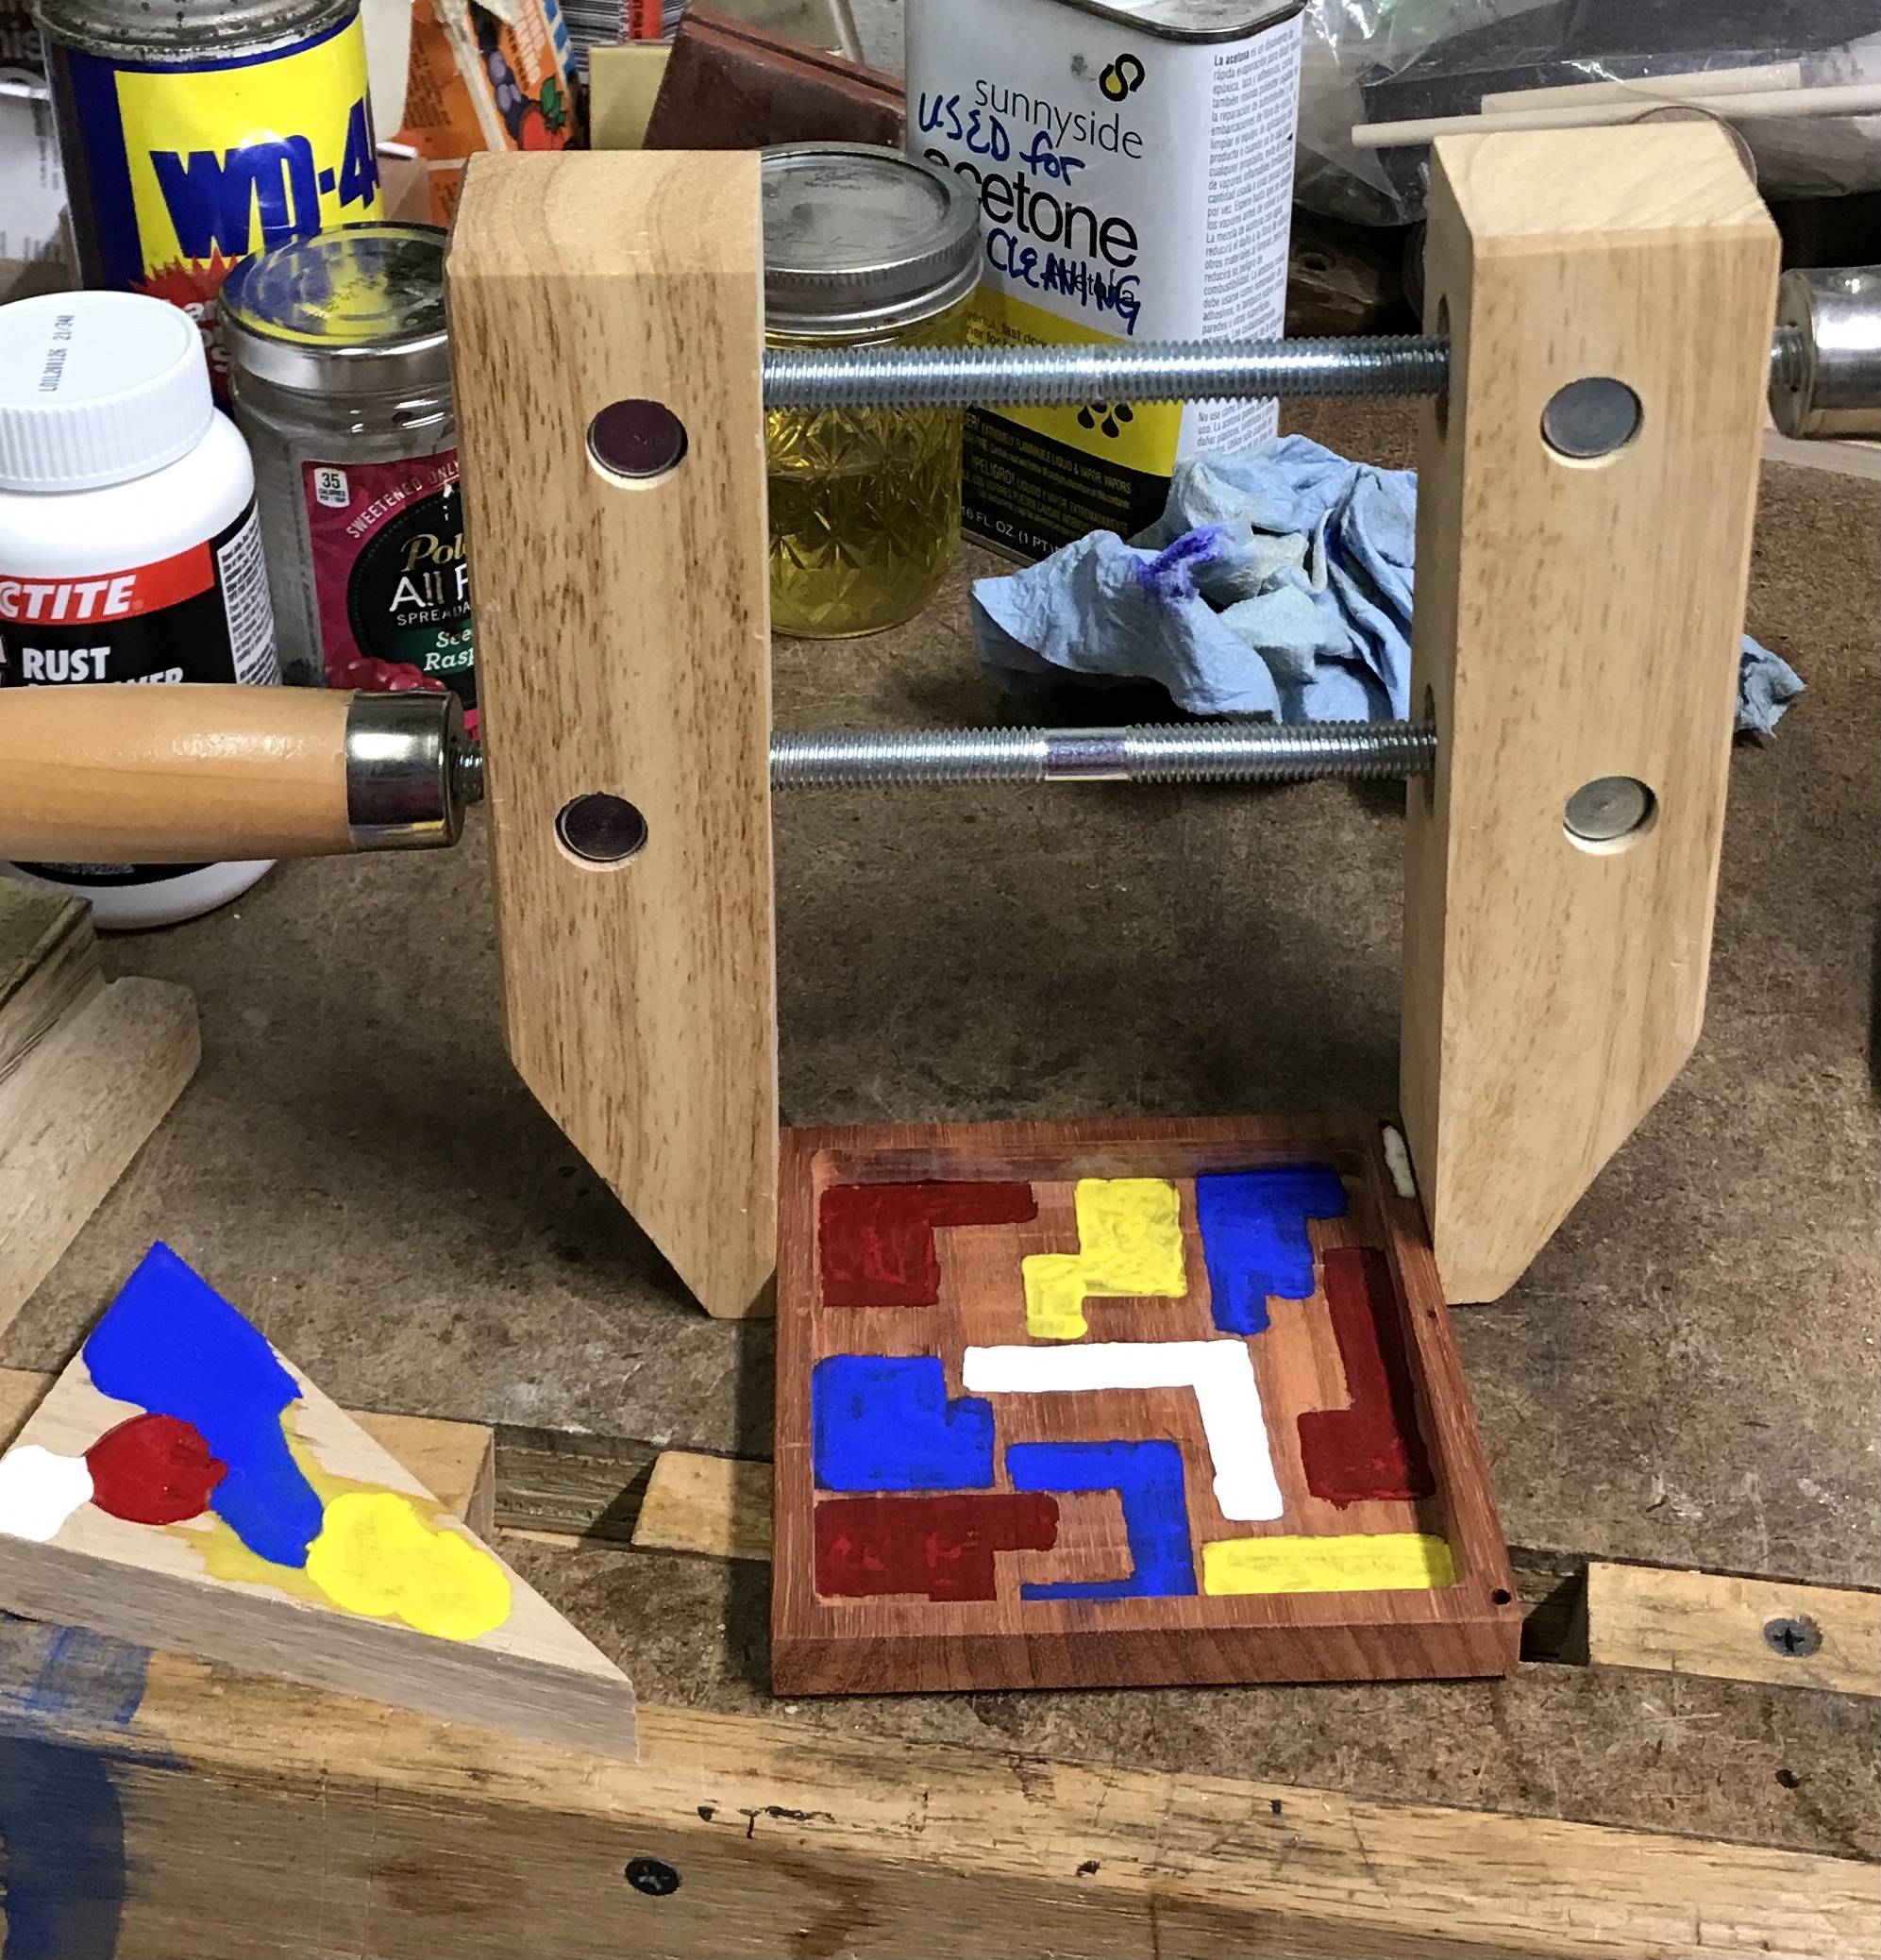
Finally getting around to attempting a salvage operation a month later. Glue was forced into the crack and the top was clamped with a large wood clamp as seen below. While the glue was drying, acrylic paint was pulled from the shelf. Each of the pieces was painted with one of four colors, blue, red, yellow, and white. To finish marks were painted on the edge to indicate other combinations of four pieces that also can be fit in the rectangle.