The latest issue of Machinist's Workshop has an article by Richard Alles, describing a punch with a slide hammer. A very simple project that looked like a fun time in the shop. The punch has a long rod that holds the actual hardened punch on one end. Instead of using a hammer a sliding hammer is built into the punch.
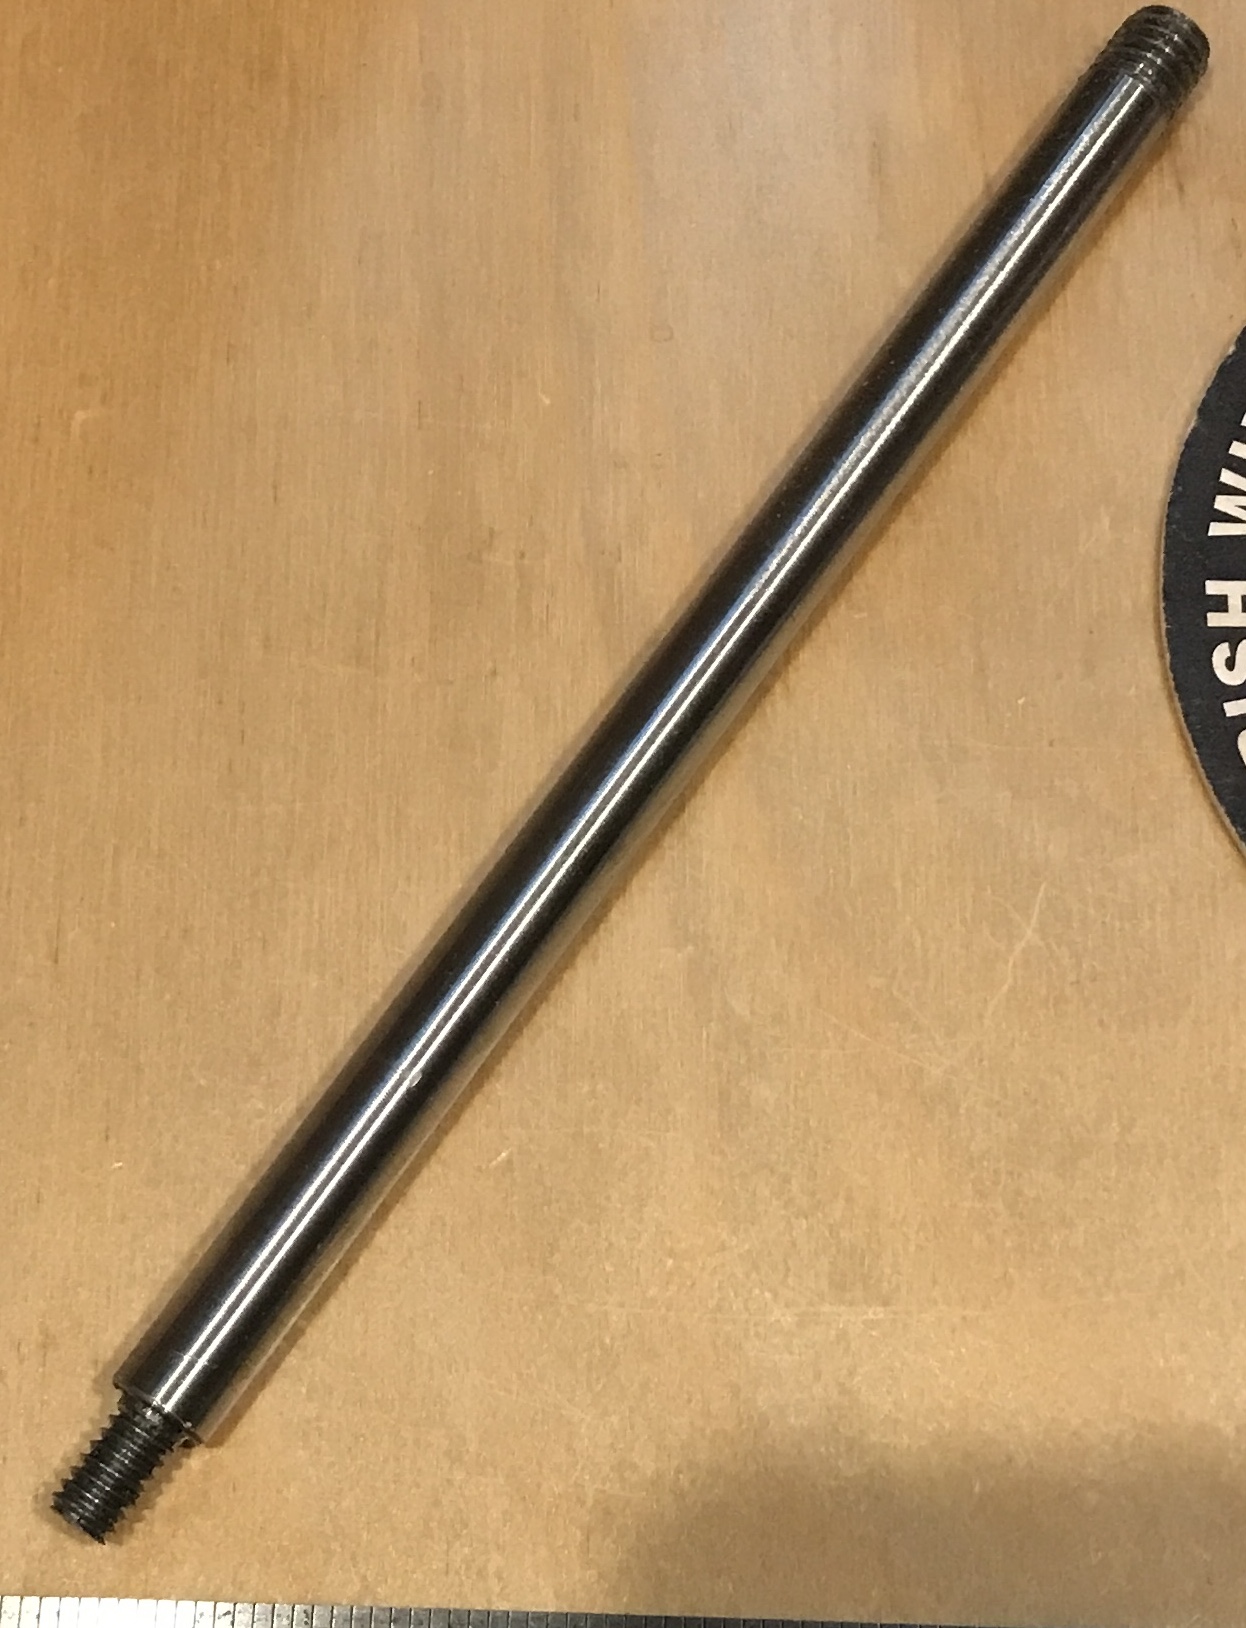
The project began by making the rod. This was made from 3/8" drill rod. A 6 3/4" length was cut with a hacksaw. Both ends were faced. One end was reduced to 1/4" for 1/2". Both ends were heavily chamfered prior to threading. The reduced end was threaded 1/4-20 and the other end was threaded 3/8-16. The larger die is not in the usual wooden holder. I guess Uncle Bob did not have a die this size. It was located in a metal box of extra taps and dies. I was careful not to grab the left hand die of this size. Both threading operations were done holding the shaft in a vise and using lots of cutting fluid.
The second part made was the sliding hammer. A length of 1 1/2" steel was held in the three-jaw chuck on the South Bend lathe. The end was faced. The compound was set to 30°. The angle was cut until the cone was approximately 1/2" long. A further 1" of material was reduced just enough to get rid of the rust. An attempt was made to knurl this part of the sliding hammer. The knurling never seemed to track; a failed experiment.
The part was center drilled, drilled 3/16" and then drilled 3/8" for 1 1/2". The part was parted off, or at least an attempt was made. The parting operation began with tremendous squealing. As it got going the spindle speed was reduced and the parting off went really well. About 3/4 of the way through the cross slide would advance no further. (It is possible the blade was not protruding sufficiently.) The parting tool was replaced with a hacksaw to finish part removal. The part was returned to the chuck and the new end was faced. Both ends of the hole were chamfered.
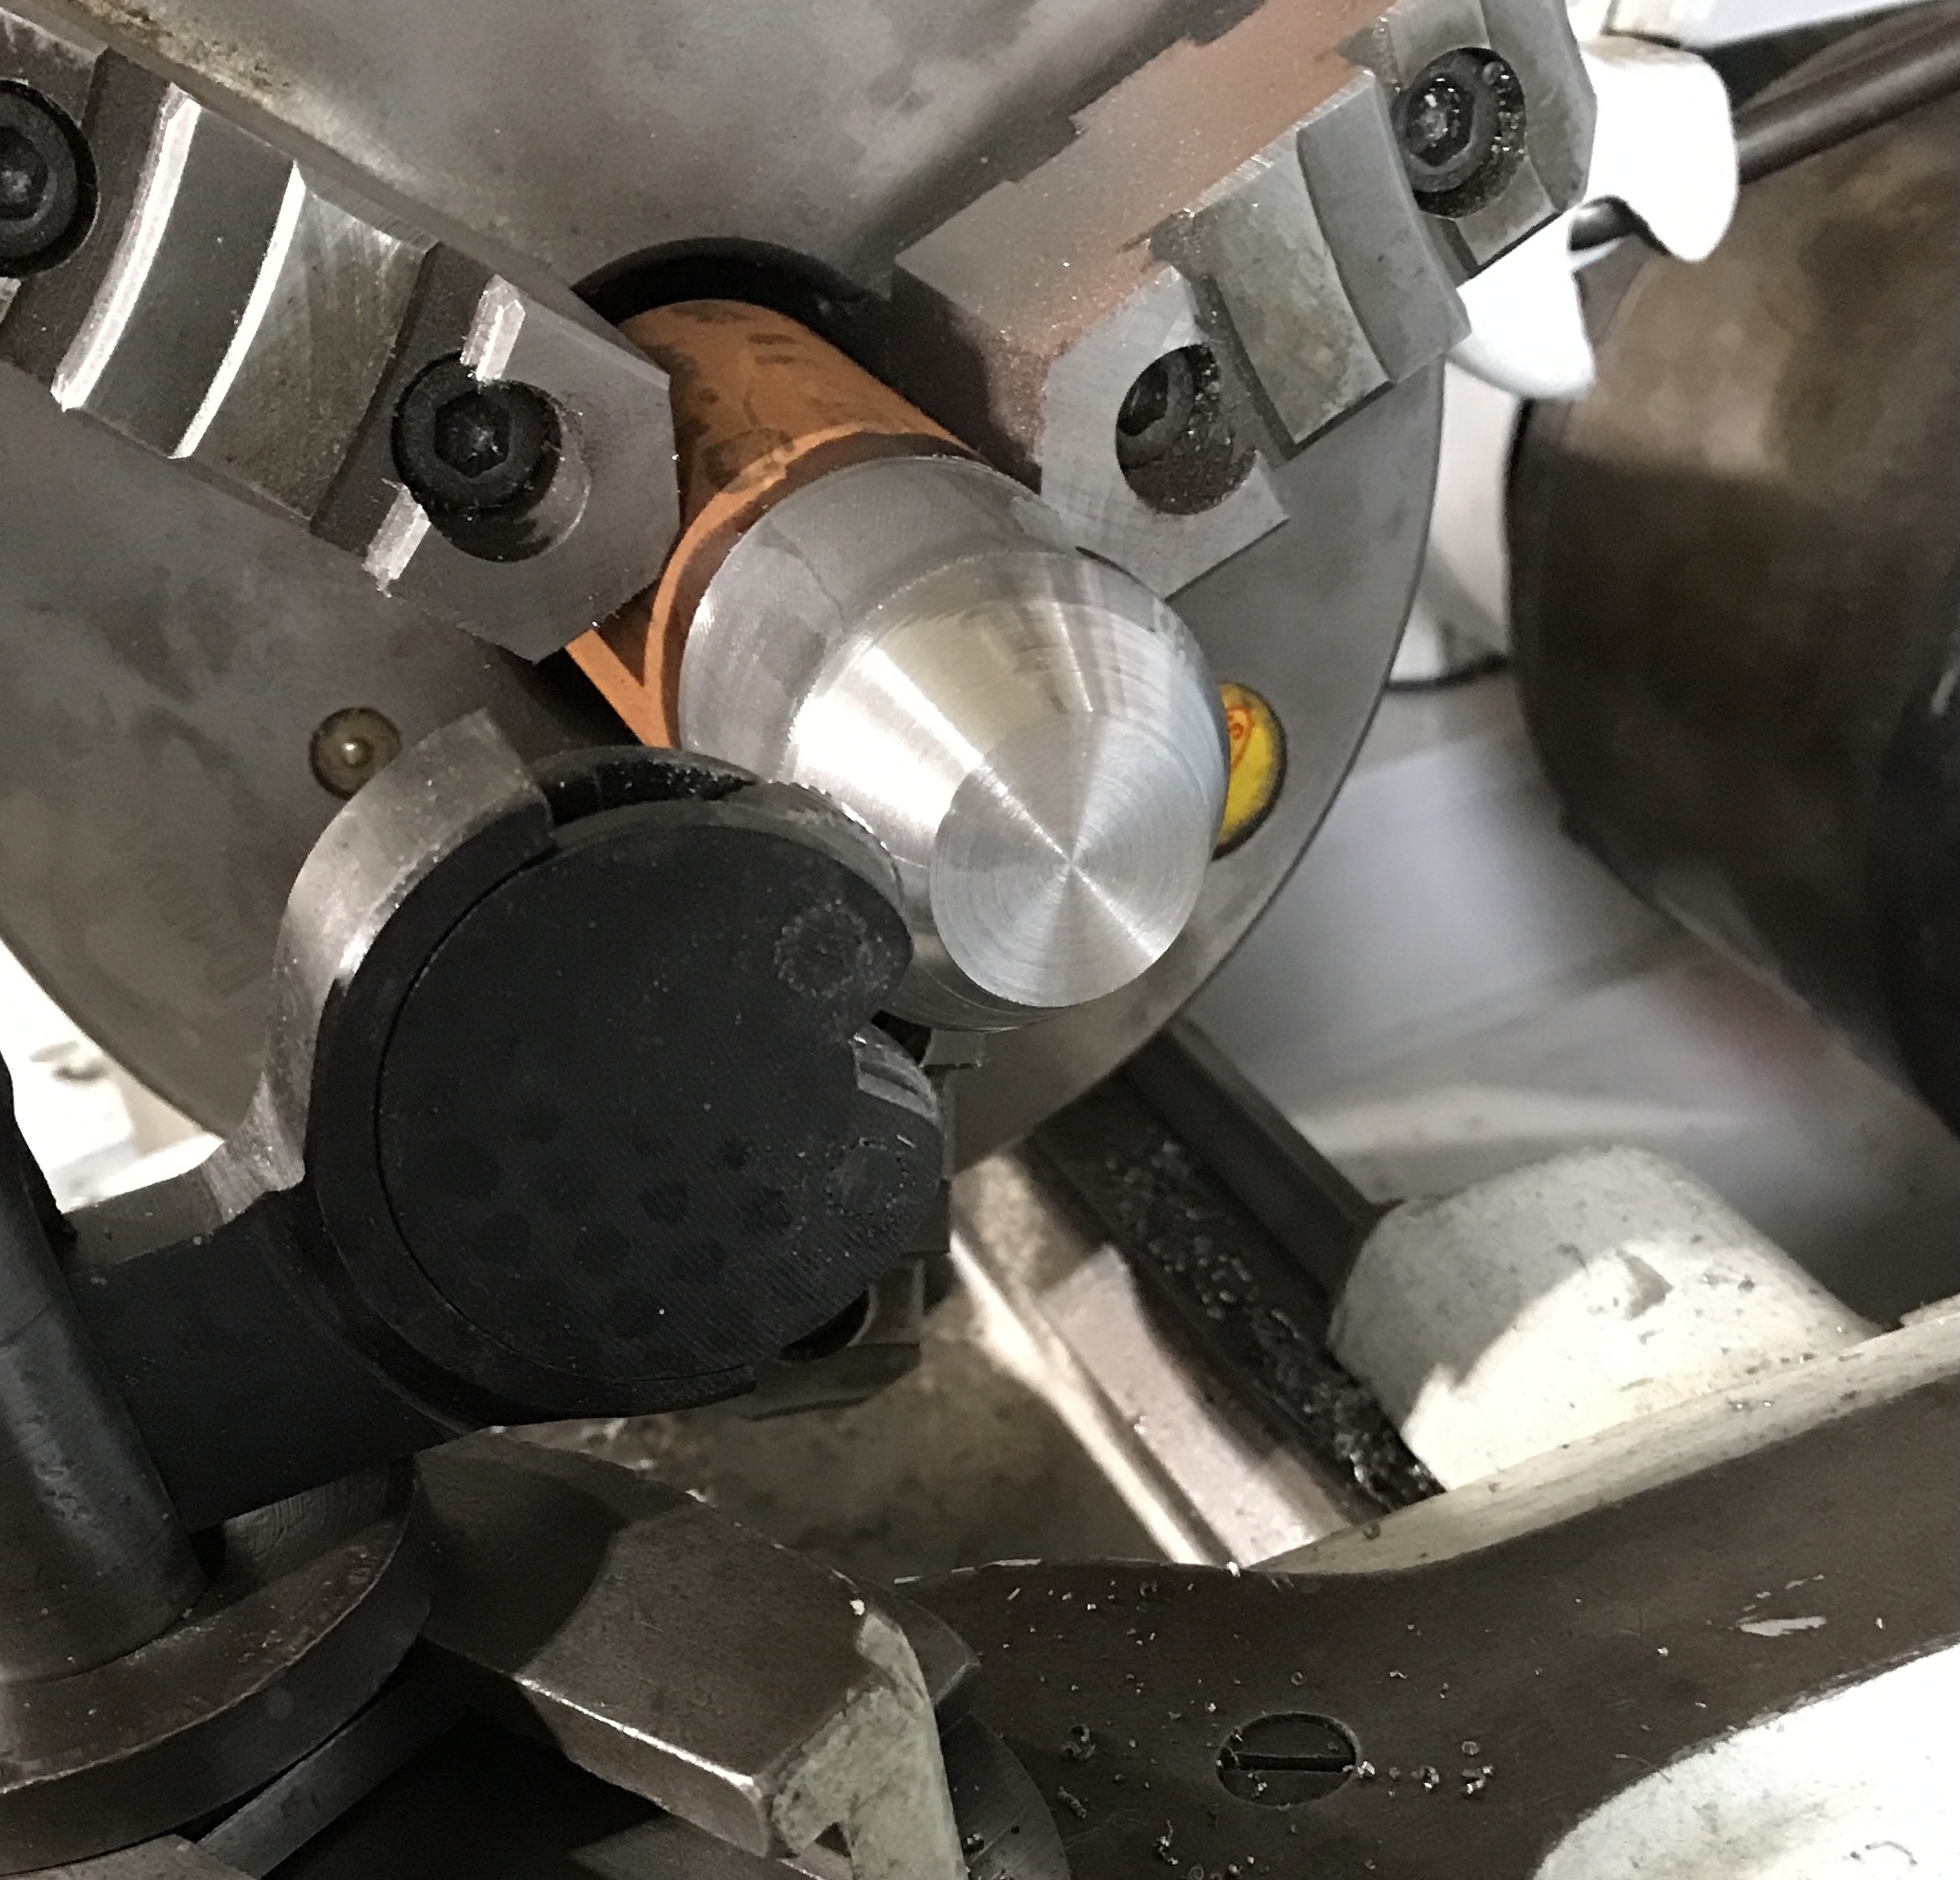
The third part is the punch holder. The plans call for a 3/4" length of 3/4" steel round. I had 1" round on hand and put it in the chuck. Like the hammer the end was faced and then cut at 30° to form a cone. A 3/16" through hole was the next order of business. Unfortunately, the center drill broke off while drilling! It was time to stop for lunch.
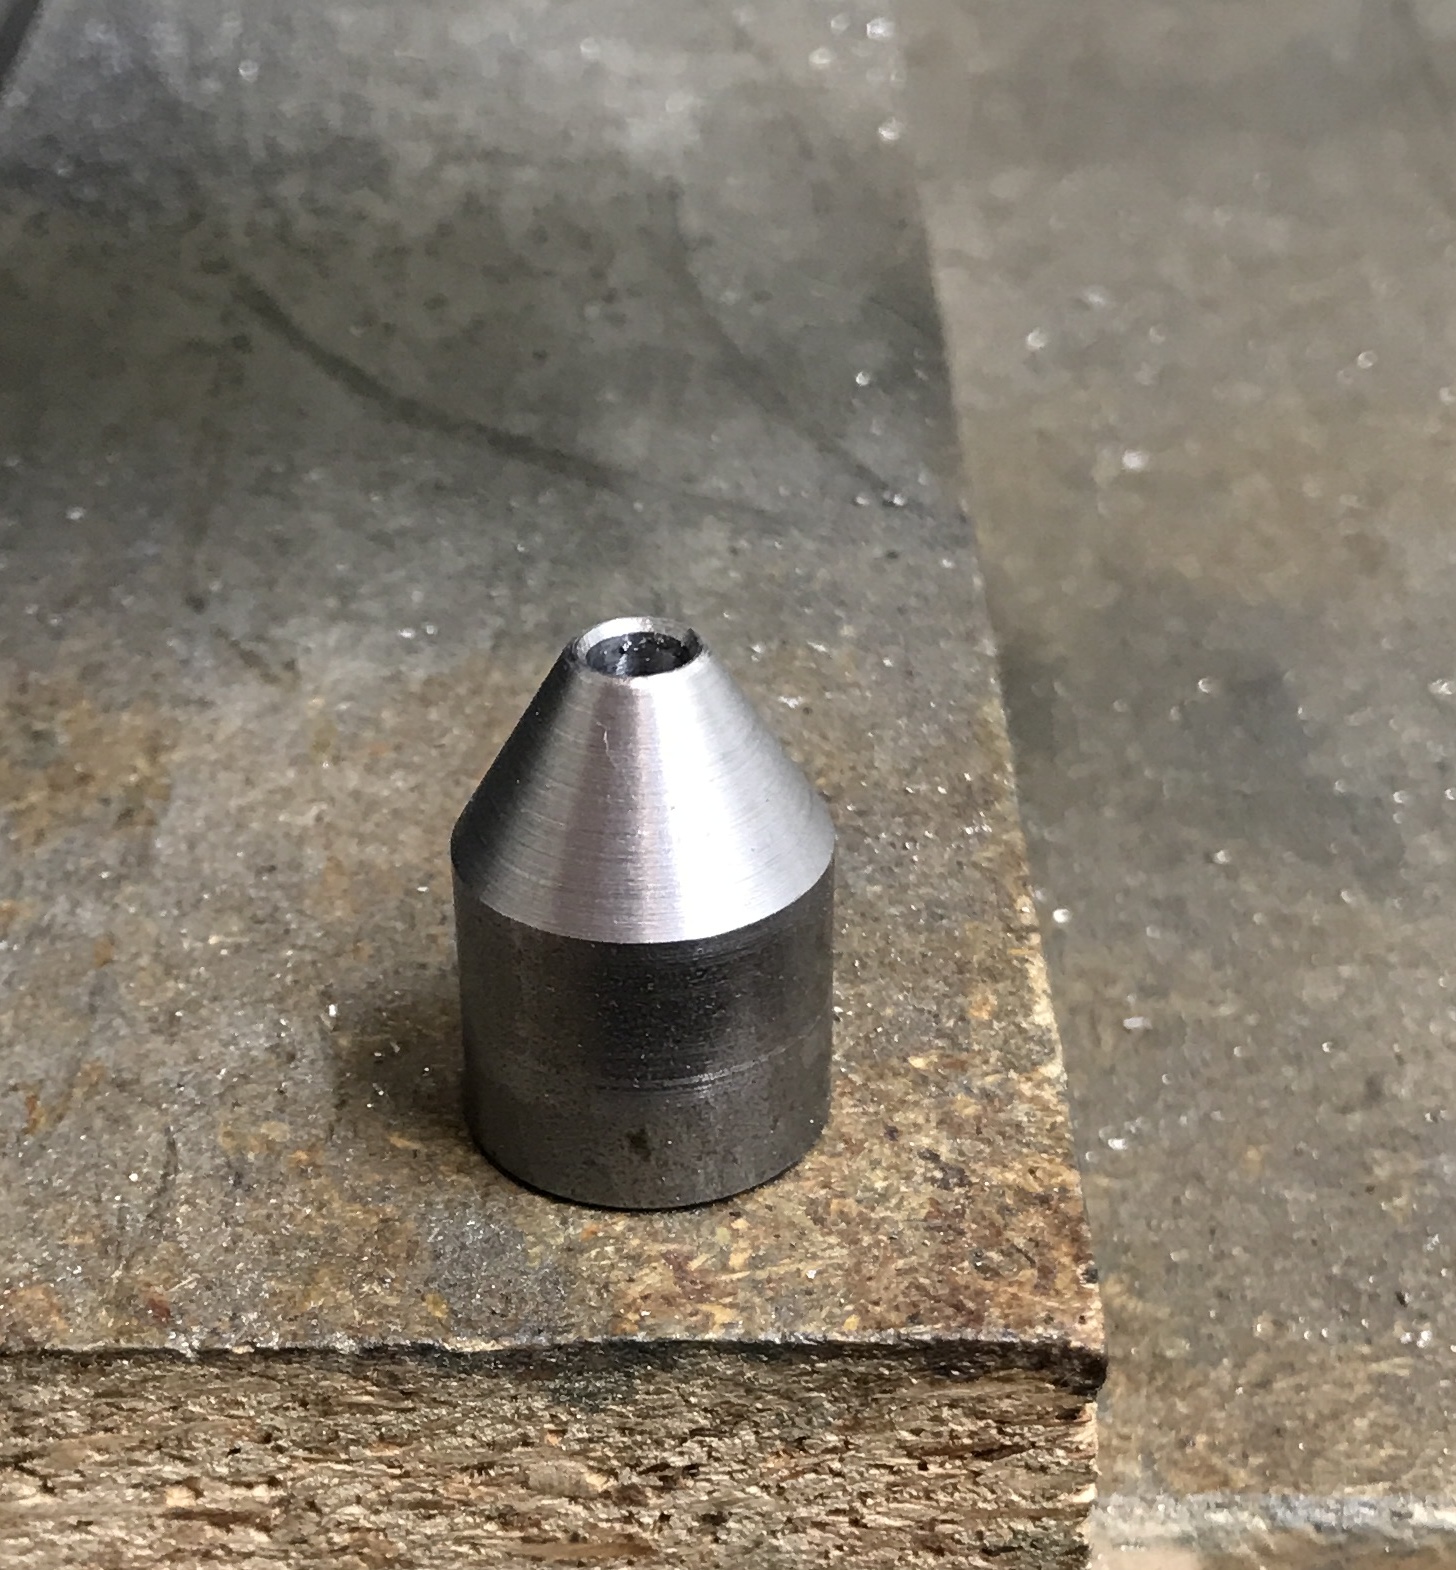
Instead of trying to salvage the part, a new effort was started. A 1 3/8" length of 3/4" steel round was cut off with a hacksaw. This was faced in the Sherline lathe. The headstock was turned 30° and a cone was cut on the end of the rod for a length of 7/16". The rod was center drilled and drilled with a #18 (0.169") drill. The hole was chamfered. The hole was then reamed with a 3/16" reamer. The rod was turned around and the parting tool was used to slowly cut off the excess stock. The new end was chamfered as well as the hole. The punch holder is shown at this stage below.
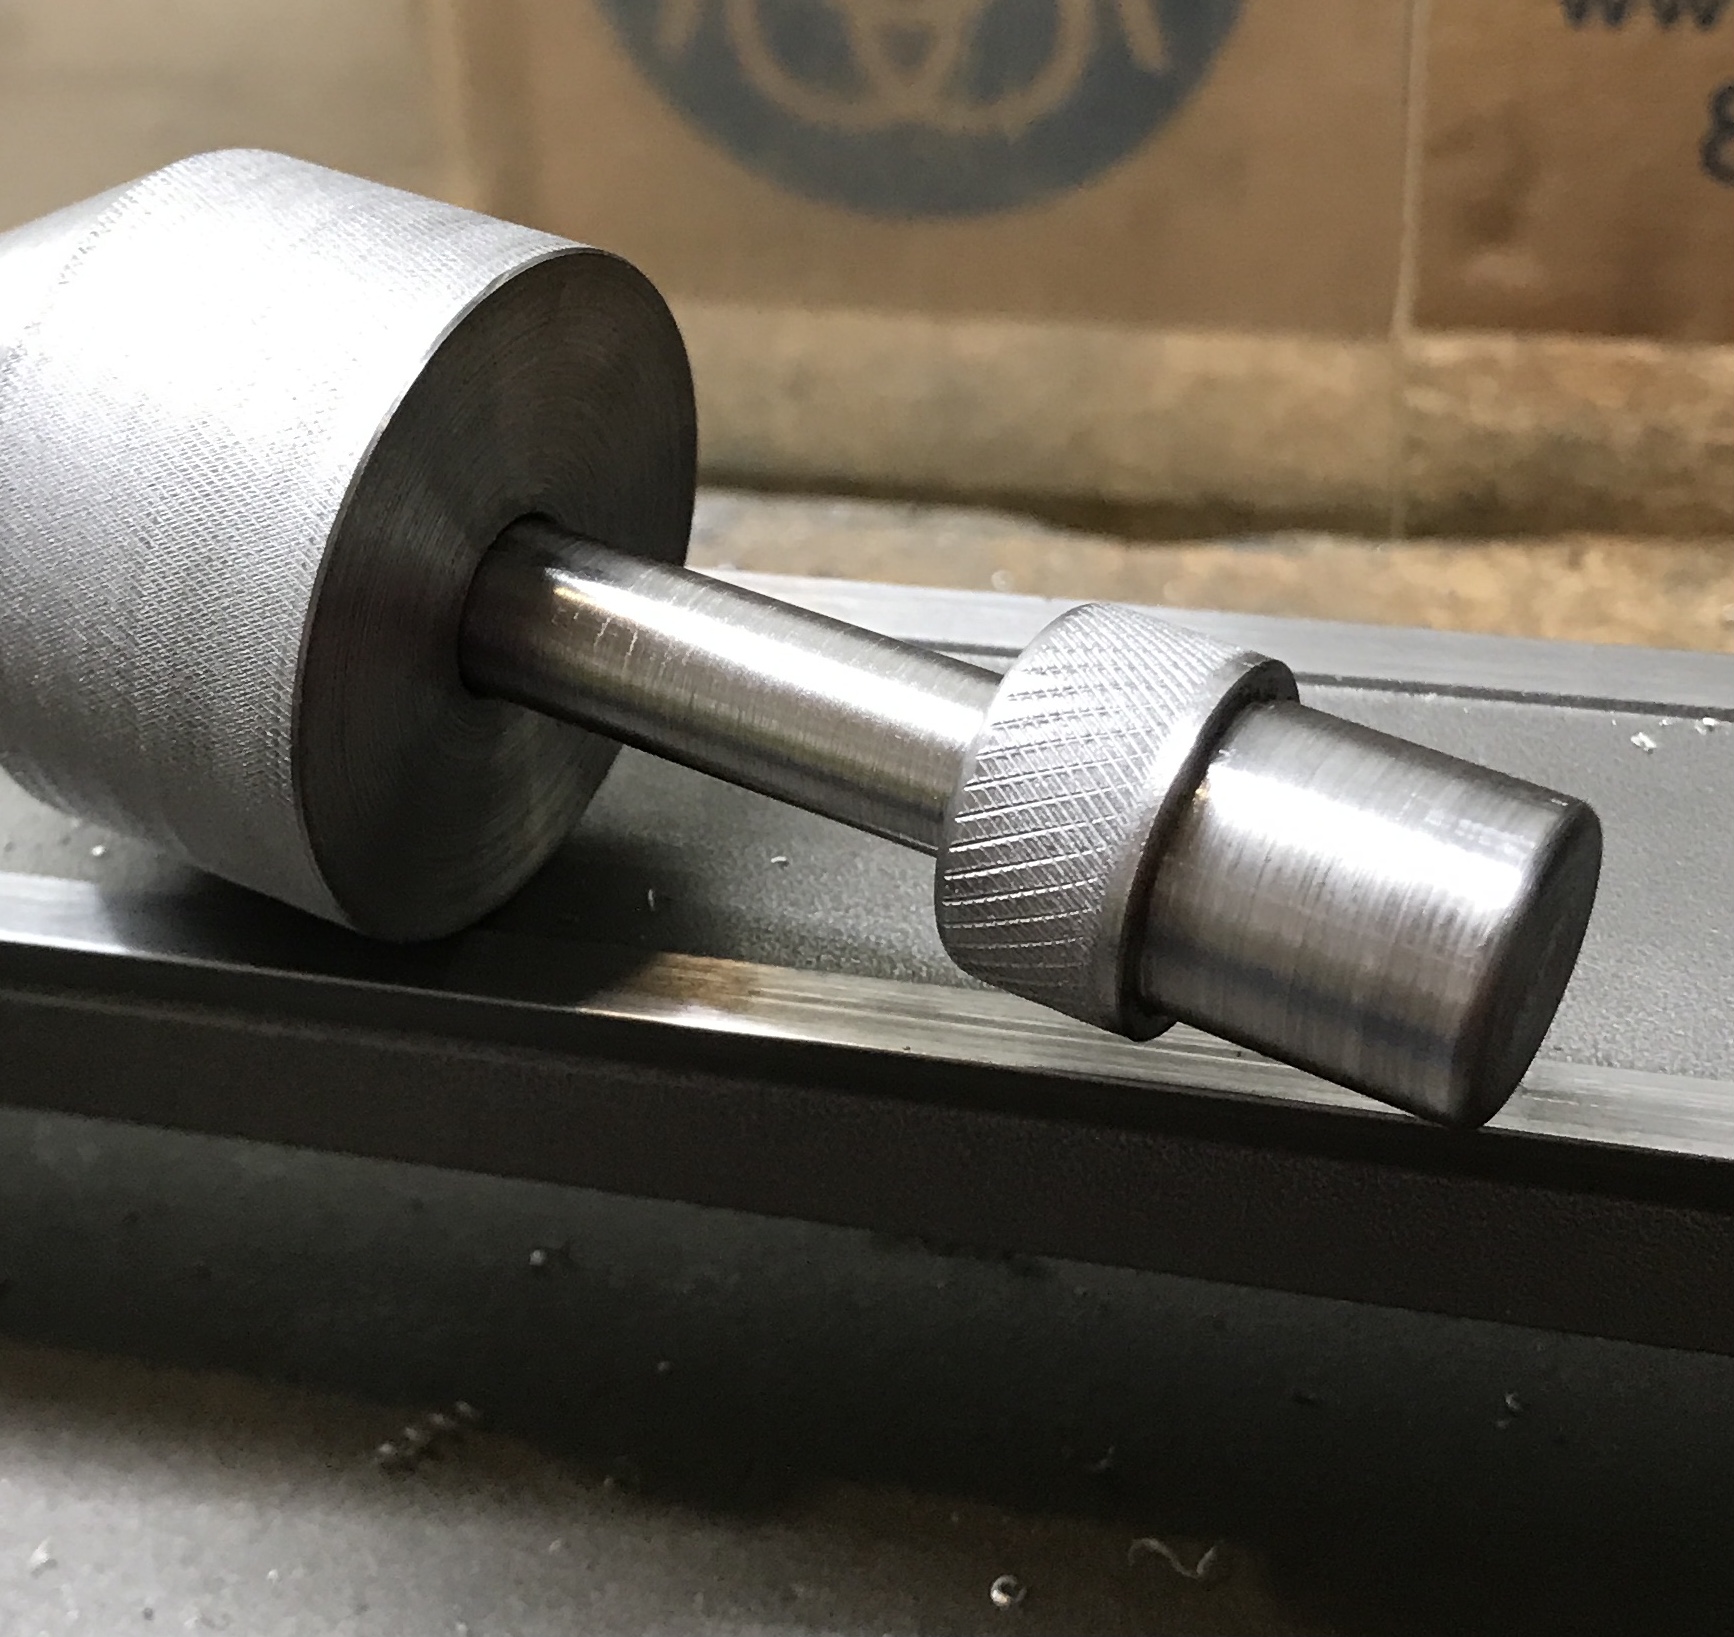
The fit of the slide hammer was checked on the shaft and found to be tight. The hammer was reamed by hand with a 3/8" reamer. This did not help. The hammer did not go more than 1/2" onto the shaft. The shaft was put into the chuck on the lathe. It was sanded first with 40 grit until the hammer slid easily. The coarse paper was followed by 200 grit and then crocus cloth. The part was turned around in the chuck and sanding was repeated on the opposite end. This reduced the diameter of the shaft from slightly over 0.375" to 0.3755". The photo shows the finished shaft and hammer.
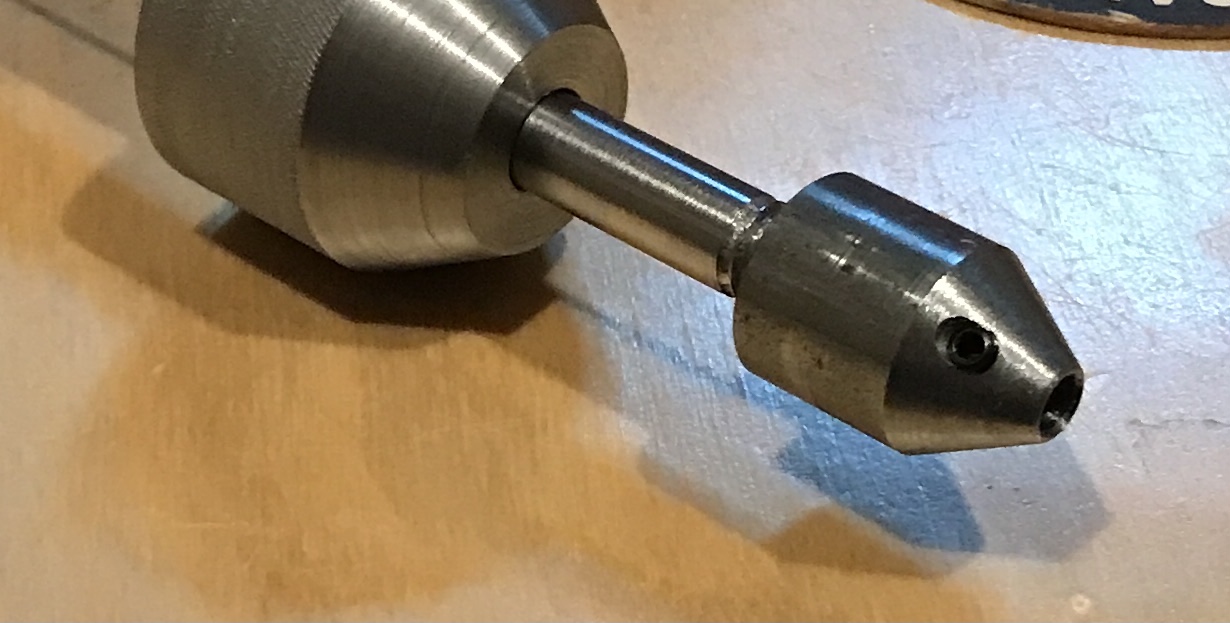
The nose was completed. The hole was opened up with a 9/16" drill for 7/16". It was tapped 3/8-16. The tap did not produce many threads. A bottoming 3/8-16 tap is needed. The nose was then held on the finger plate. A center drill was centered on the part and touched off on the cone end. The table was move 0.094" to center the spindle over the end of the nose. The table was moved an additional 0.25". The hole was carefully drilled with the center drill deep enough that there was minimal drill bending when the #29 drill was used to complete the hole. The hole was tapped 8-32. After some cleanup the completed nose was threaded onto the shaft.
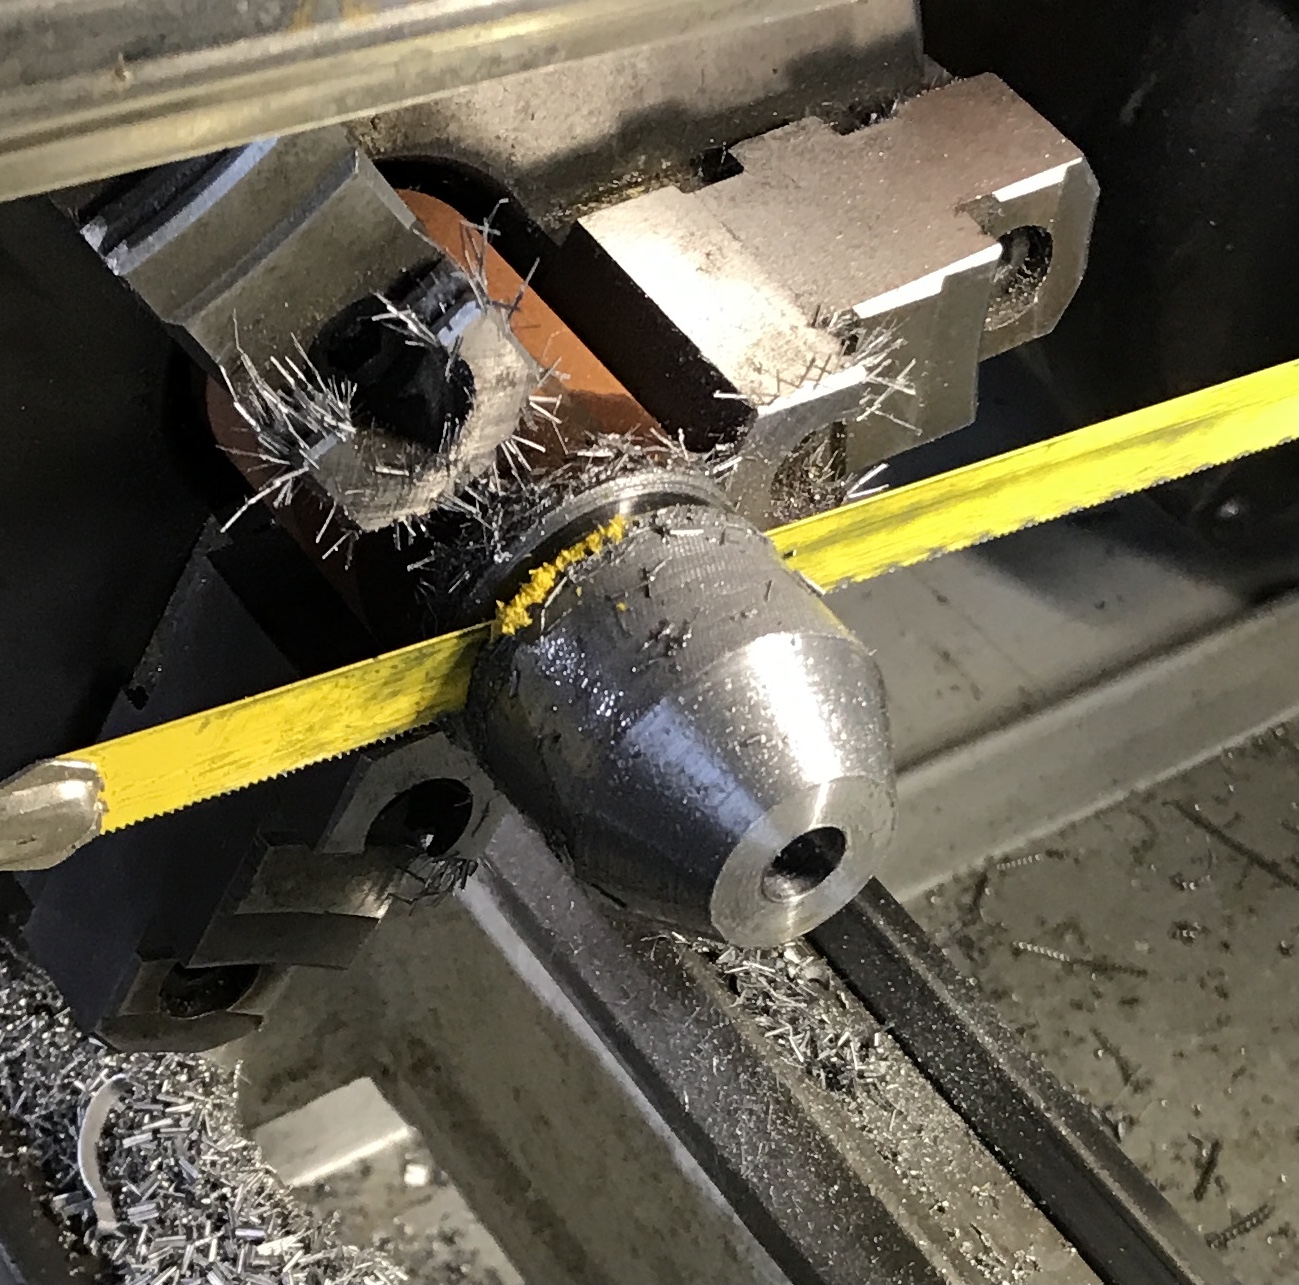
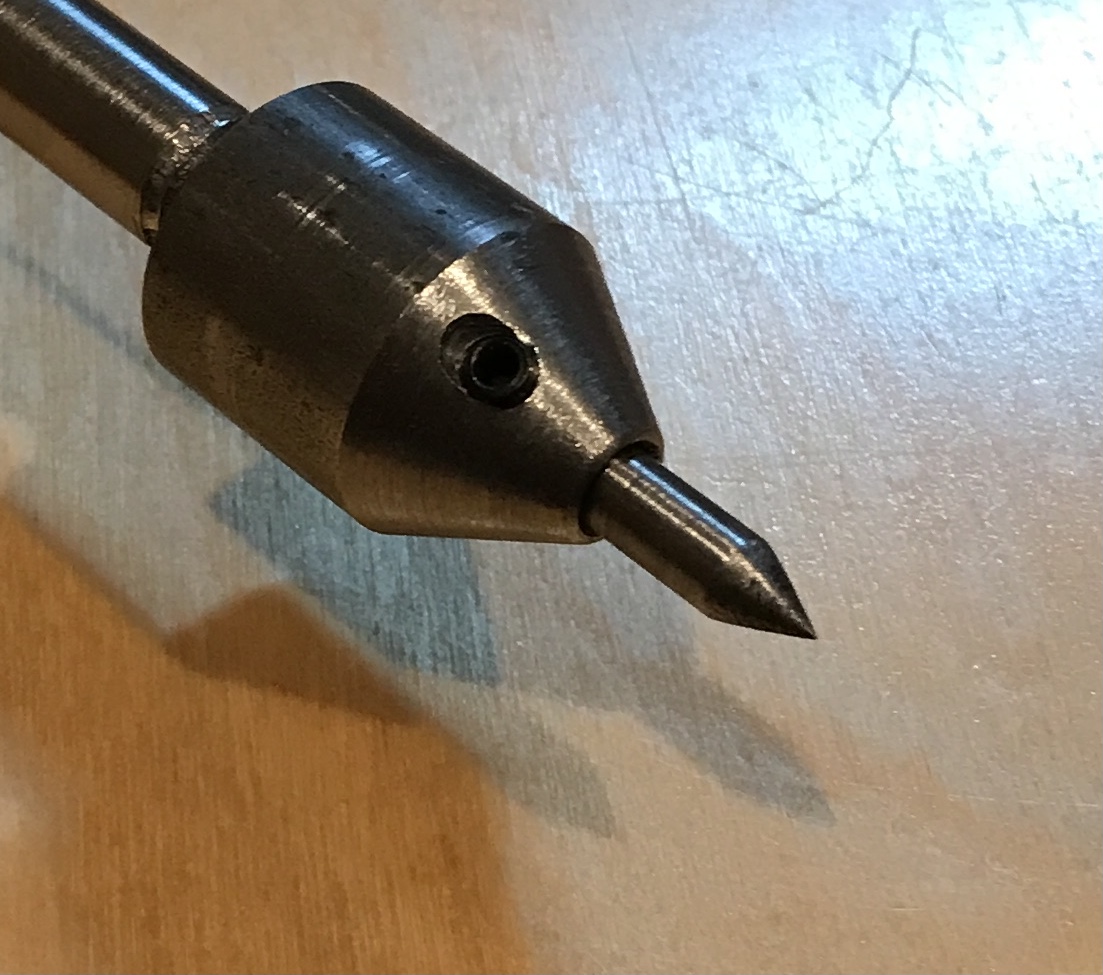
I don't have any 3/16" drill rod, so I will reduce a length of 1/4" drill rod for the center punch. A 2" length of 1/4" drill rod was held in the chuck and faced. The end was center drilled and a half tailstock center was used to support the end. About 1 1/2" was reduced to 0.188". The shaft is a nice fit in the nose. It was sanded with crocus cloth. The part was turned around and held in a collet. The end with the hole was faced until most of the hole was gone, about 0.15". Reversing the part in the collet and setting the headstock at 30° allowed a cone to be cut on the end. This cone was sharpened using the drill and the sanding belt. Finally, the center punch was hardened: heating to bright orange with a propane torch followed by quenching in oil. A little 320 grit paper removed most of the carbon black. The photo shows the center punch installed in the nose.
Used the new fire bricks for the hardening process. They are light and easy to position. They retain heat for a while after use.
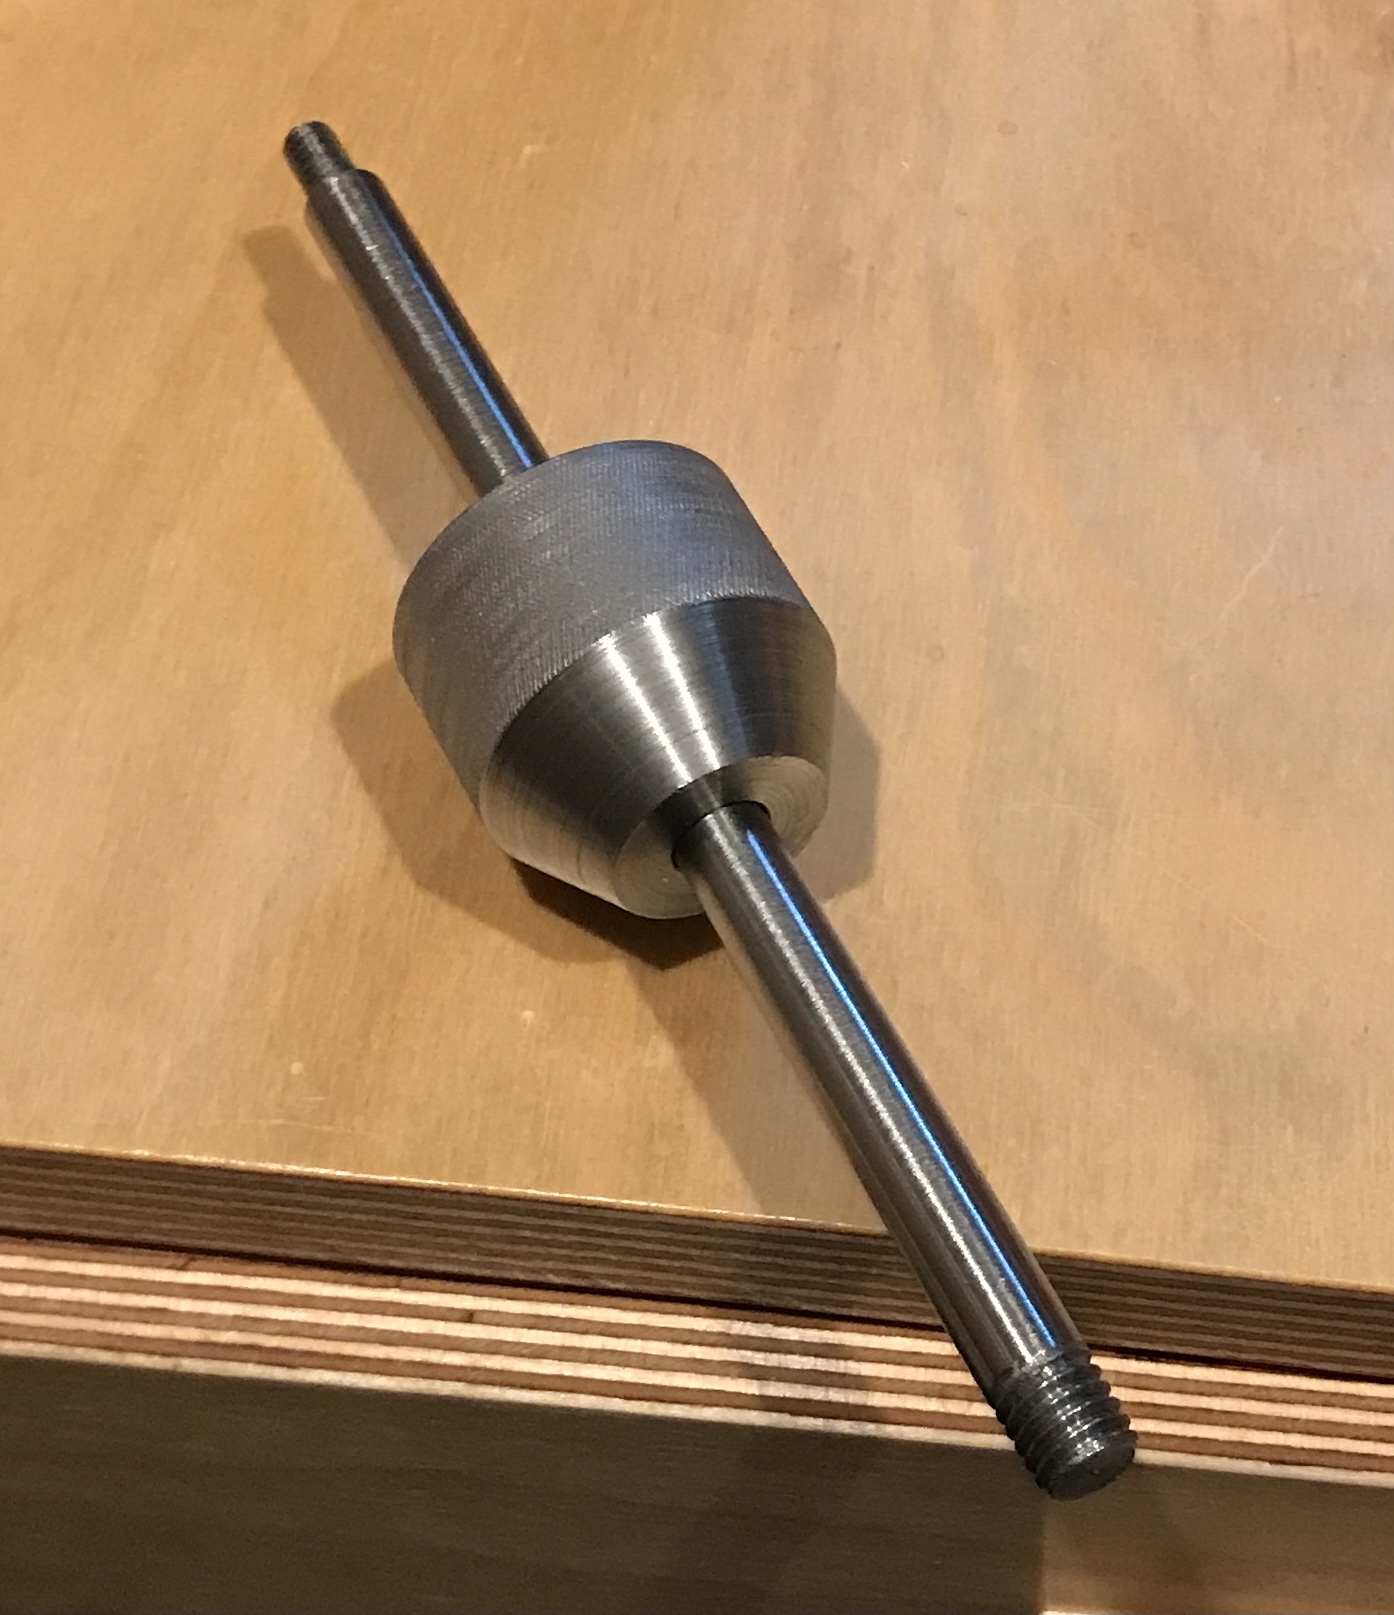
The final part was made, the top cap. A 1" length of 3/4" steel round was cut off and chucked in the lathe. One end was faced and the corner heavily rounded with a file. The part was flipped end for end in the chuck and the other end faced. This end of the part was reduced to 5/8" for 5/8". Again the corner was heavily rounded with a file. Gripping this reduced end in the lathe chuck allowed the larger end to be center drilled, drilled with a #7 drill, chamfered, and tapped 1/4-20 to a depth of about 1/2". A knurl was put on this end with the homemade knurling tool. It is a better knurl. It was limited in depth by the small lathe. The finished top cap and the finished tool are shown below.
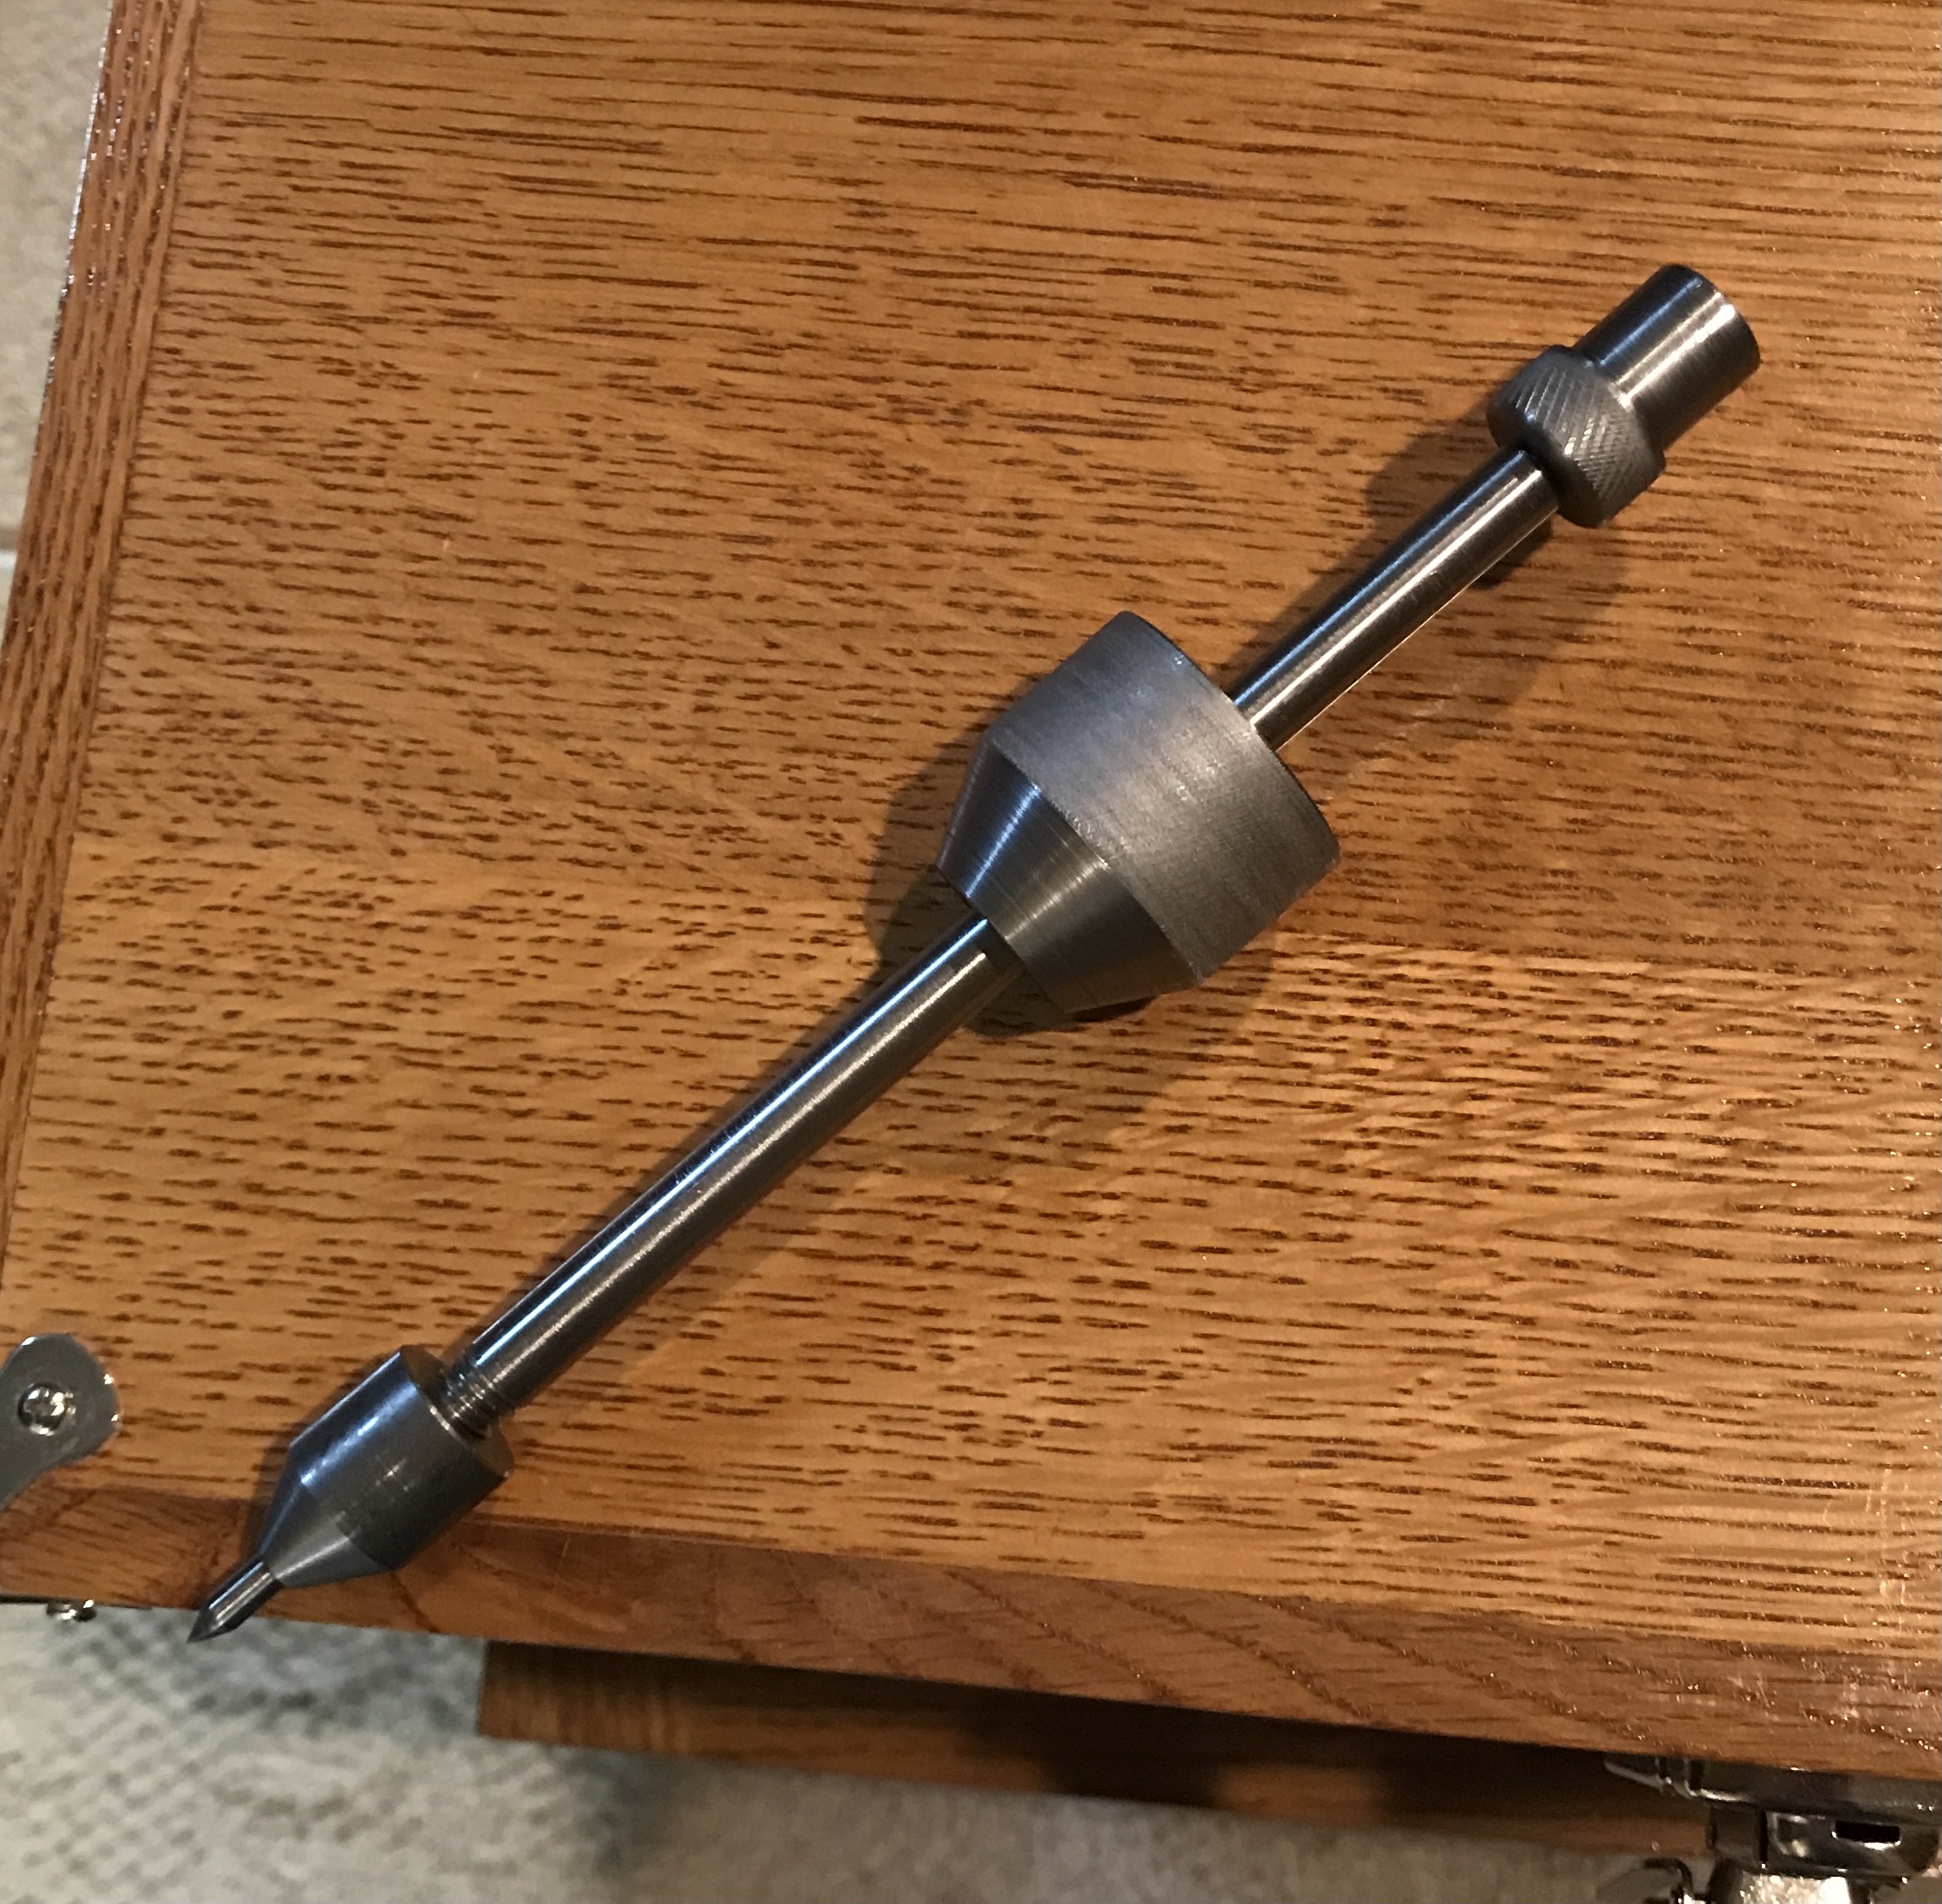
I tried the sliding hammer punch out on a brass scrap that was already marked for a hole. It is simple to use. It is also more convenient than a traditional punch. One doesn't have to find the hammer or juggle the punch and the hammer.